Magical Ben and Holly's Little Kingdom Birthday Party: DIY Tips, Decorations, and Inspiration
I want to share with you how I helped decorate a Ben and Holly's Little Kingdom-themed birthday party for my friend's daughter. We put in a lot of work, and I think this article will be useful and inspiring for anyone planning a similar event.
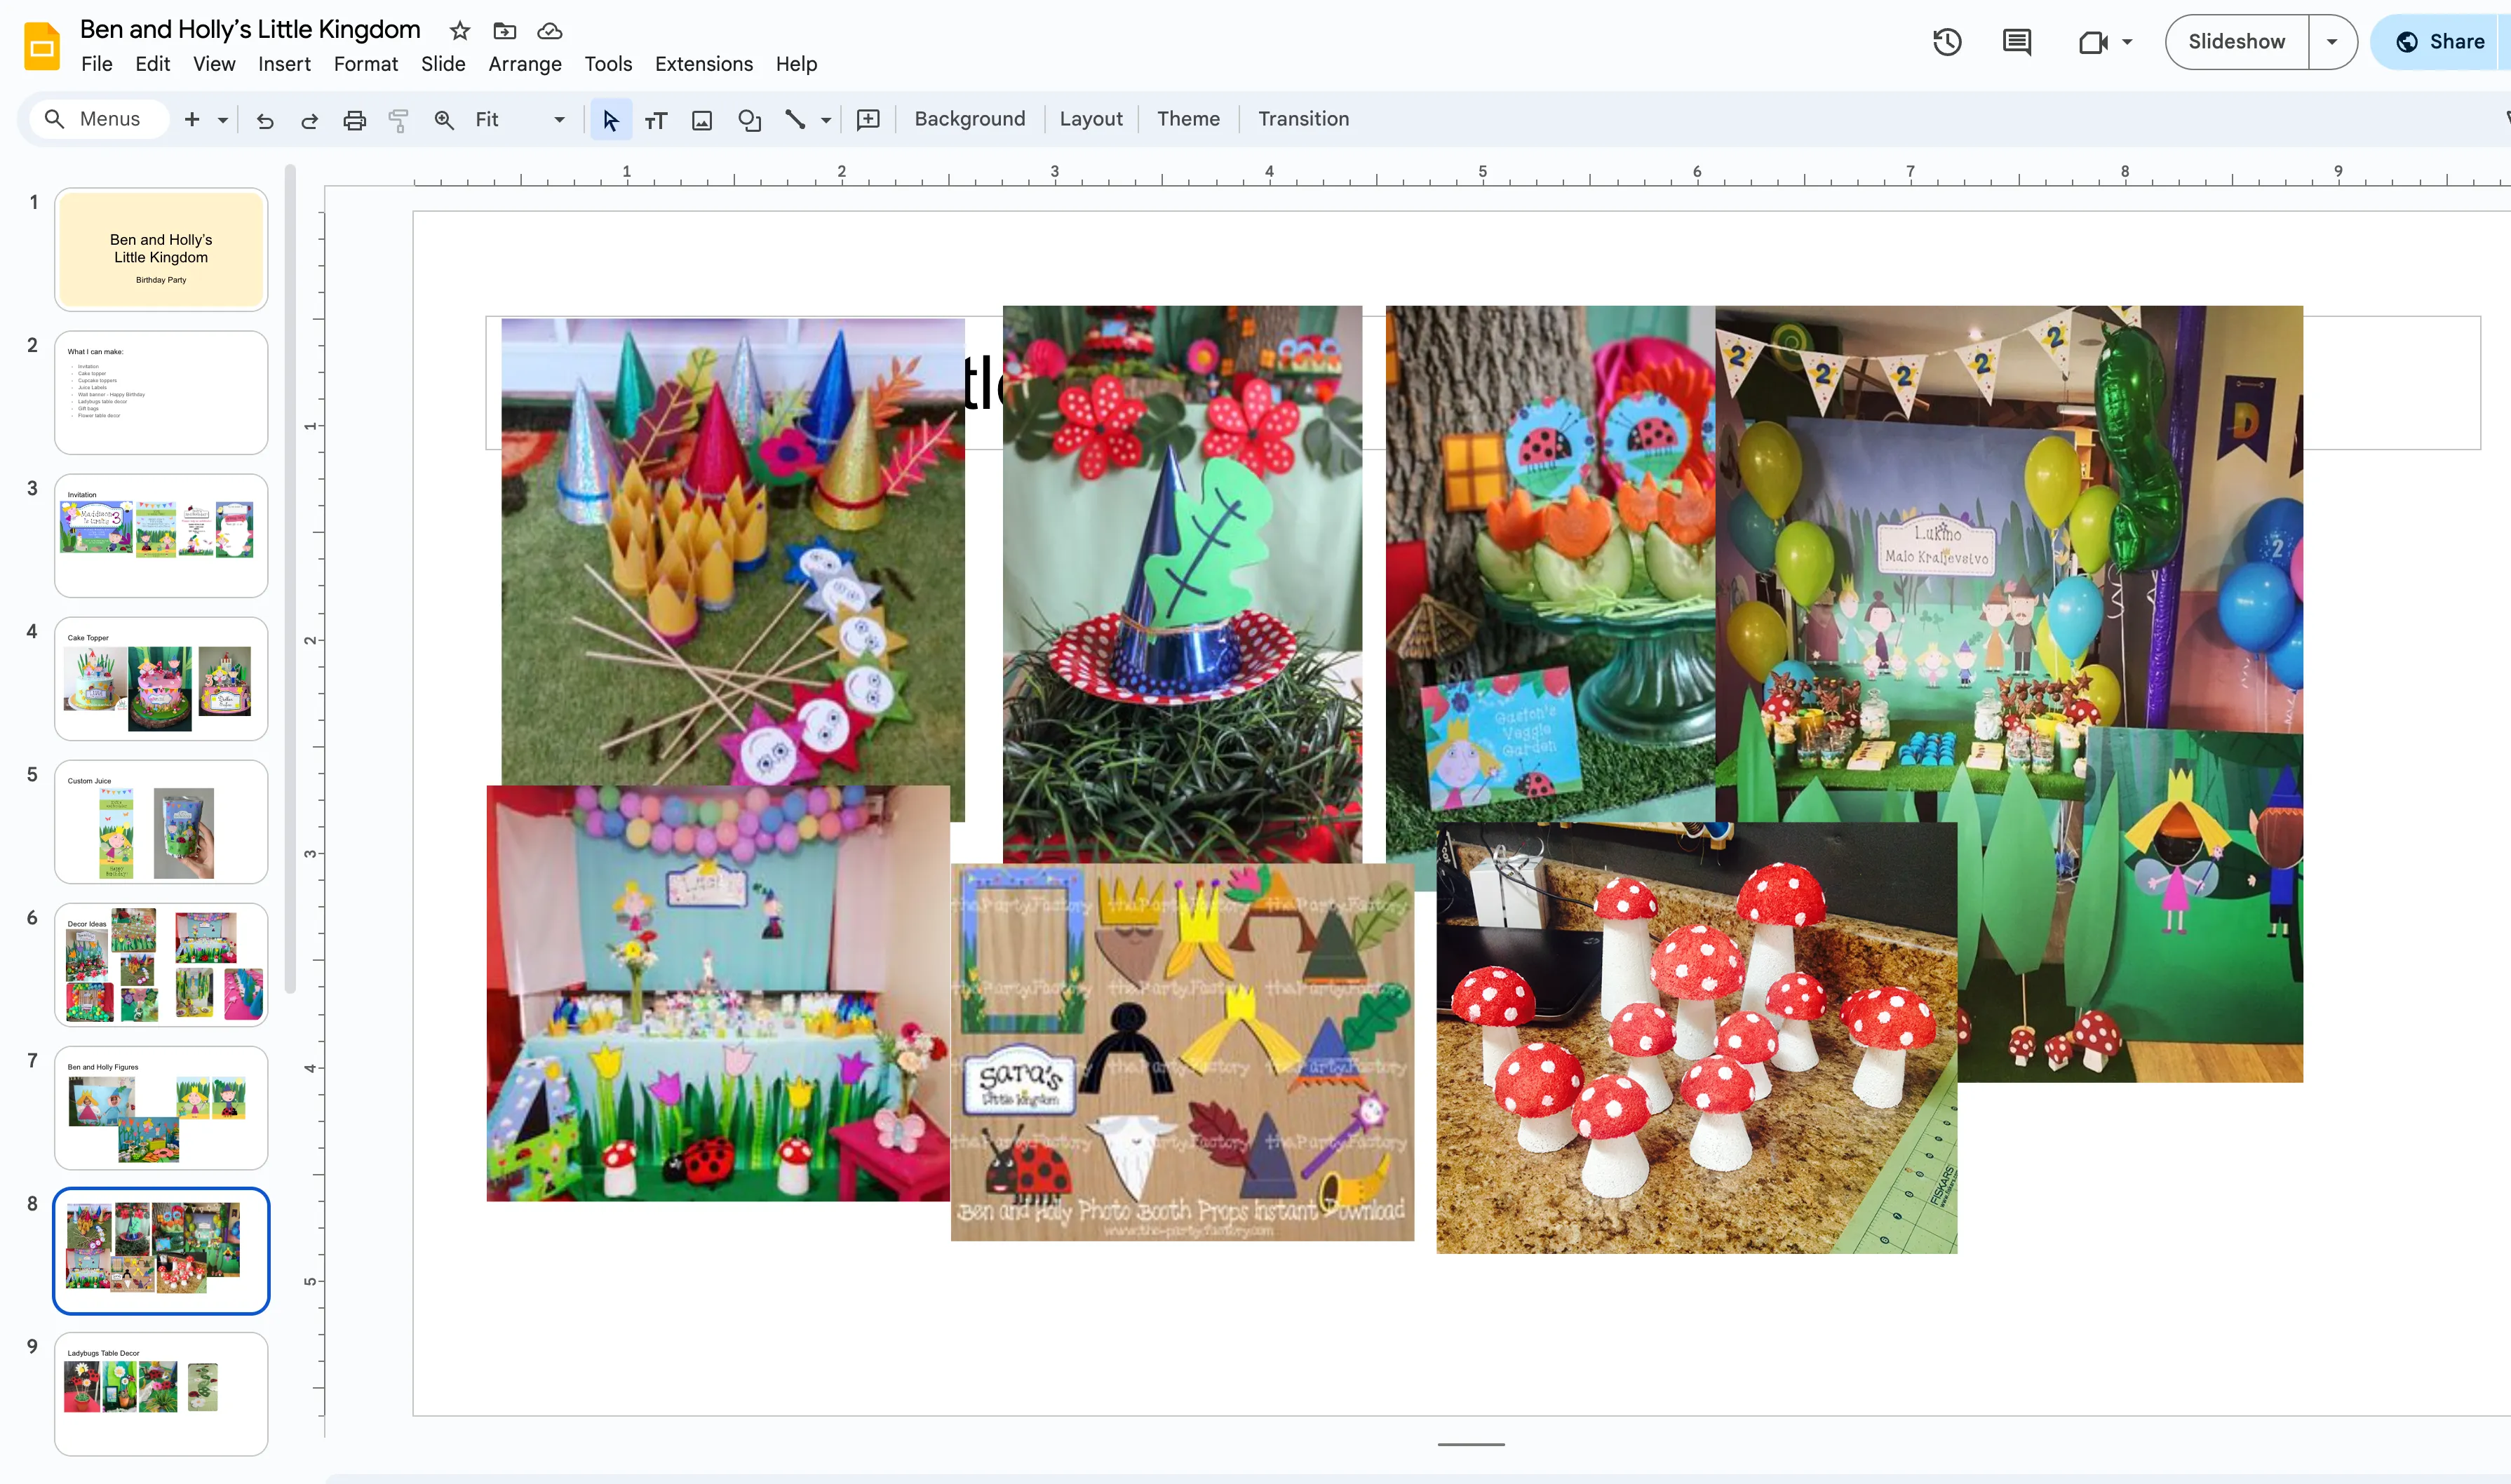
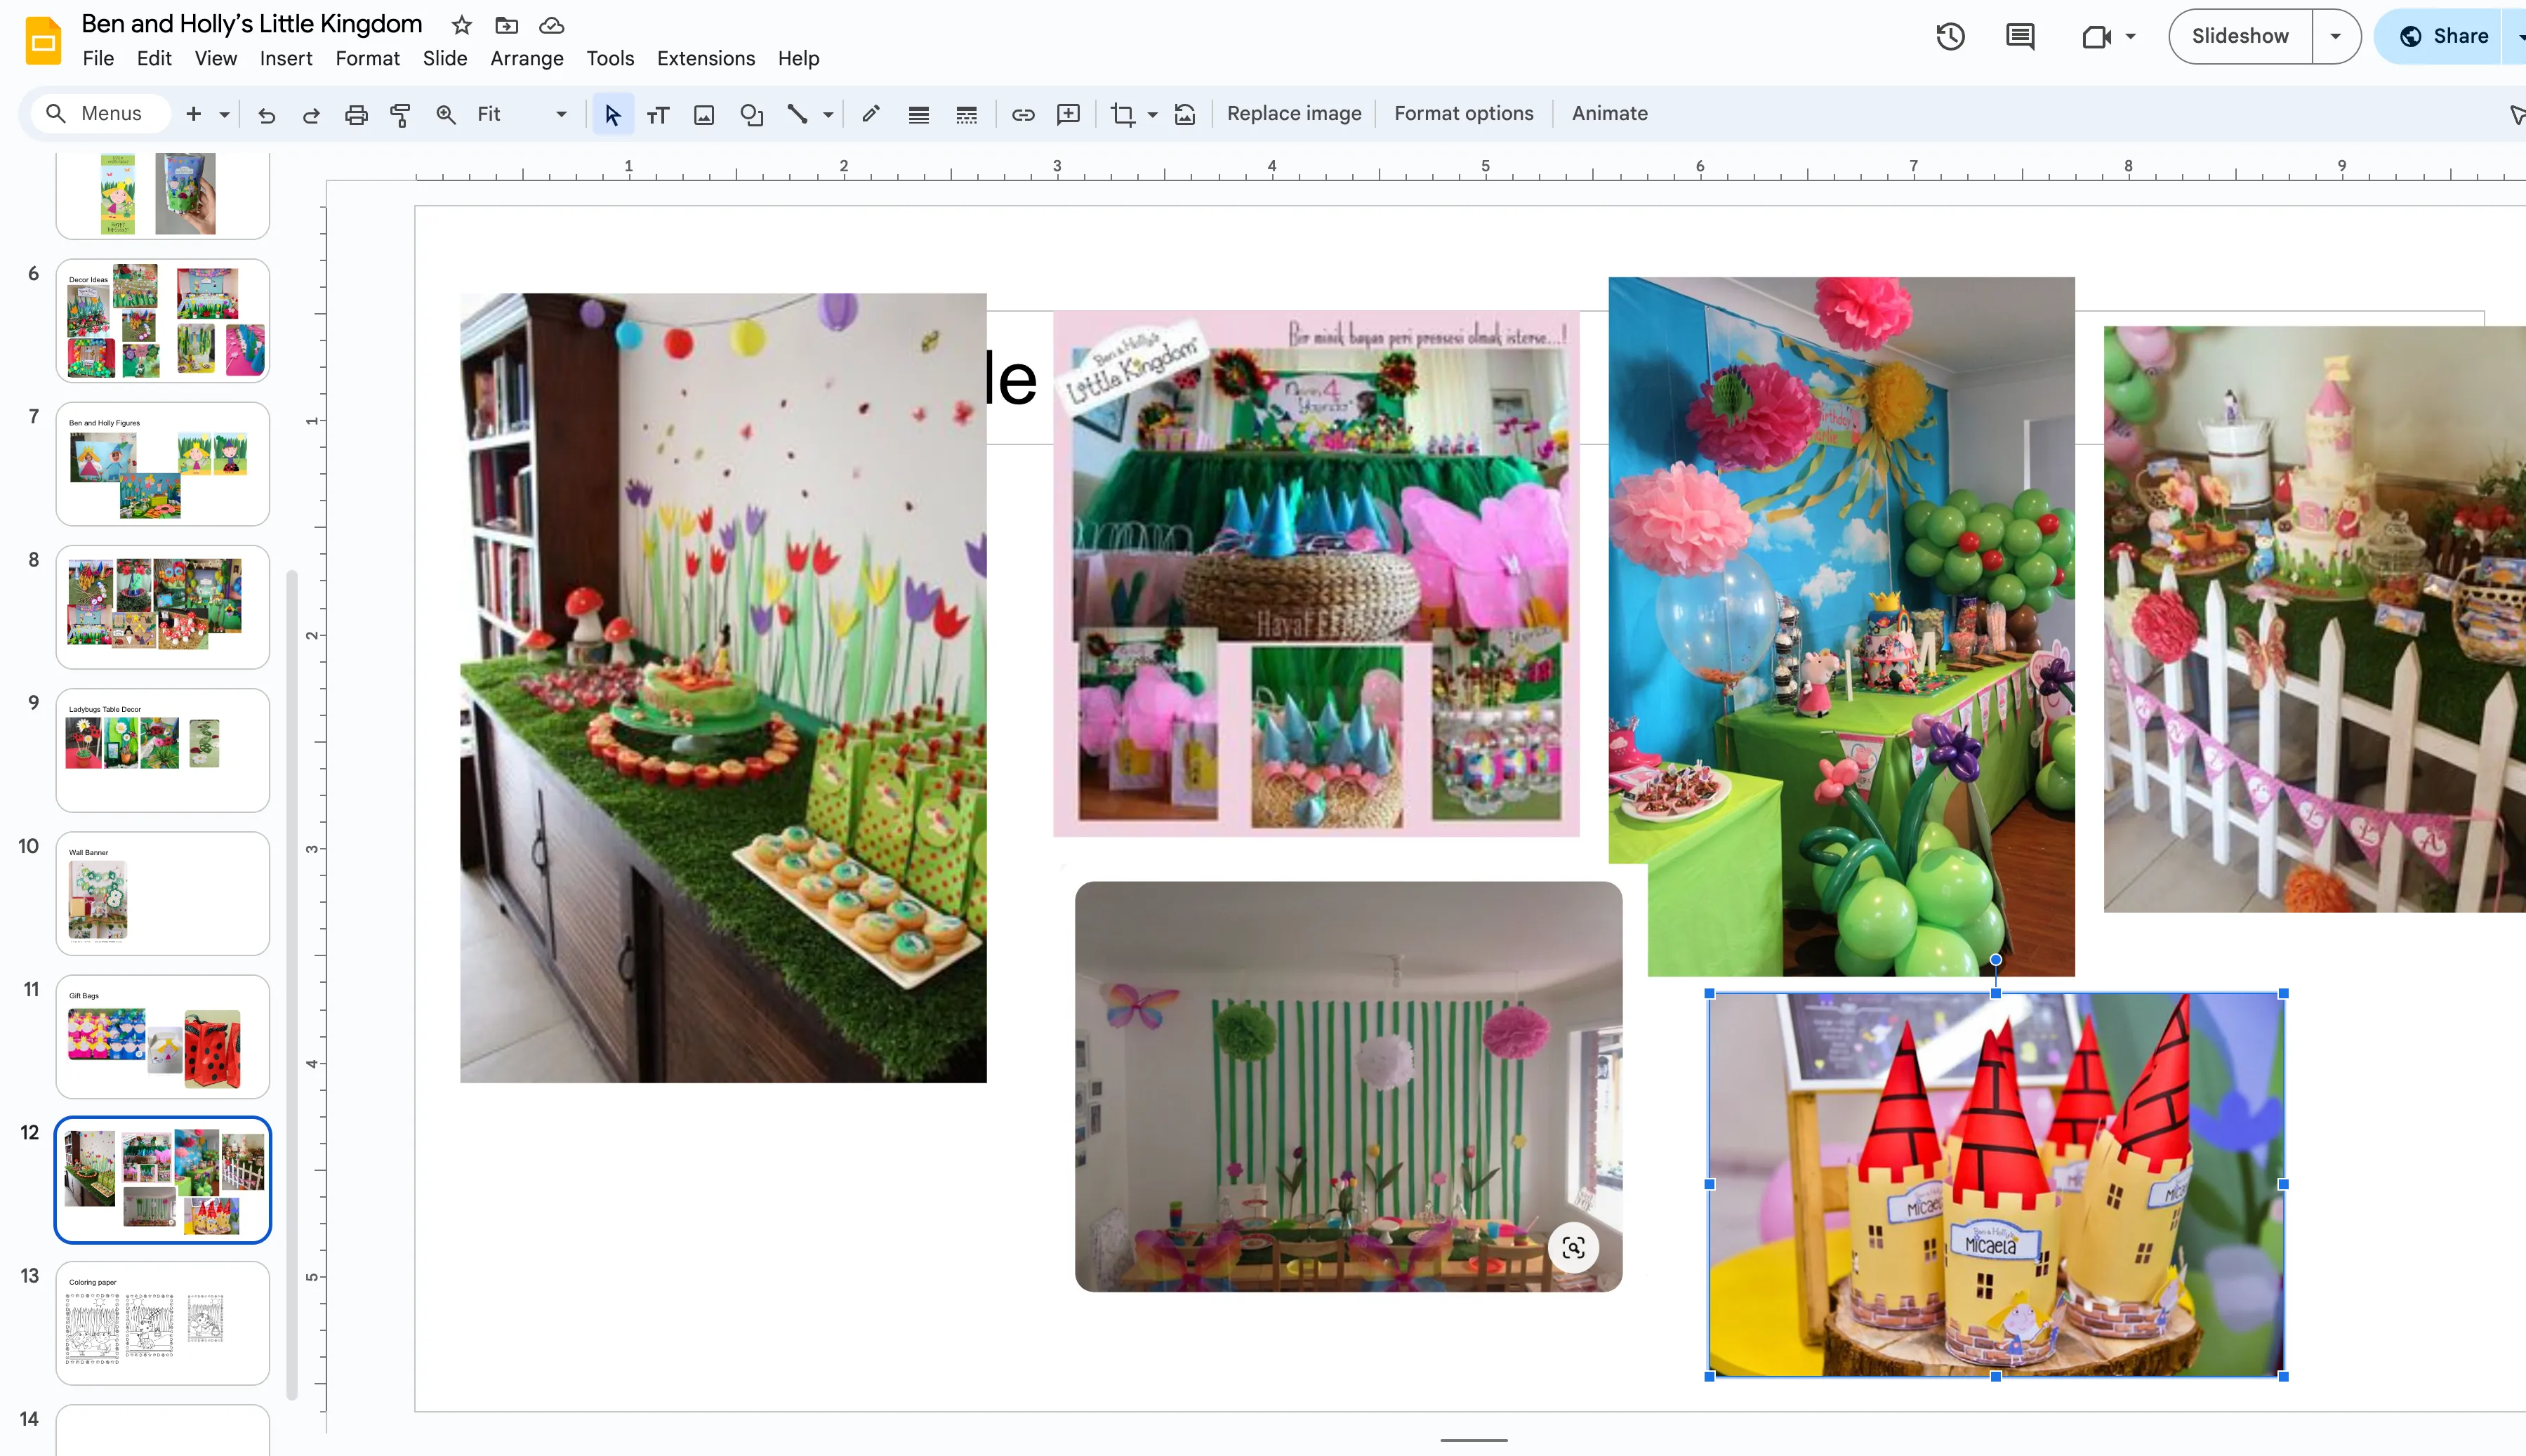
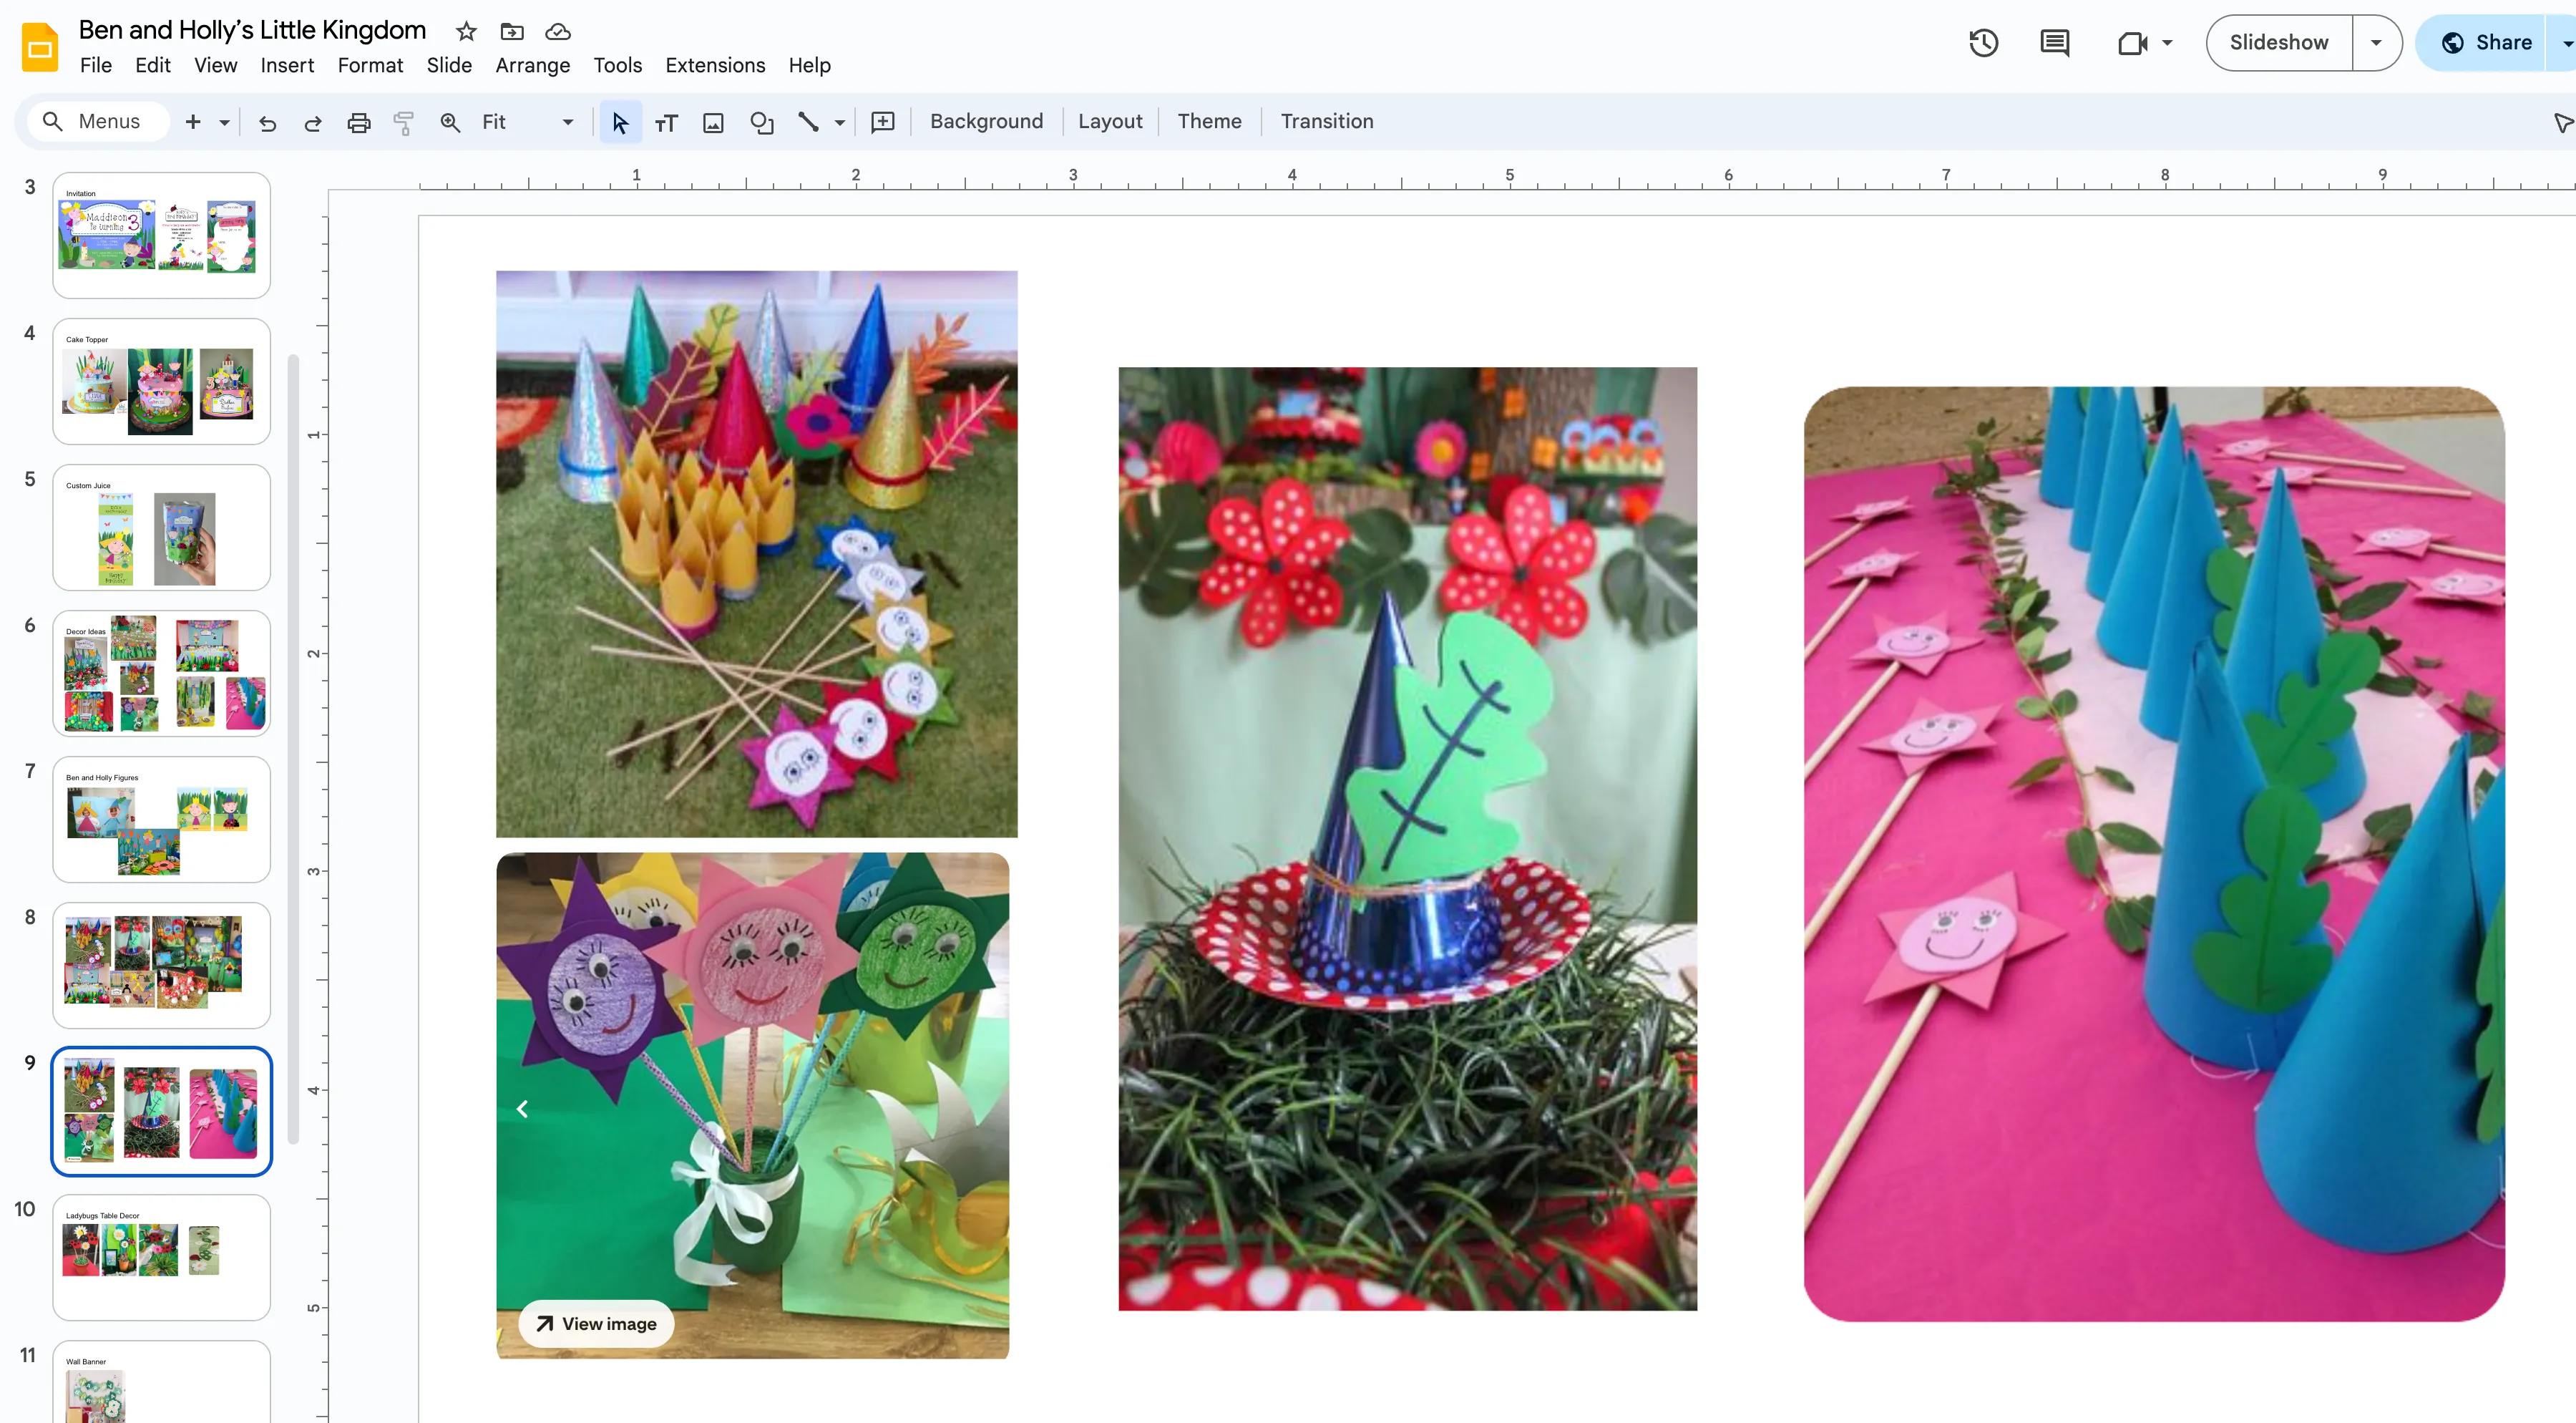
I began my project by looking for ideas on Pinterest (here is my board with pins) and created a visual presentation of my plans. I highly recommend doing this when planning any party; it helps structure your ideas.
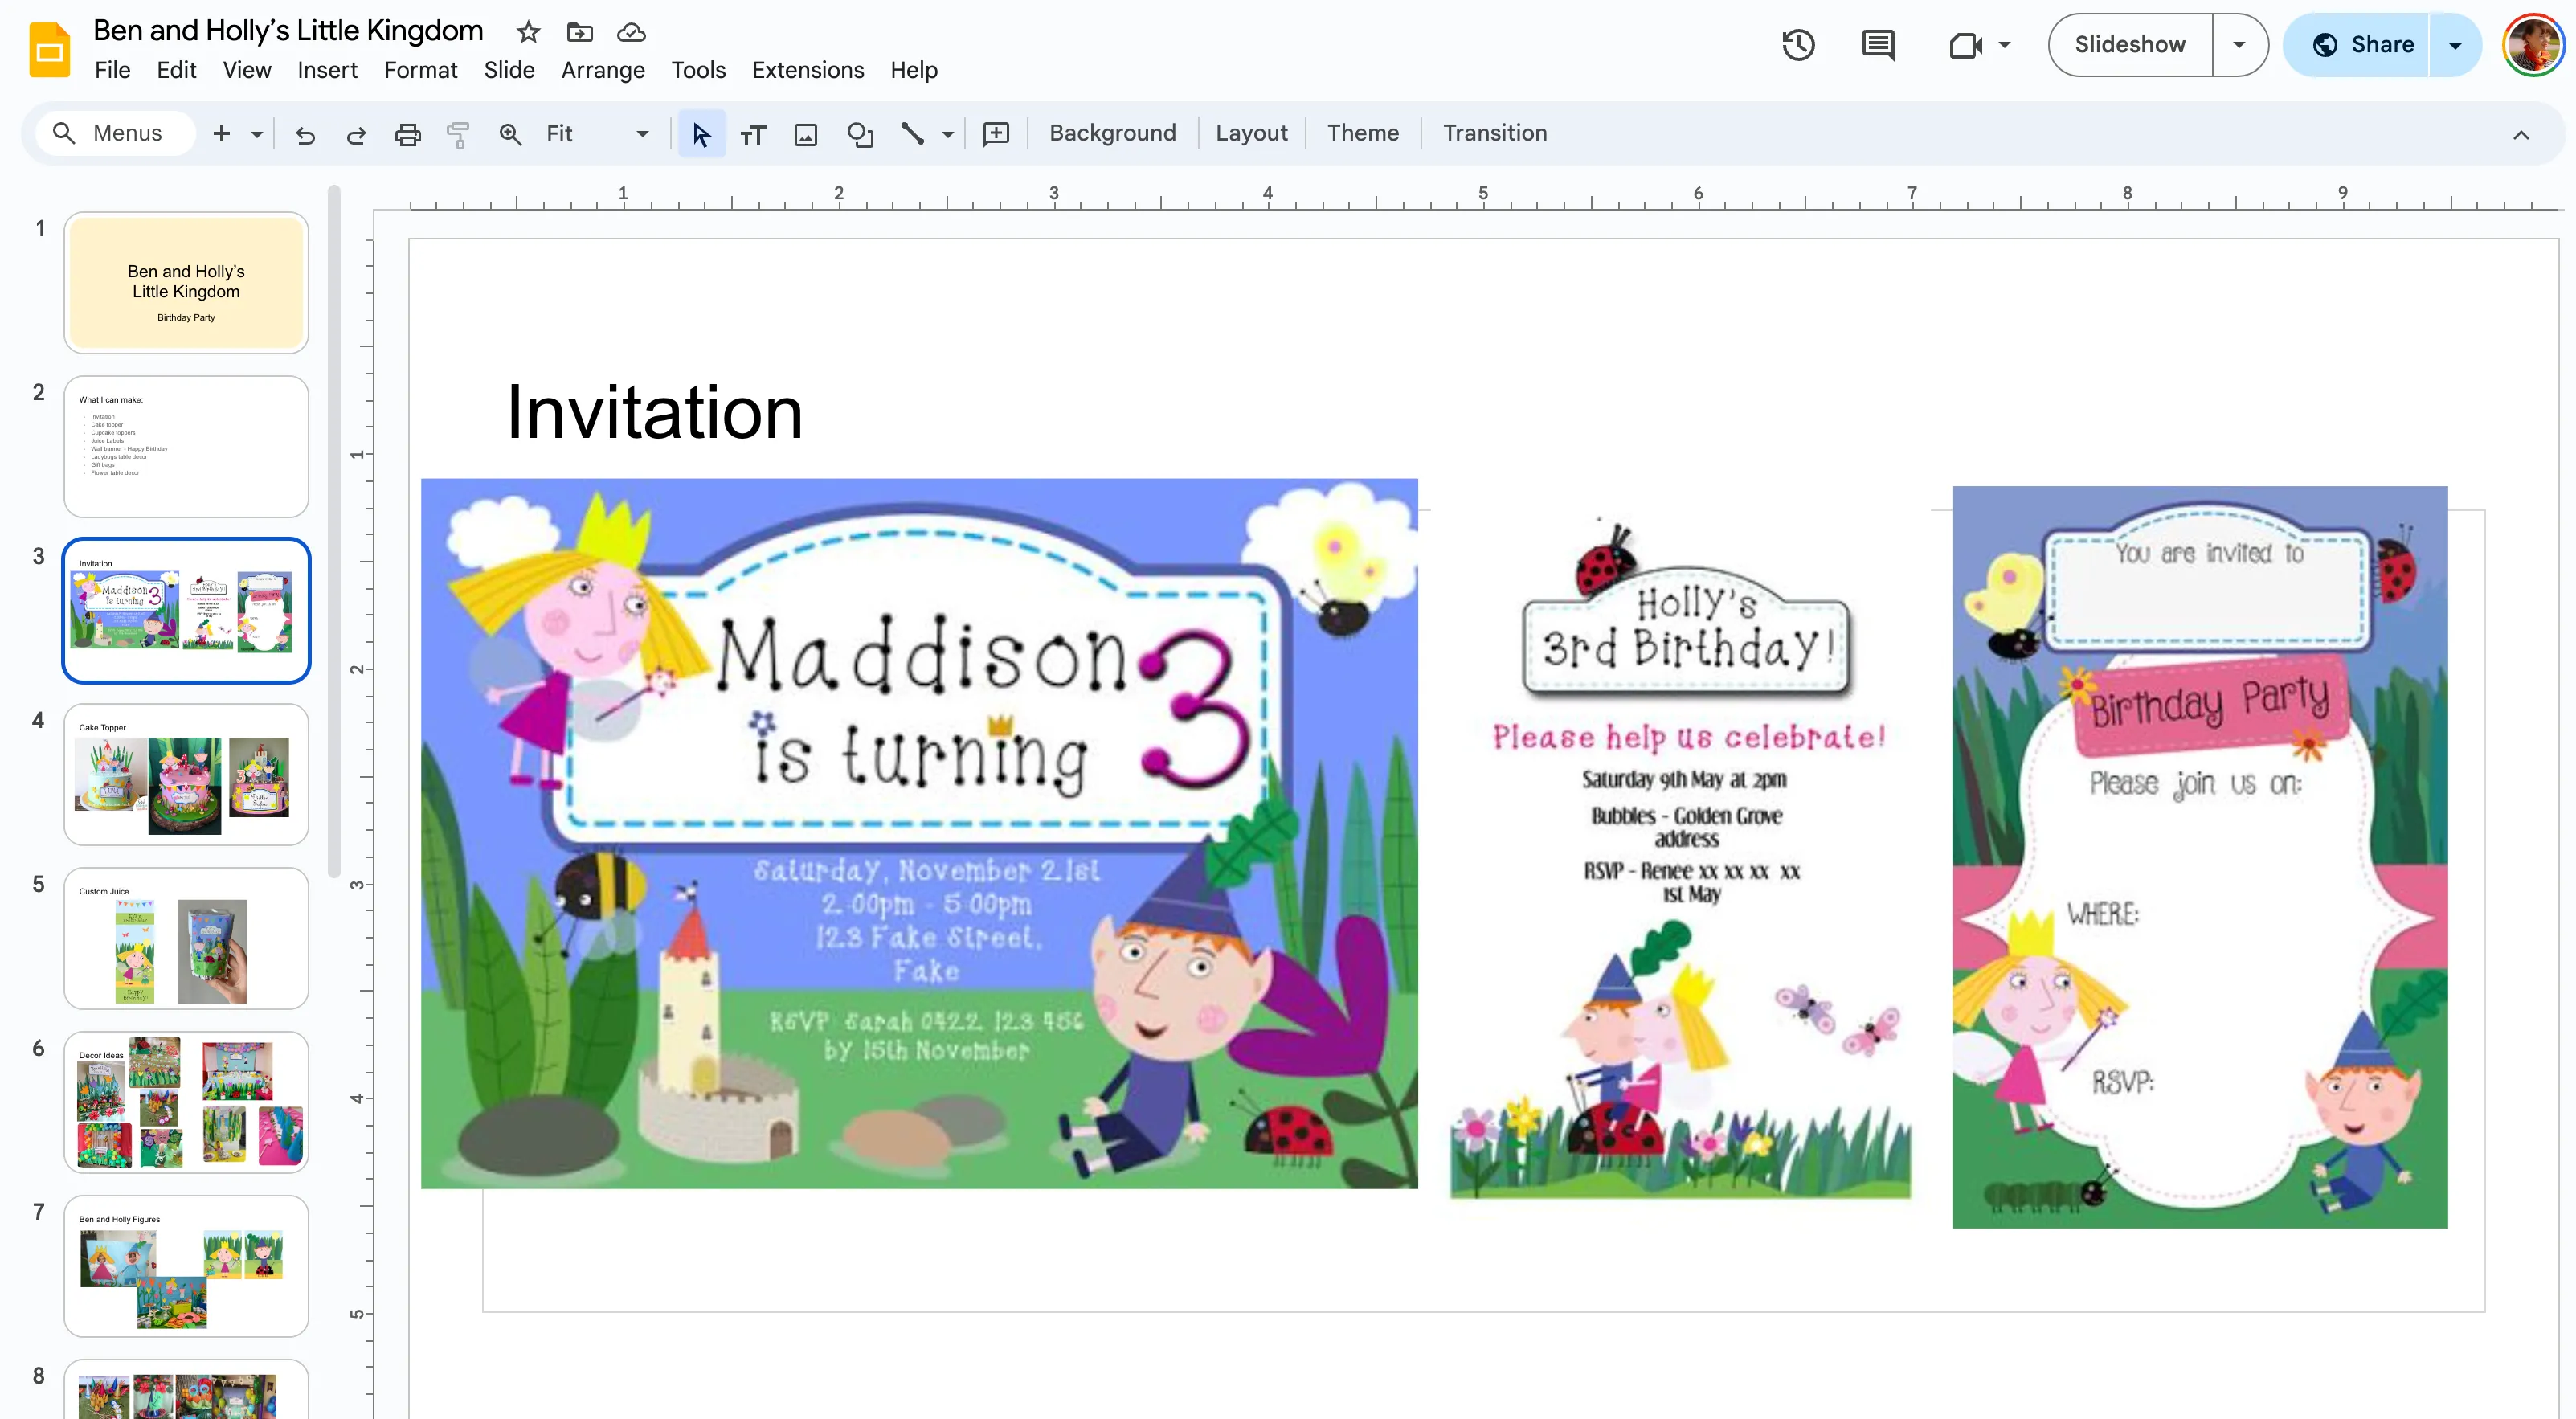
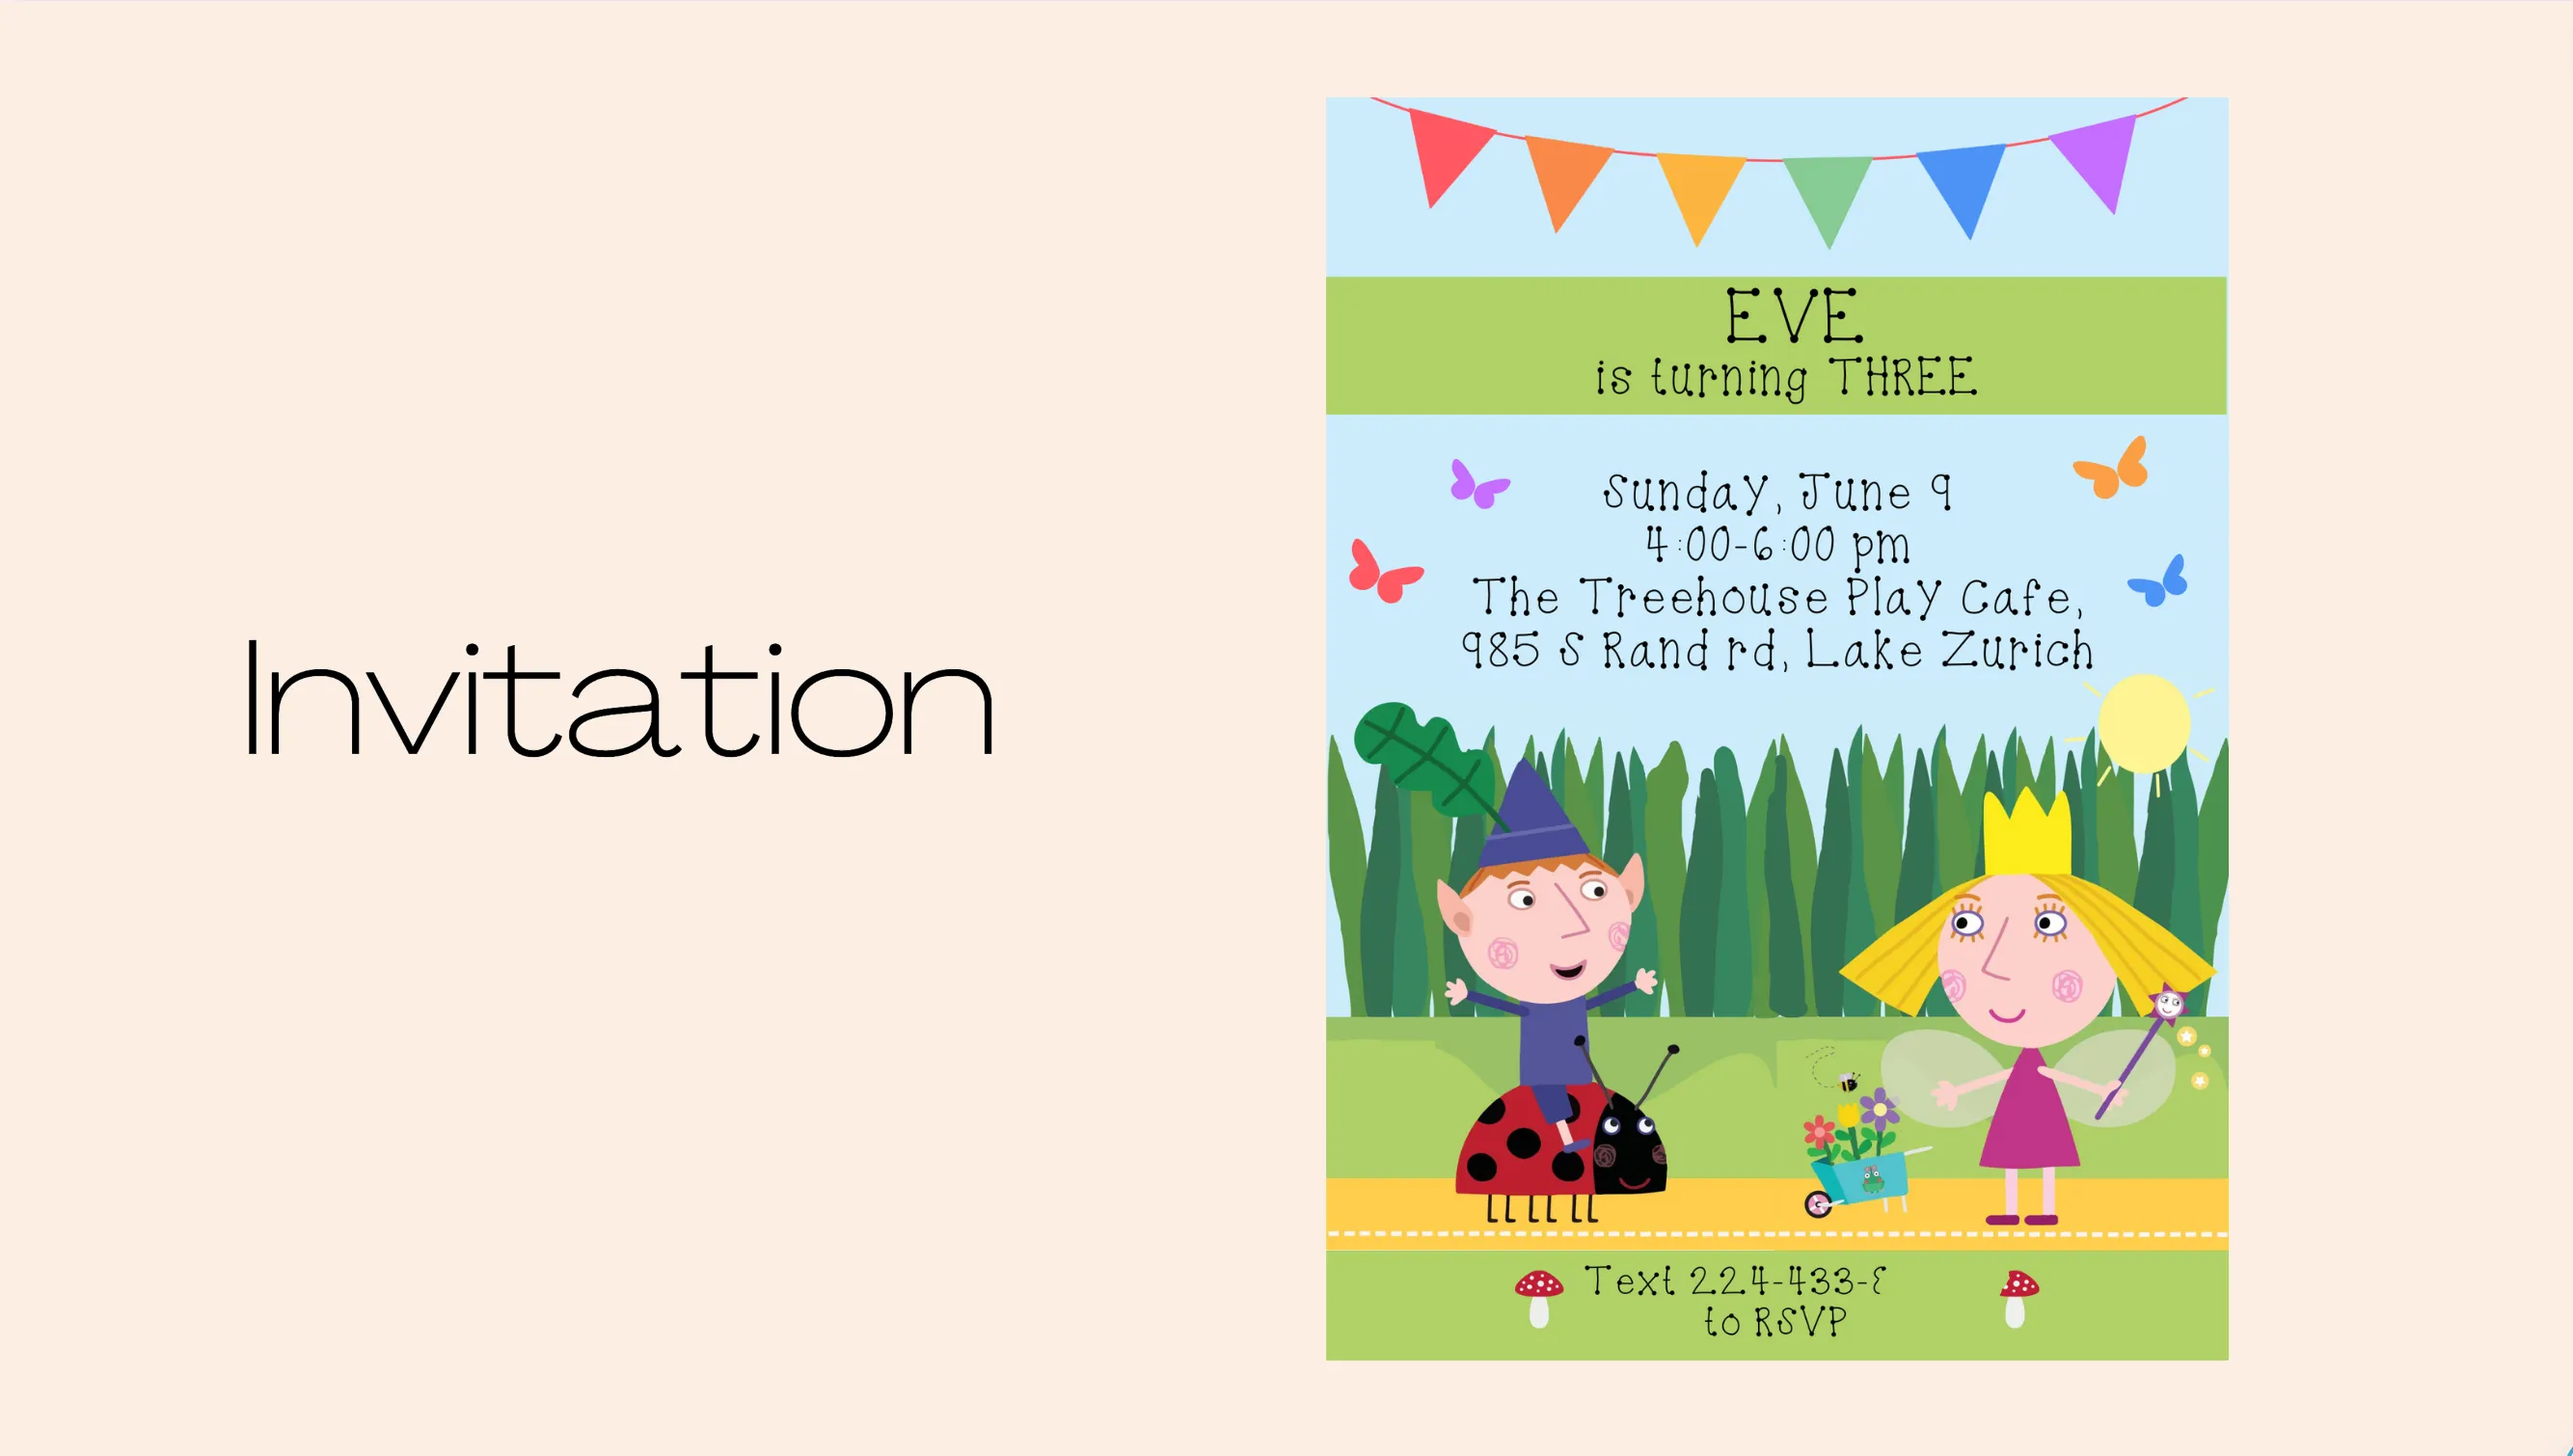
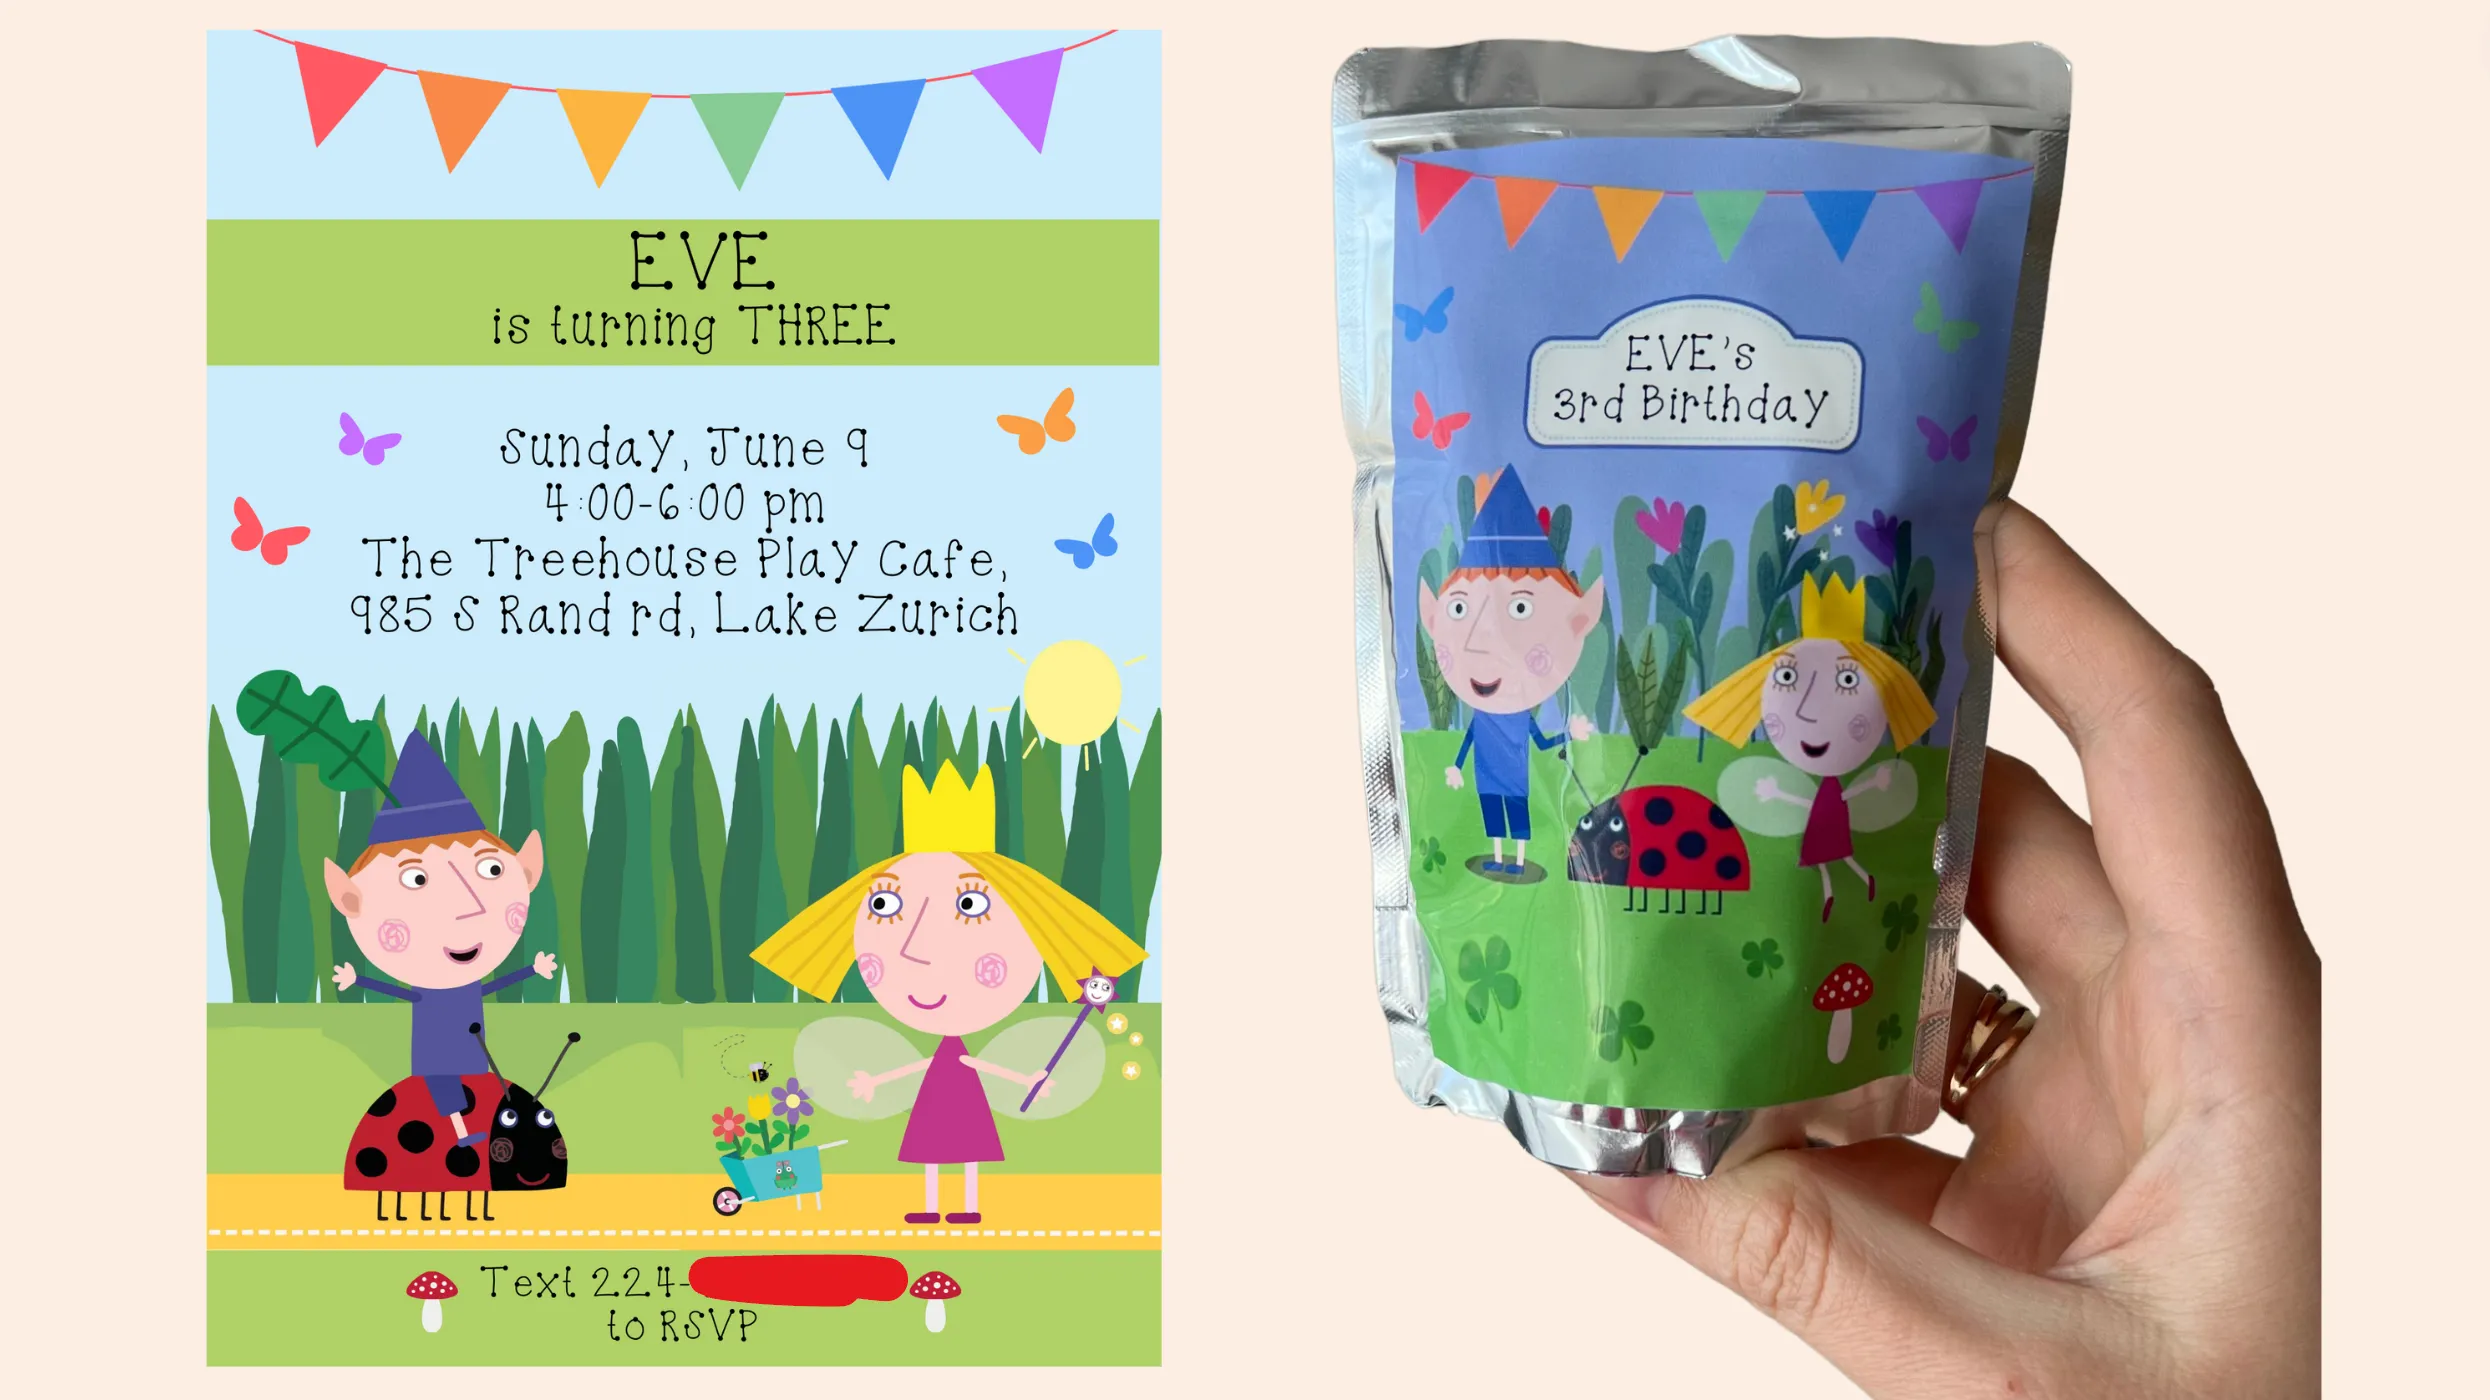
I started my project by creating the invitation. Here are my inspiration examples and my final design, which includes all the party details: date, time, and location. If you want to order my design and then print this invitation or send it as a digital file, you can text me here.
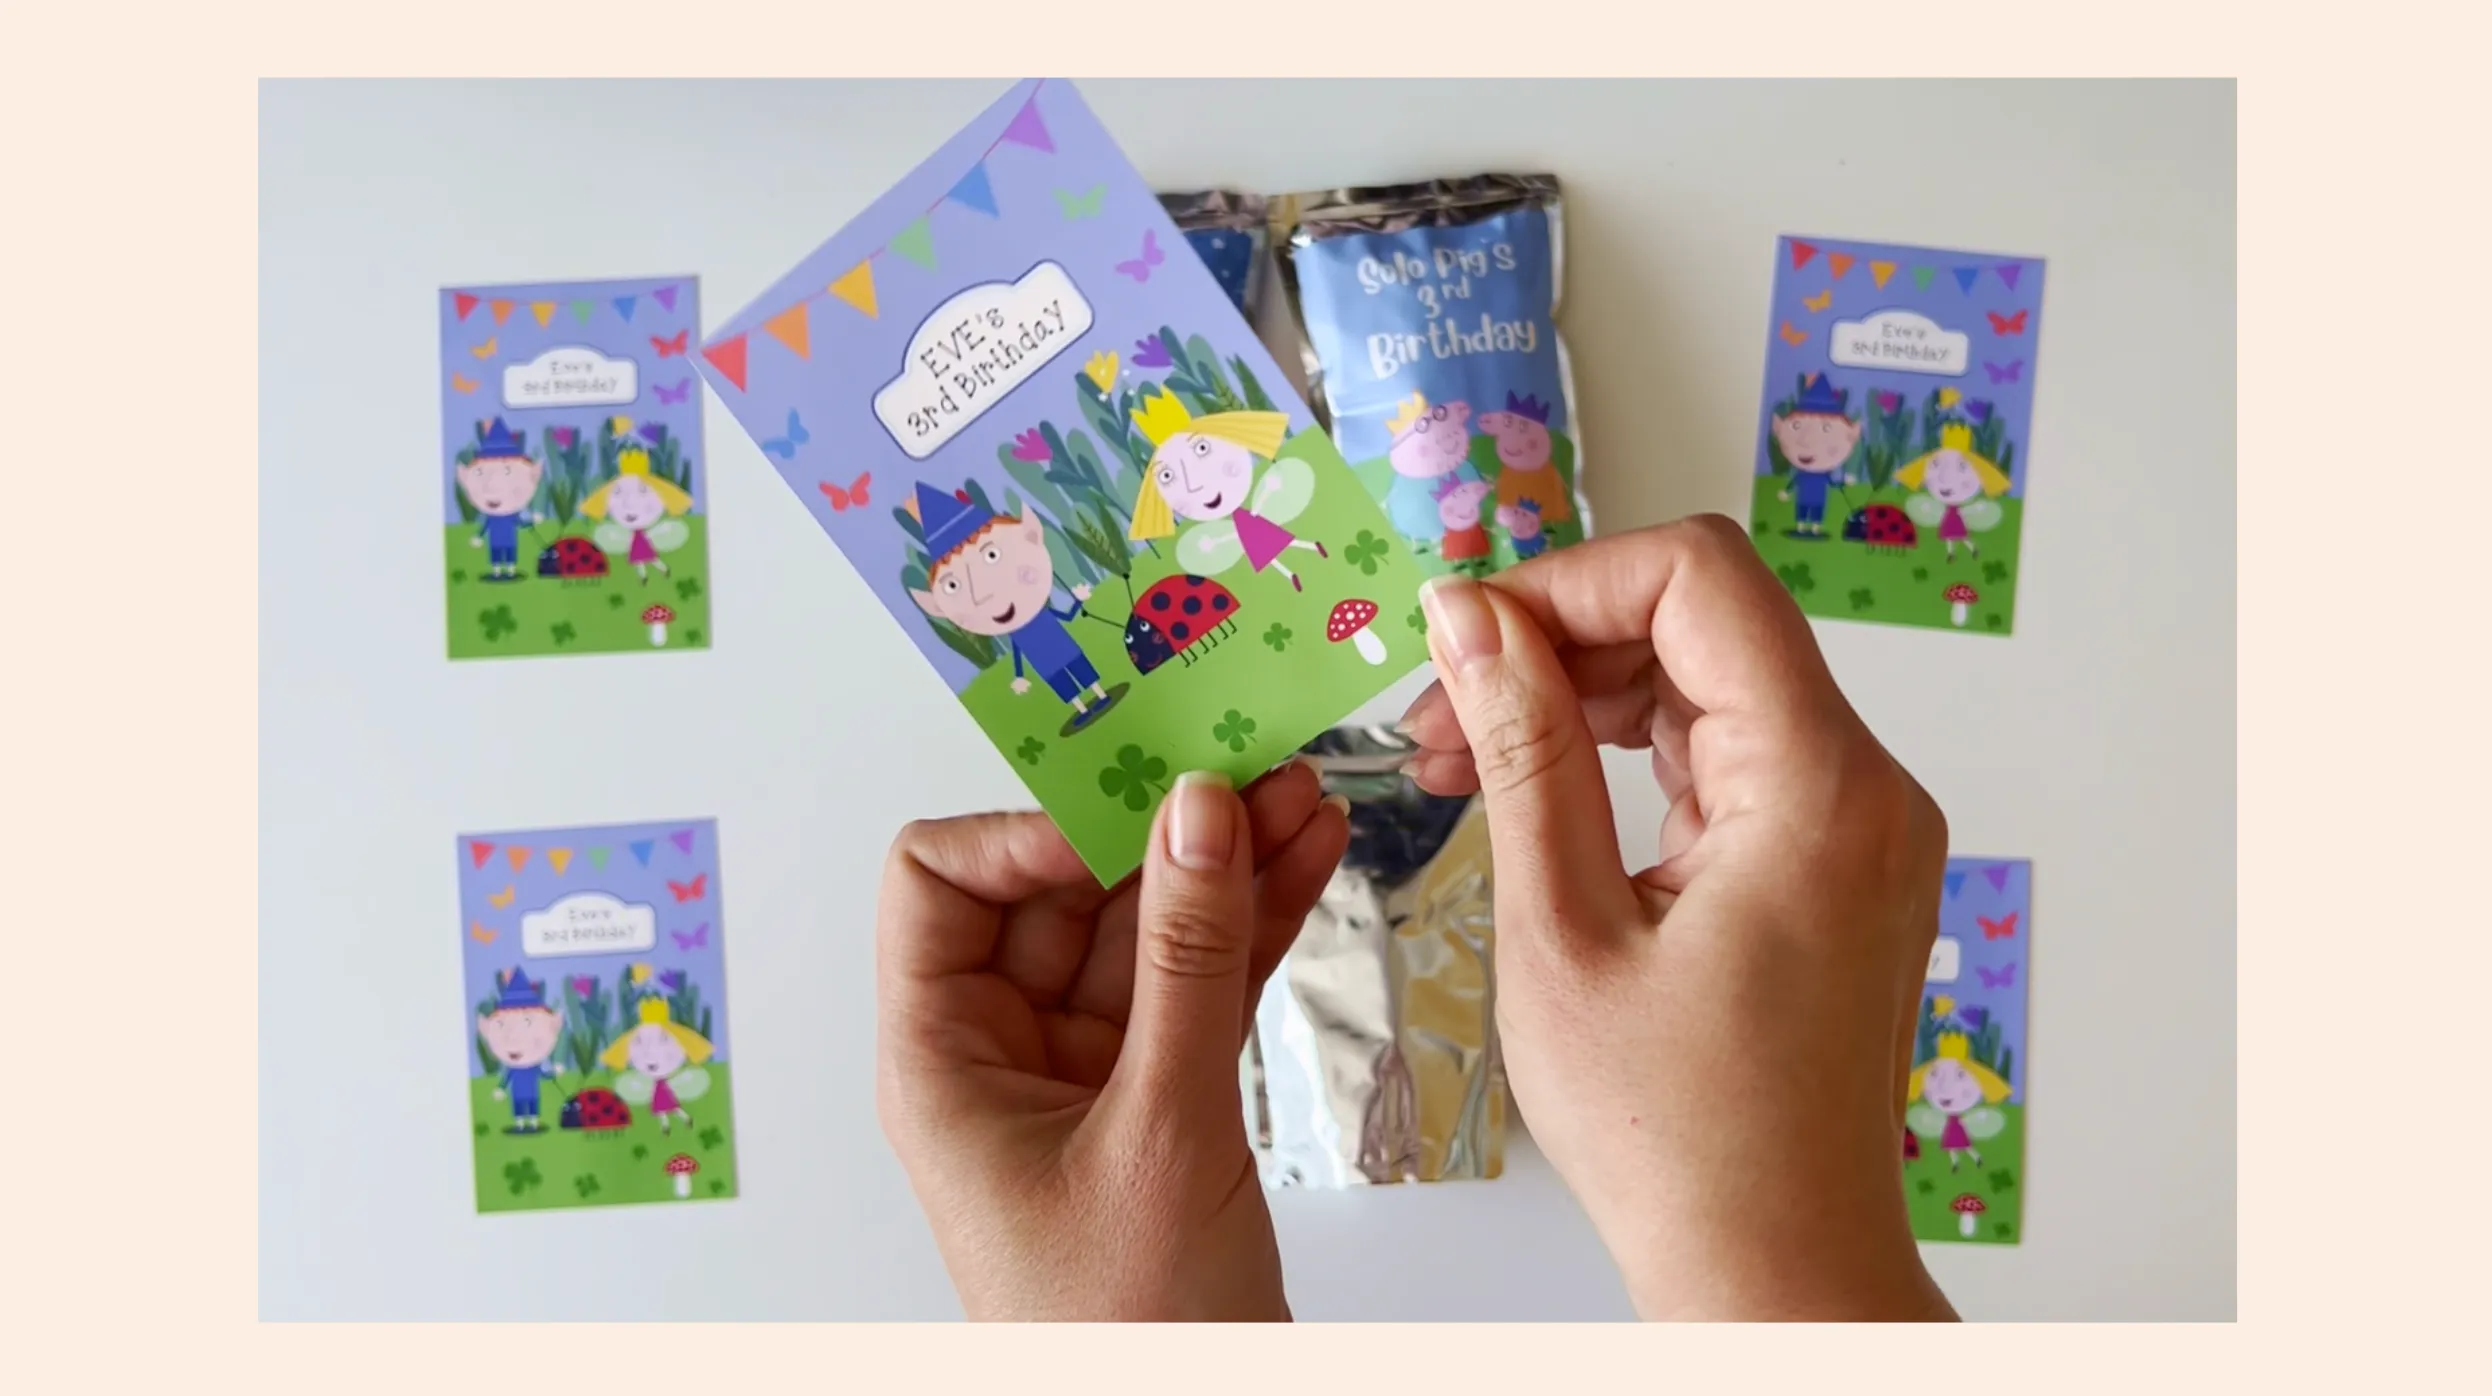
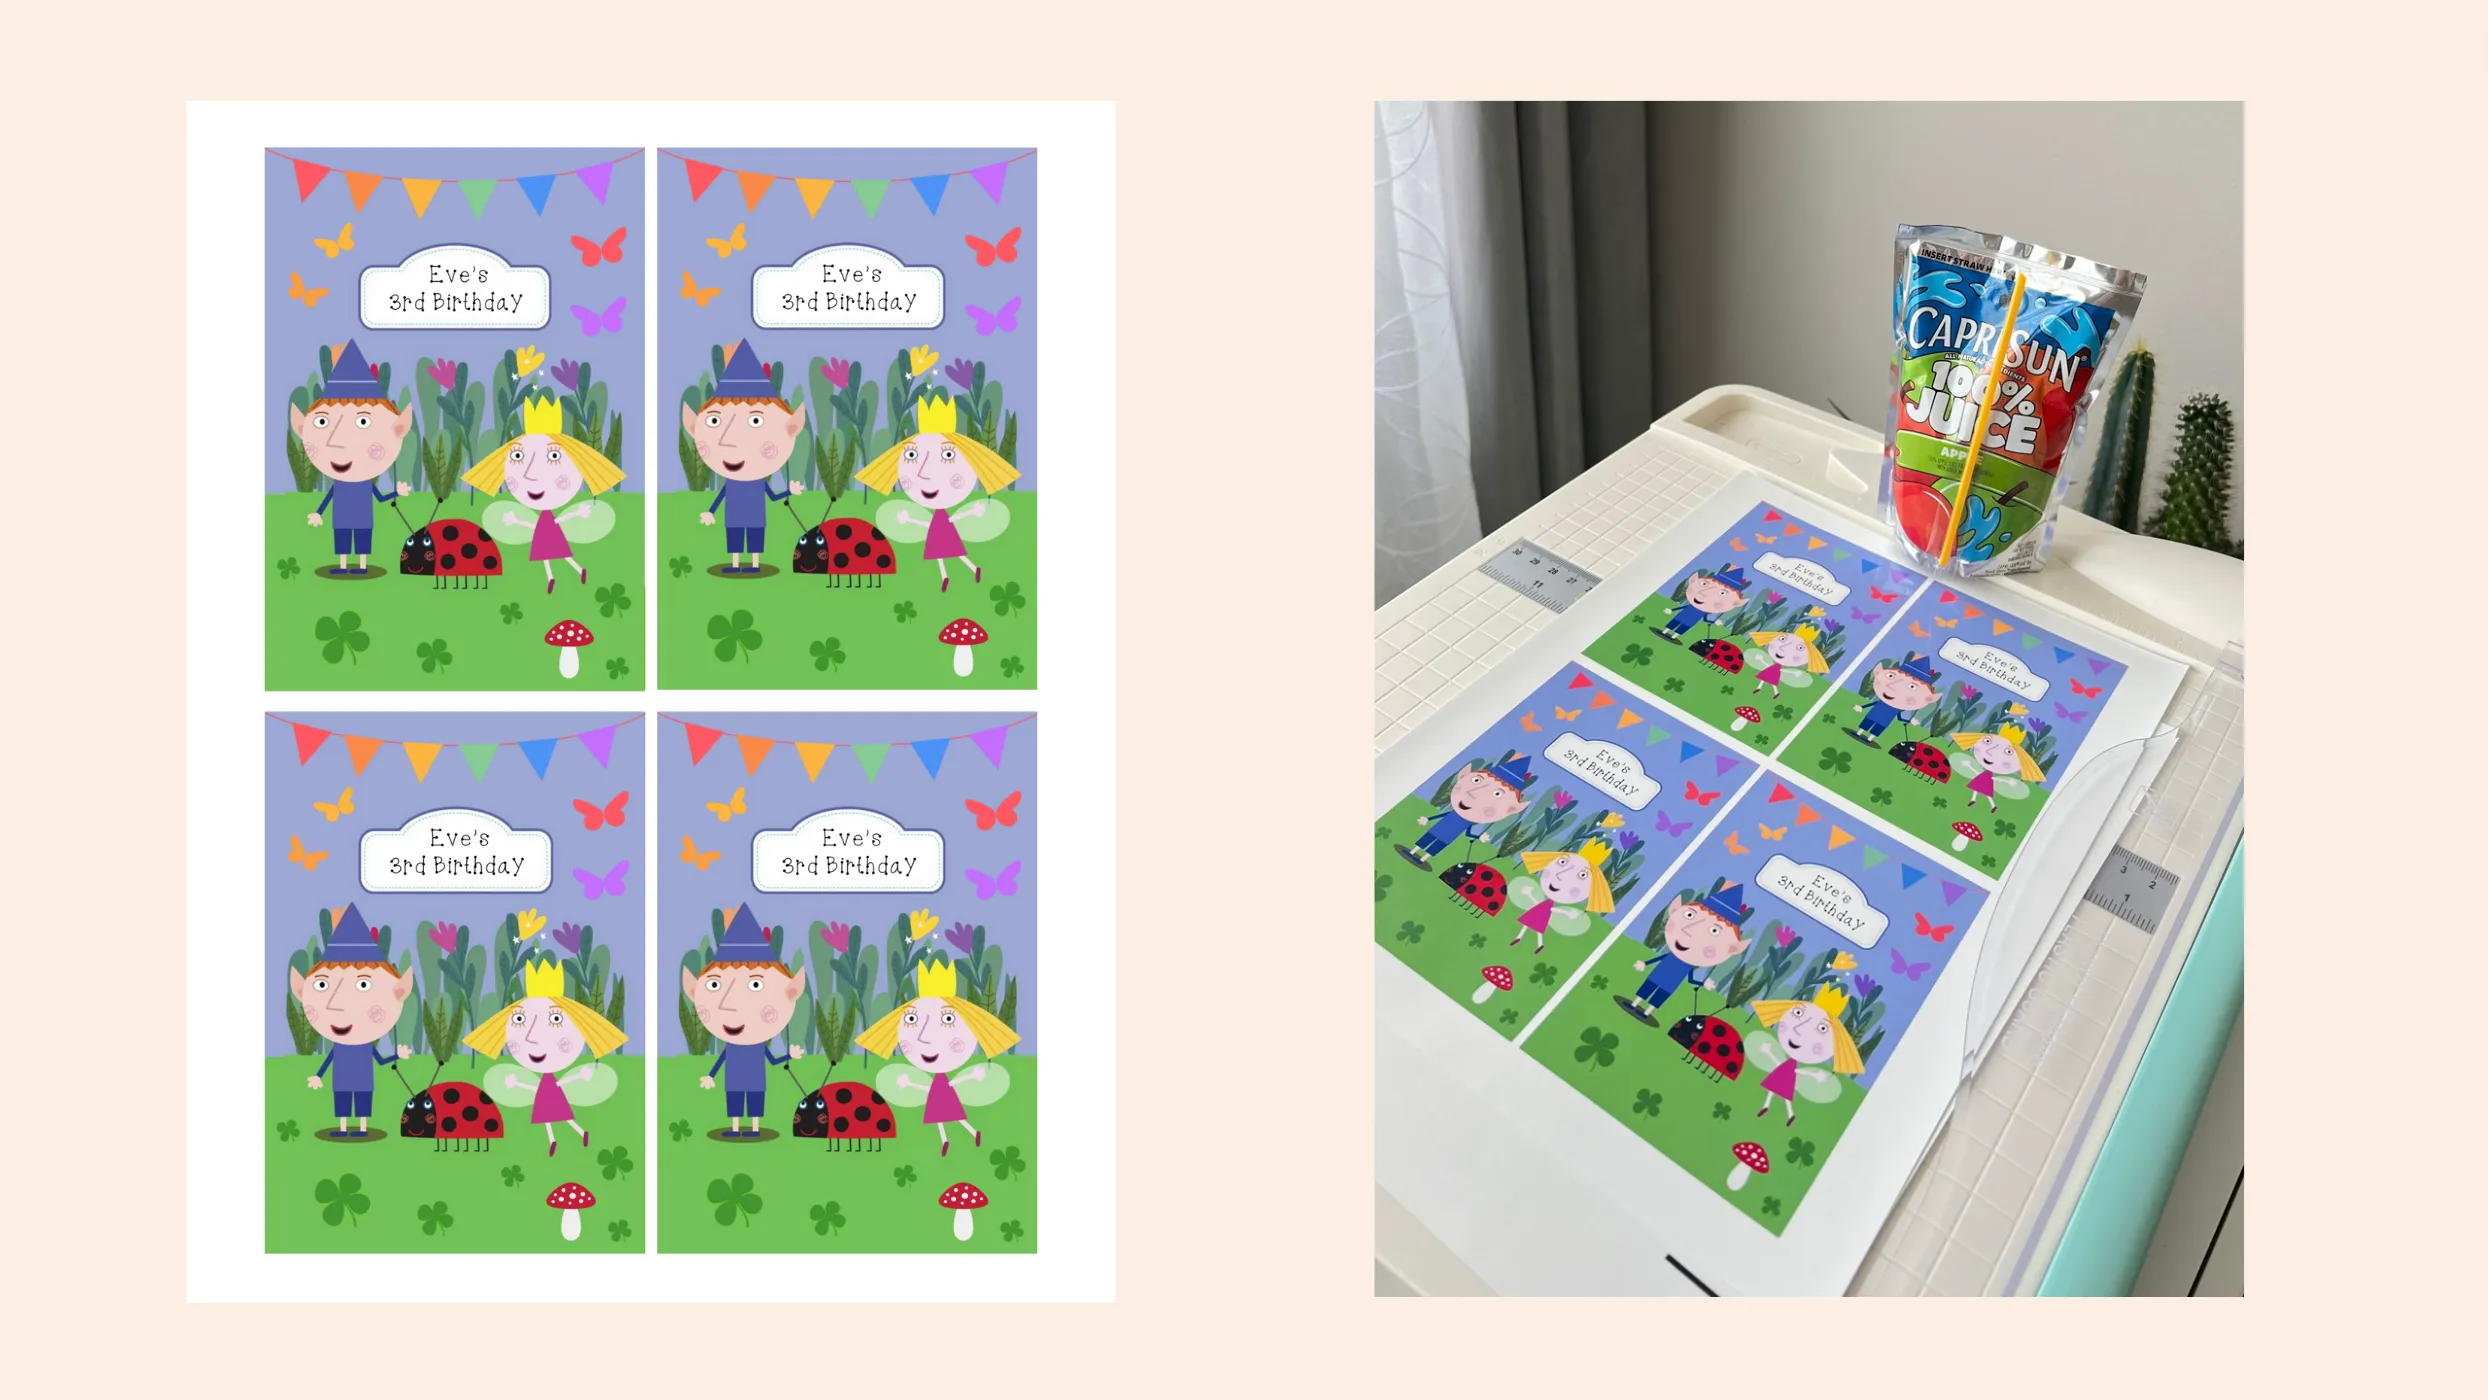
Next, I made custom juice labels. I already posted a step-by-step tutorial on how to make these labels in Canva and what materials to use. You can find the full tutorial here.
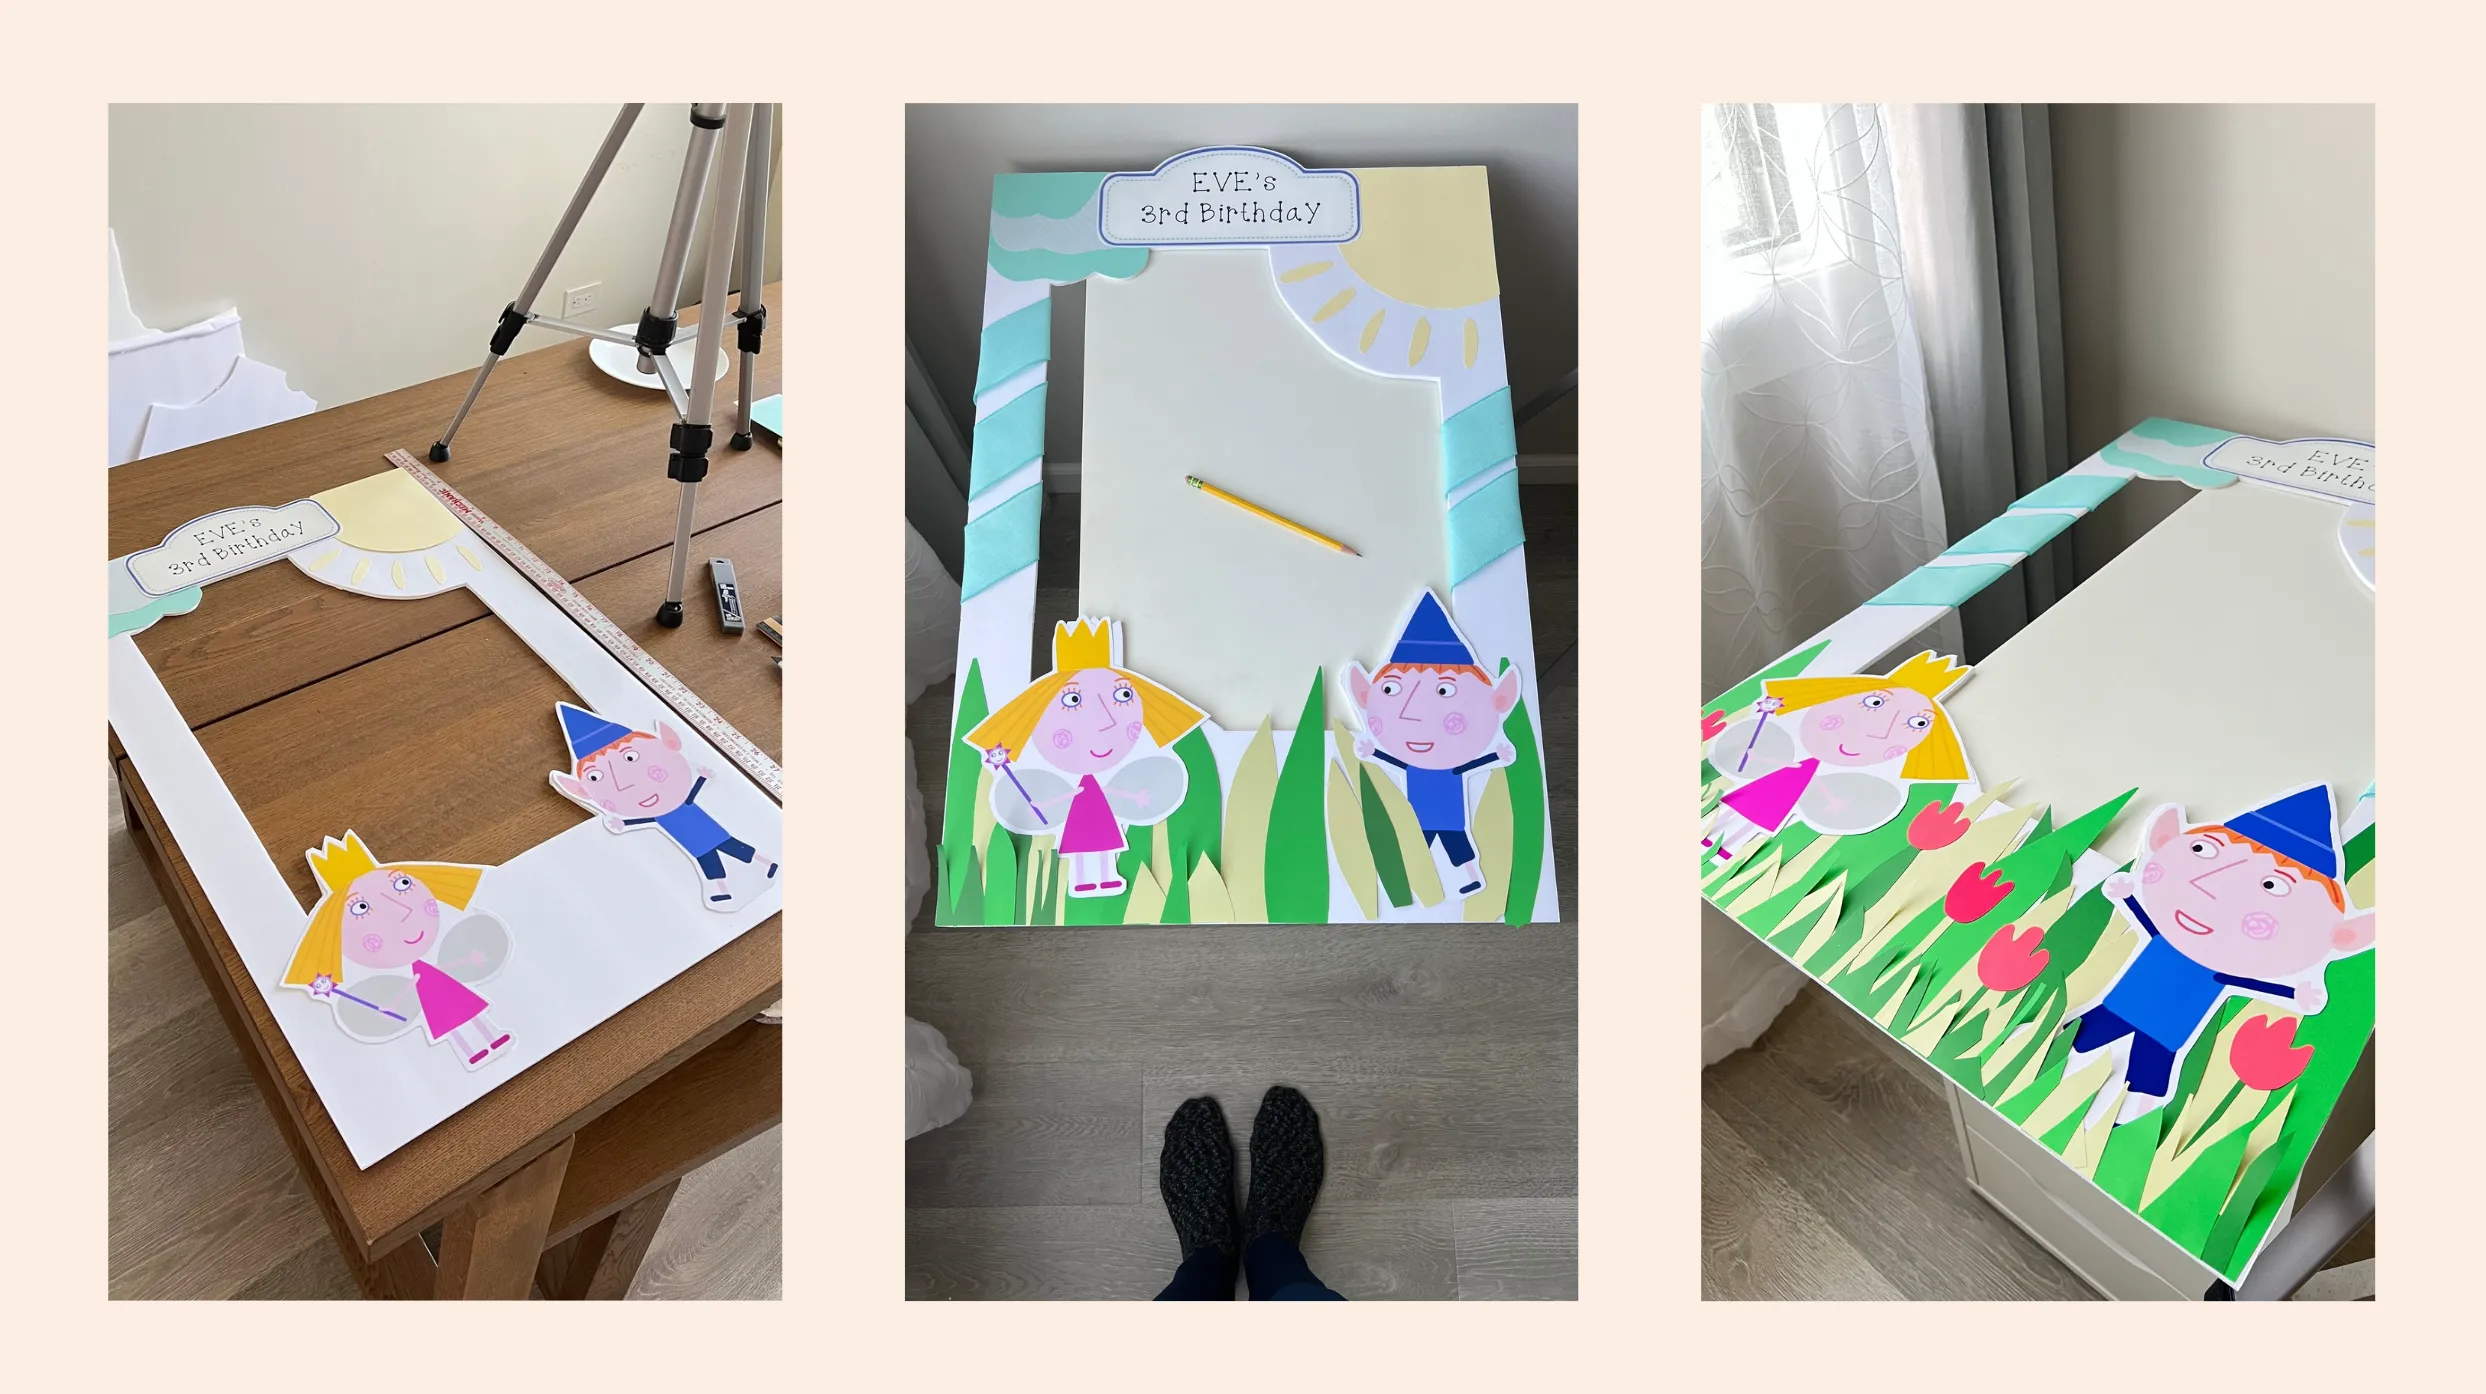
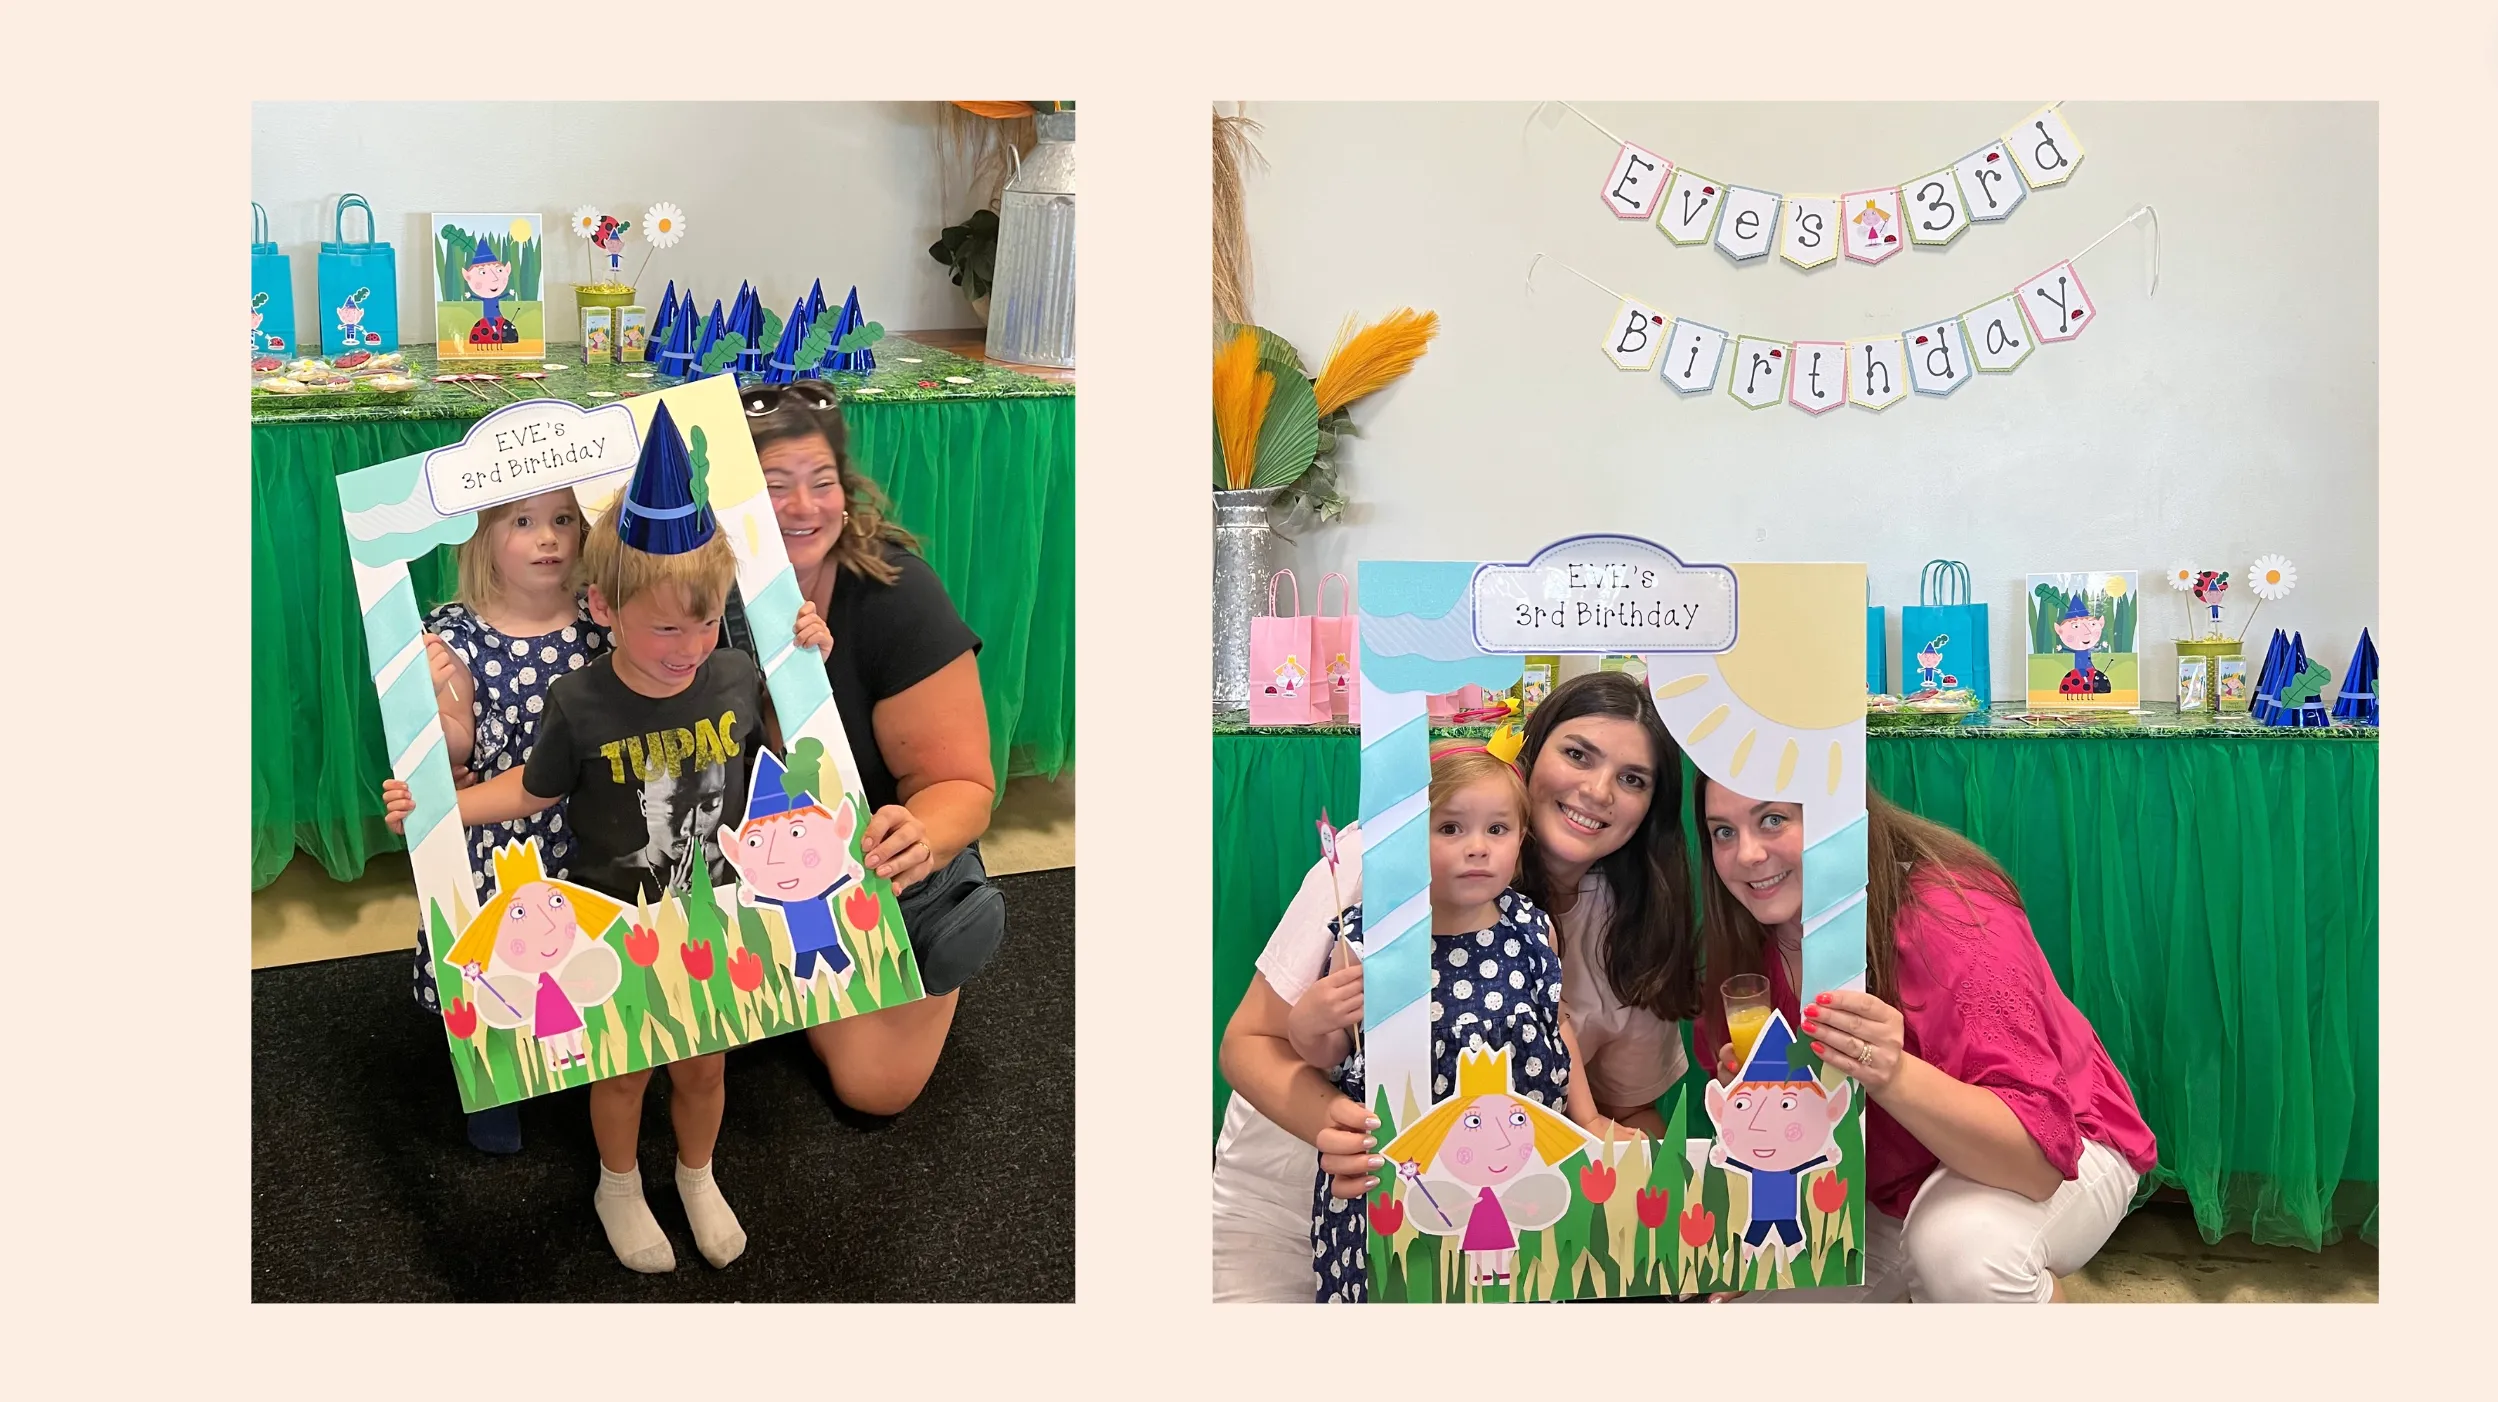
The next project was the guest photo frame. You can find a detailed tutorial on my channel here. It was a lot of fun when the guests happily posed for memories.

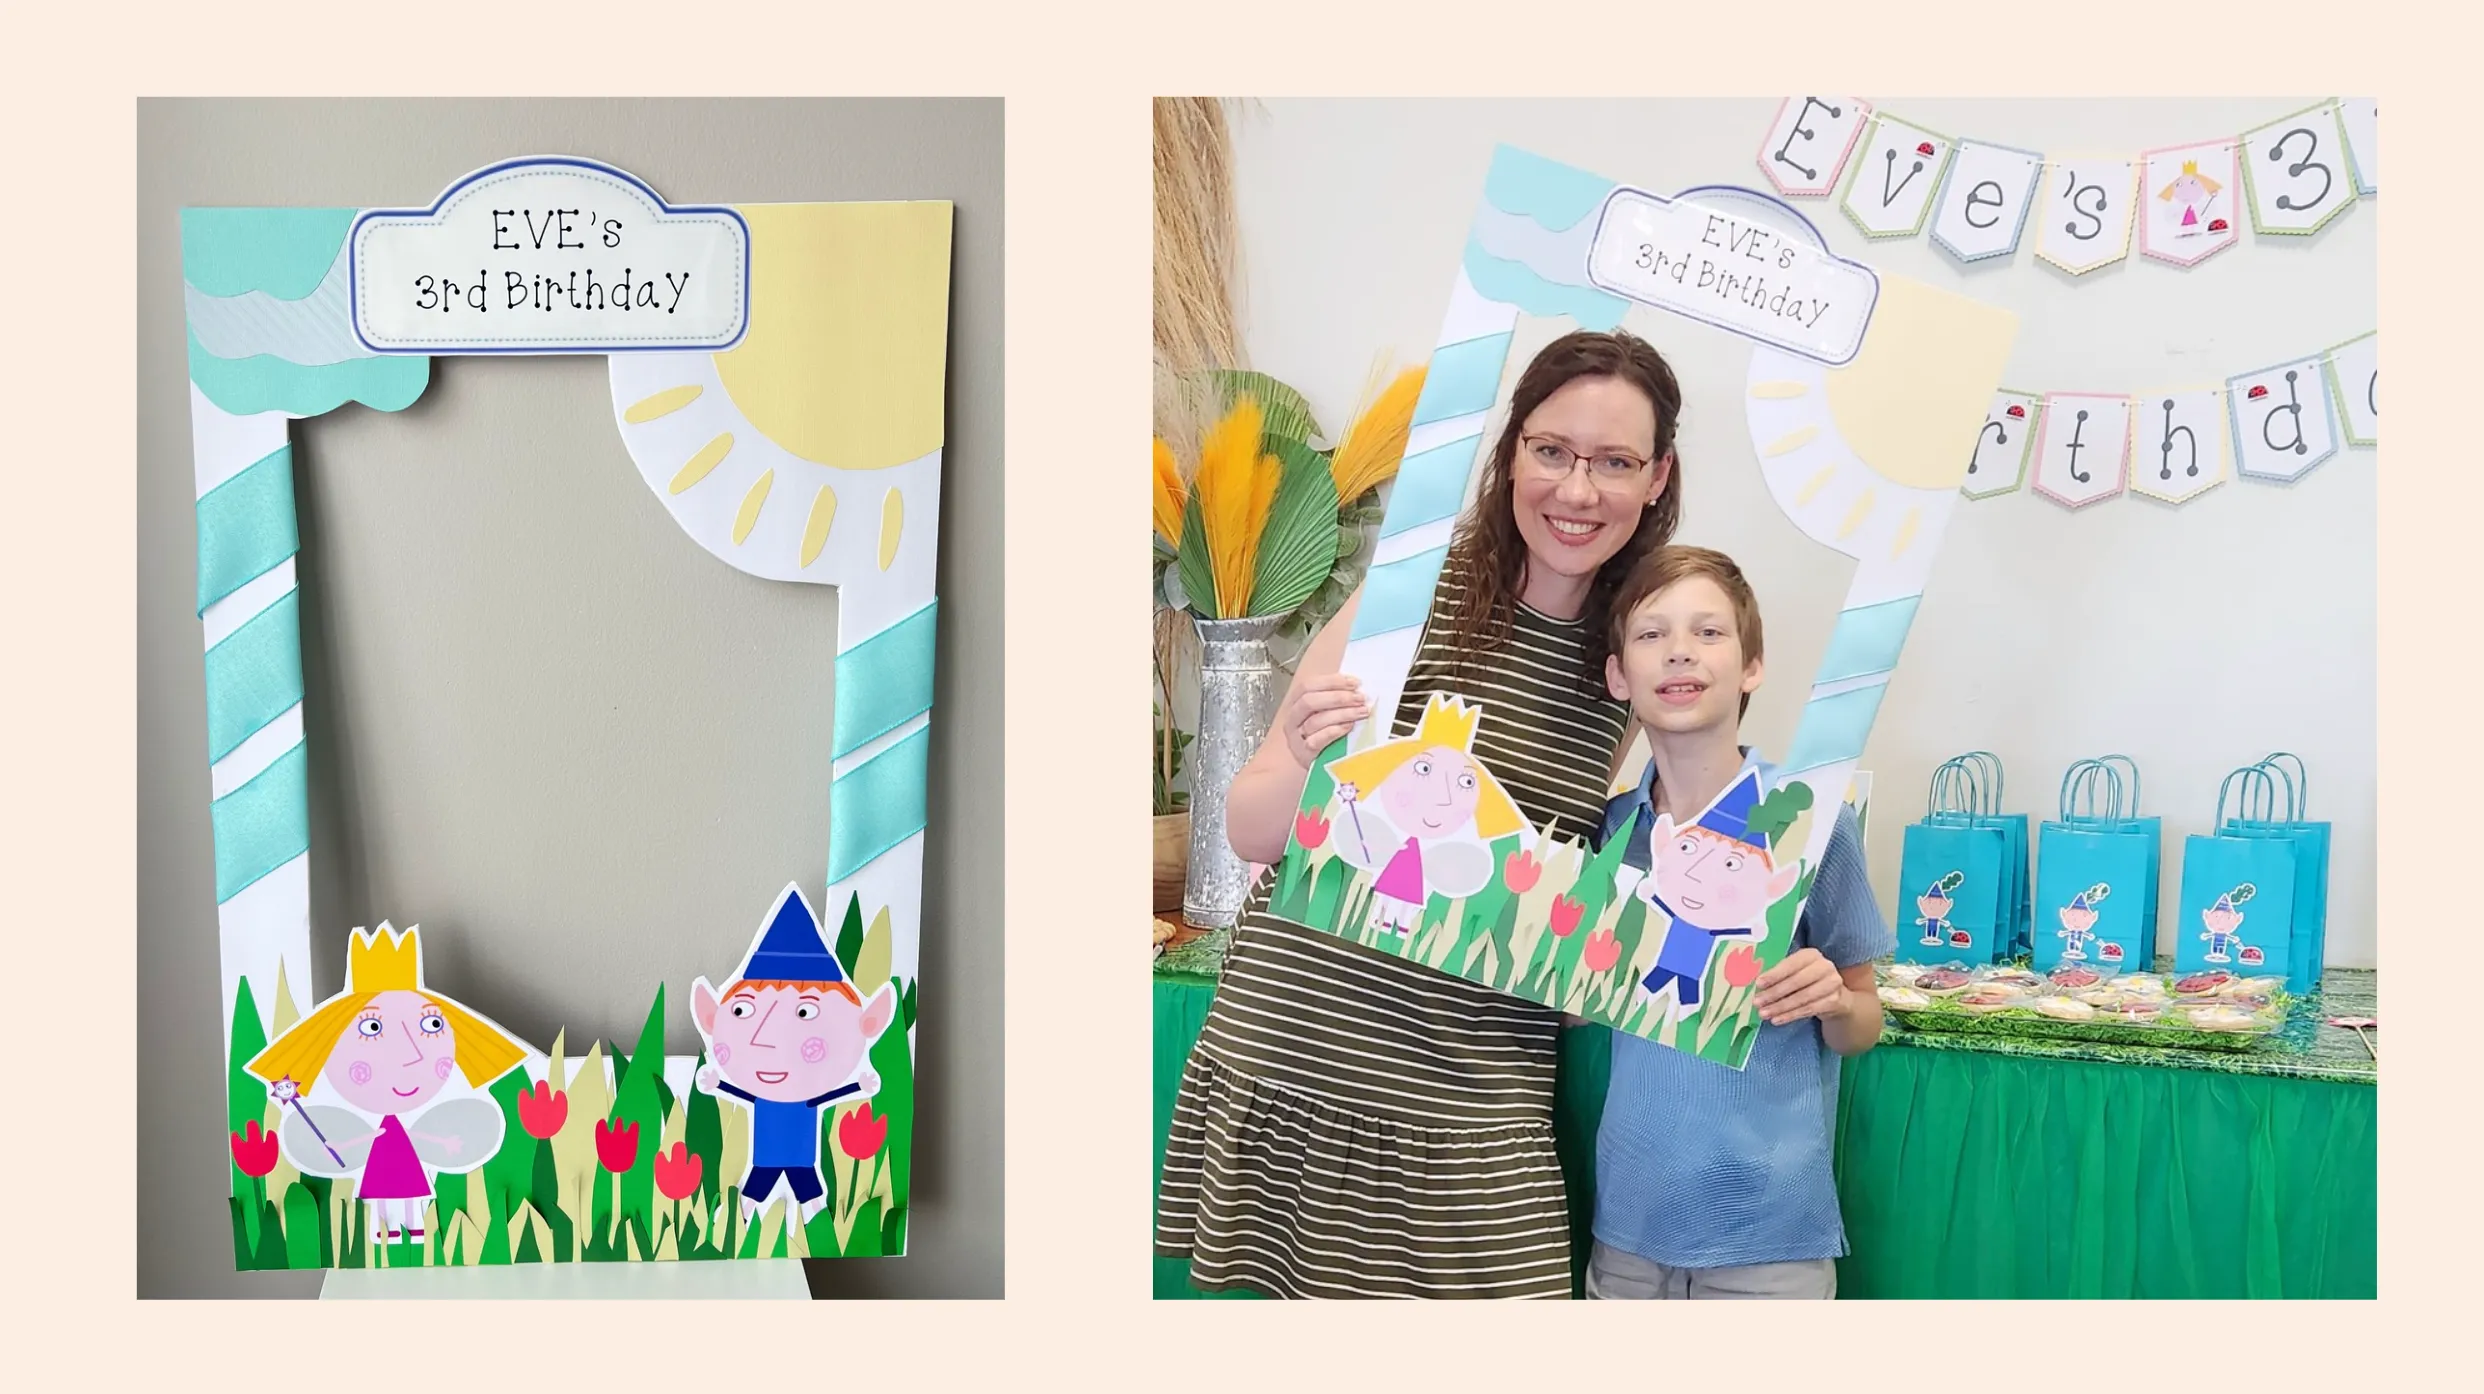
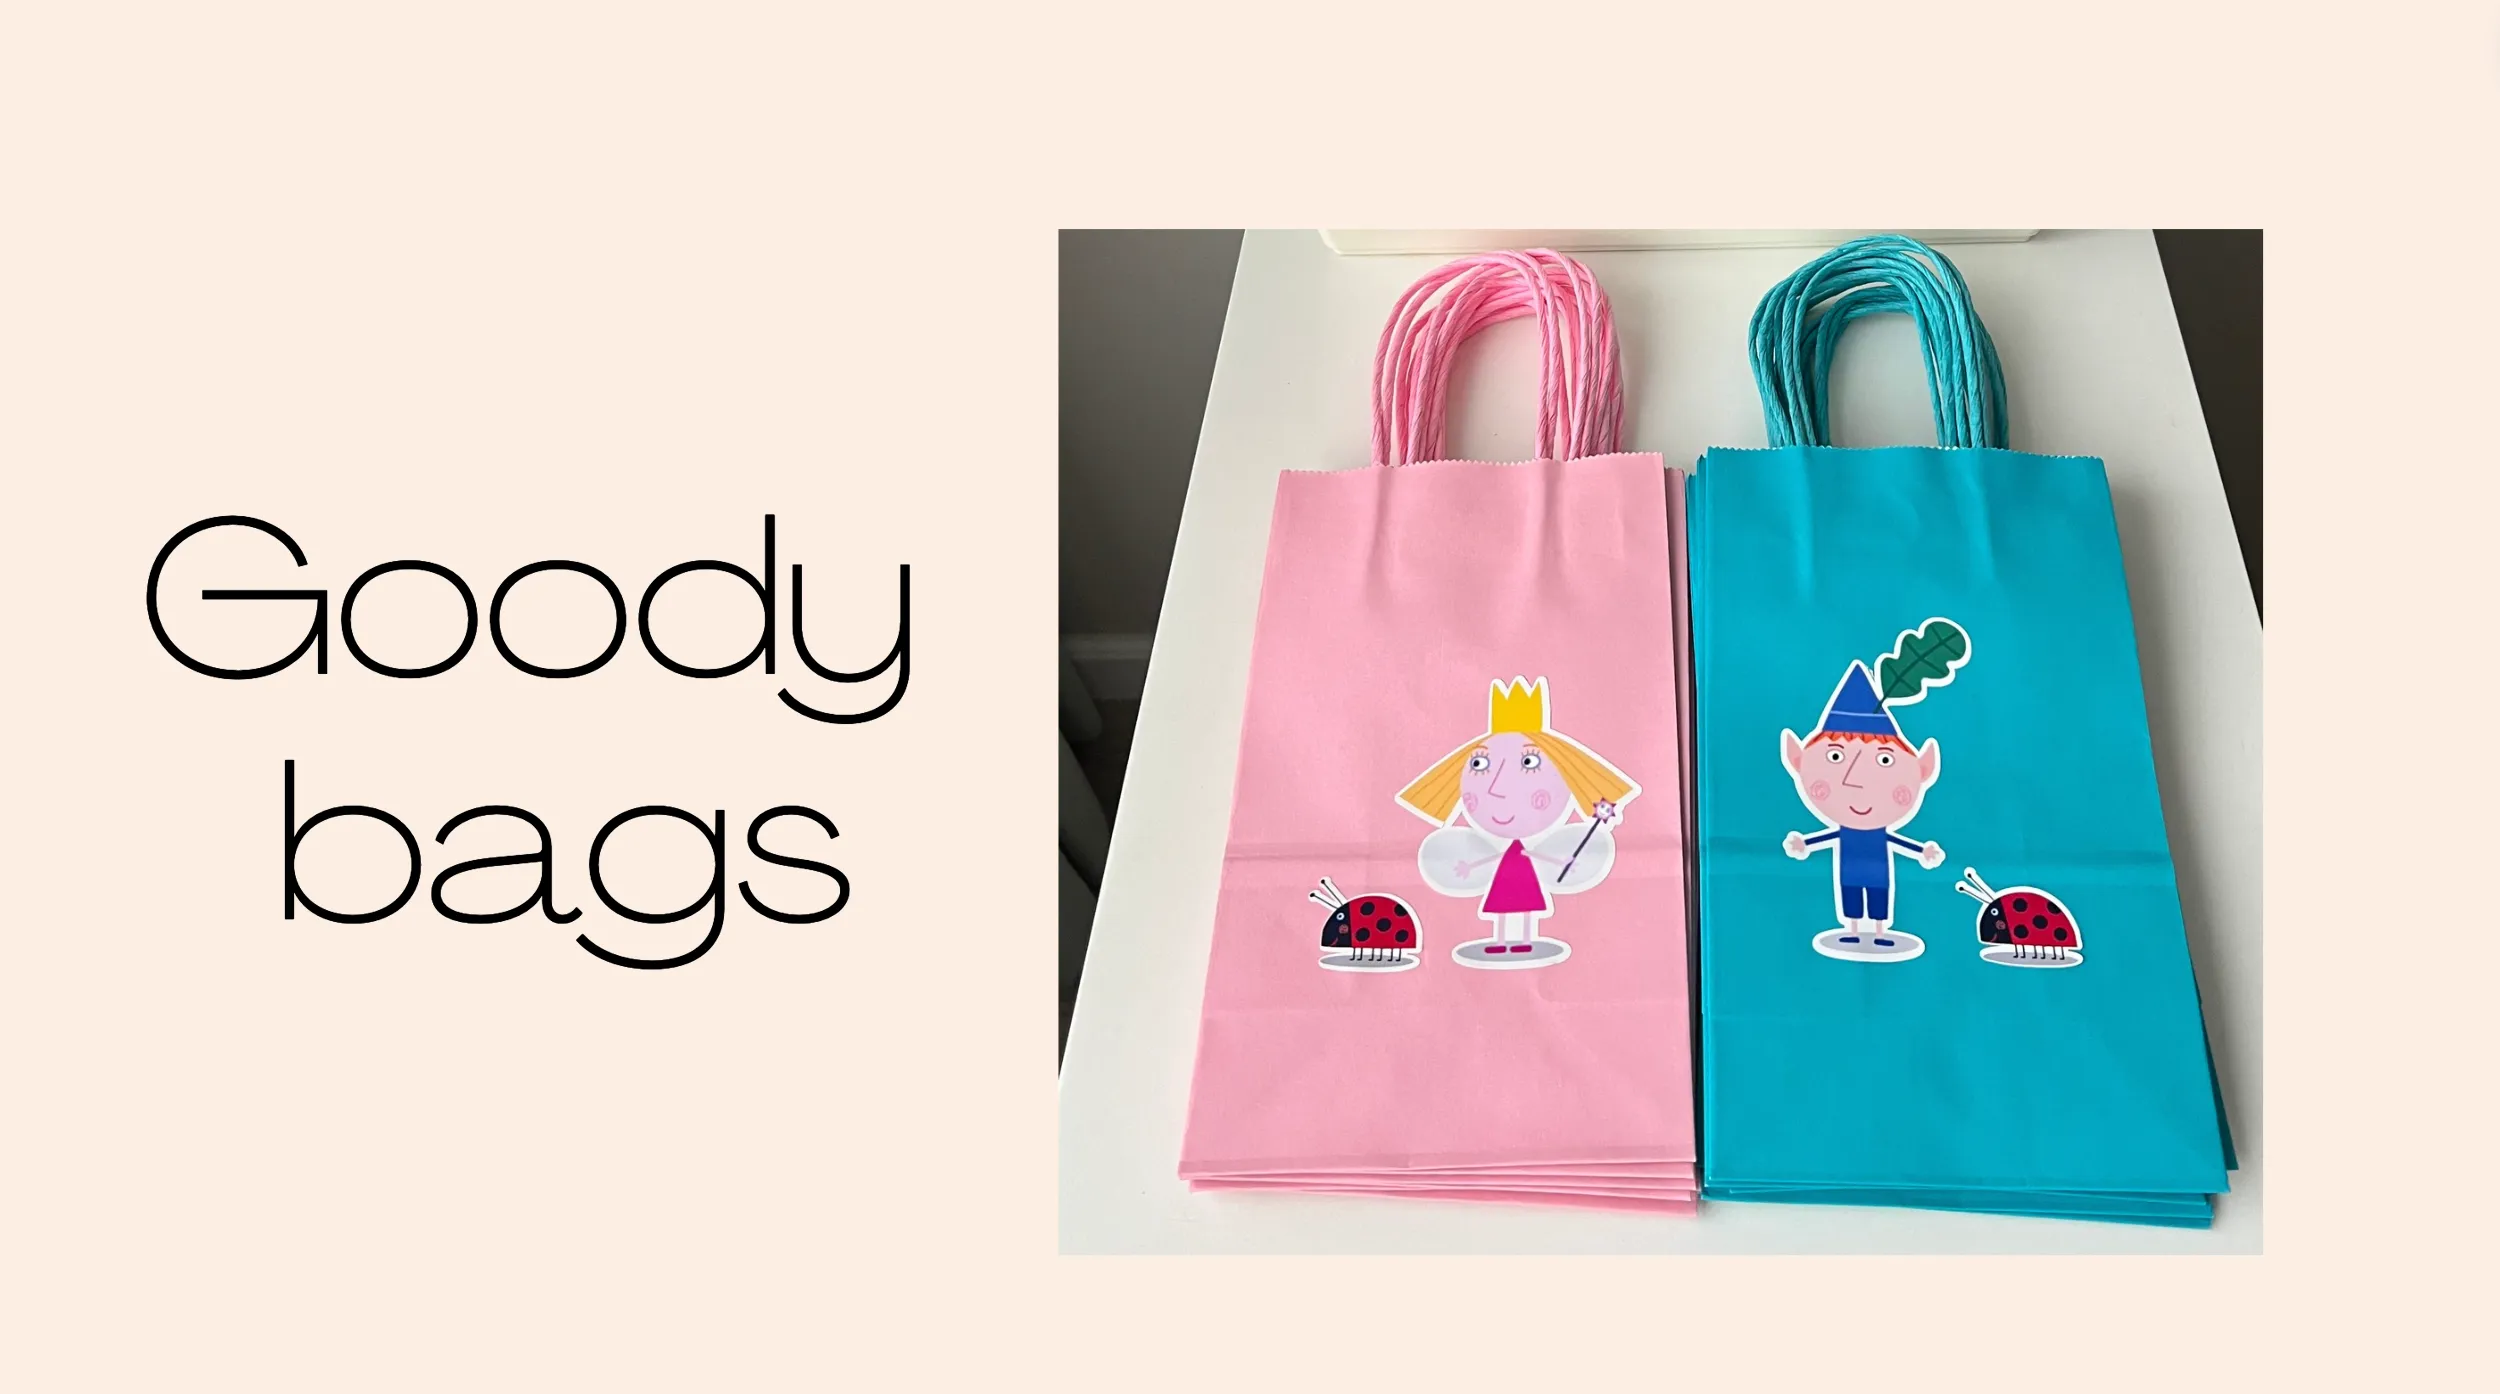
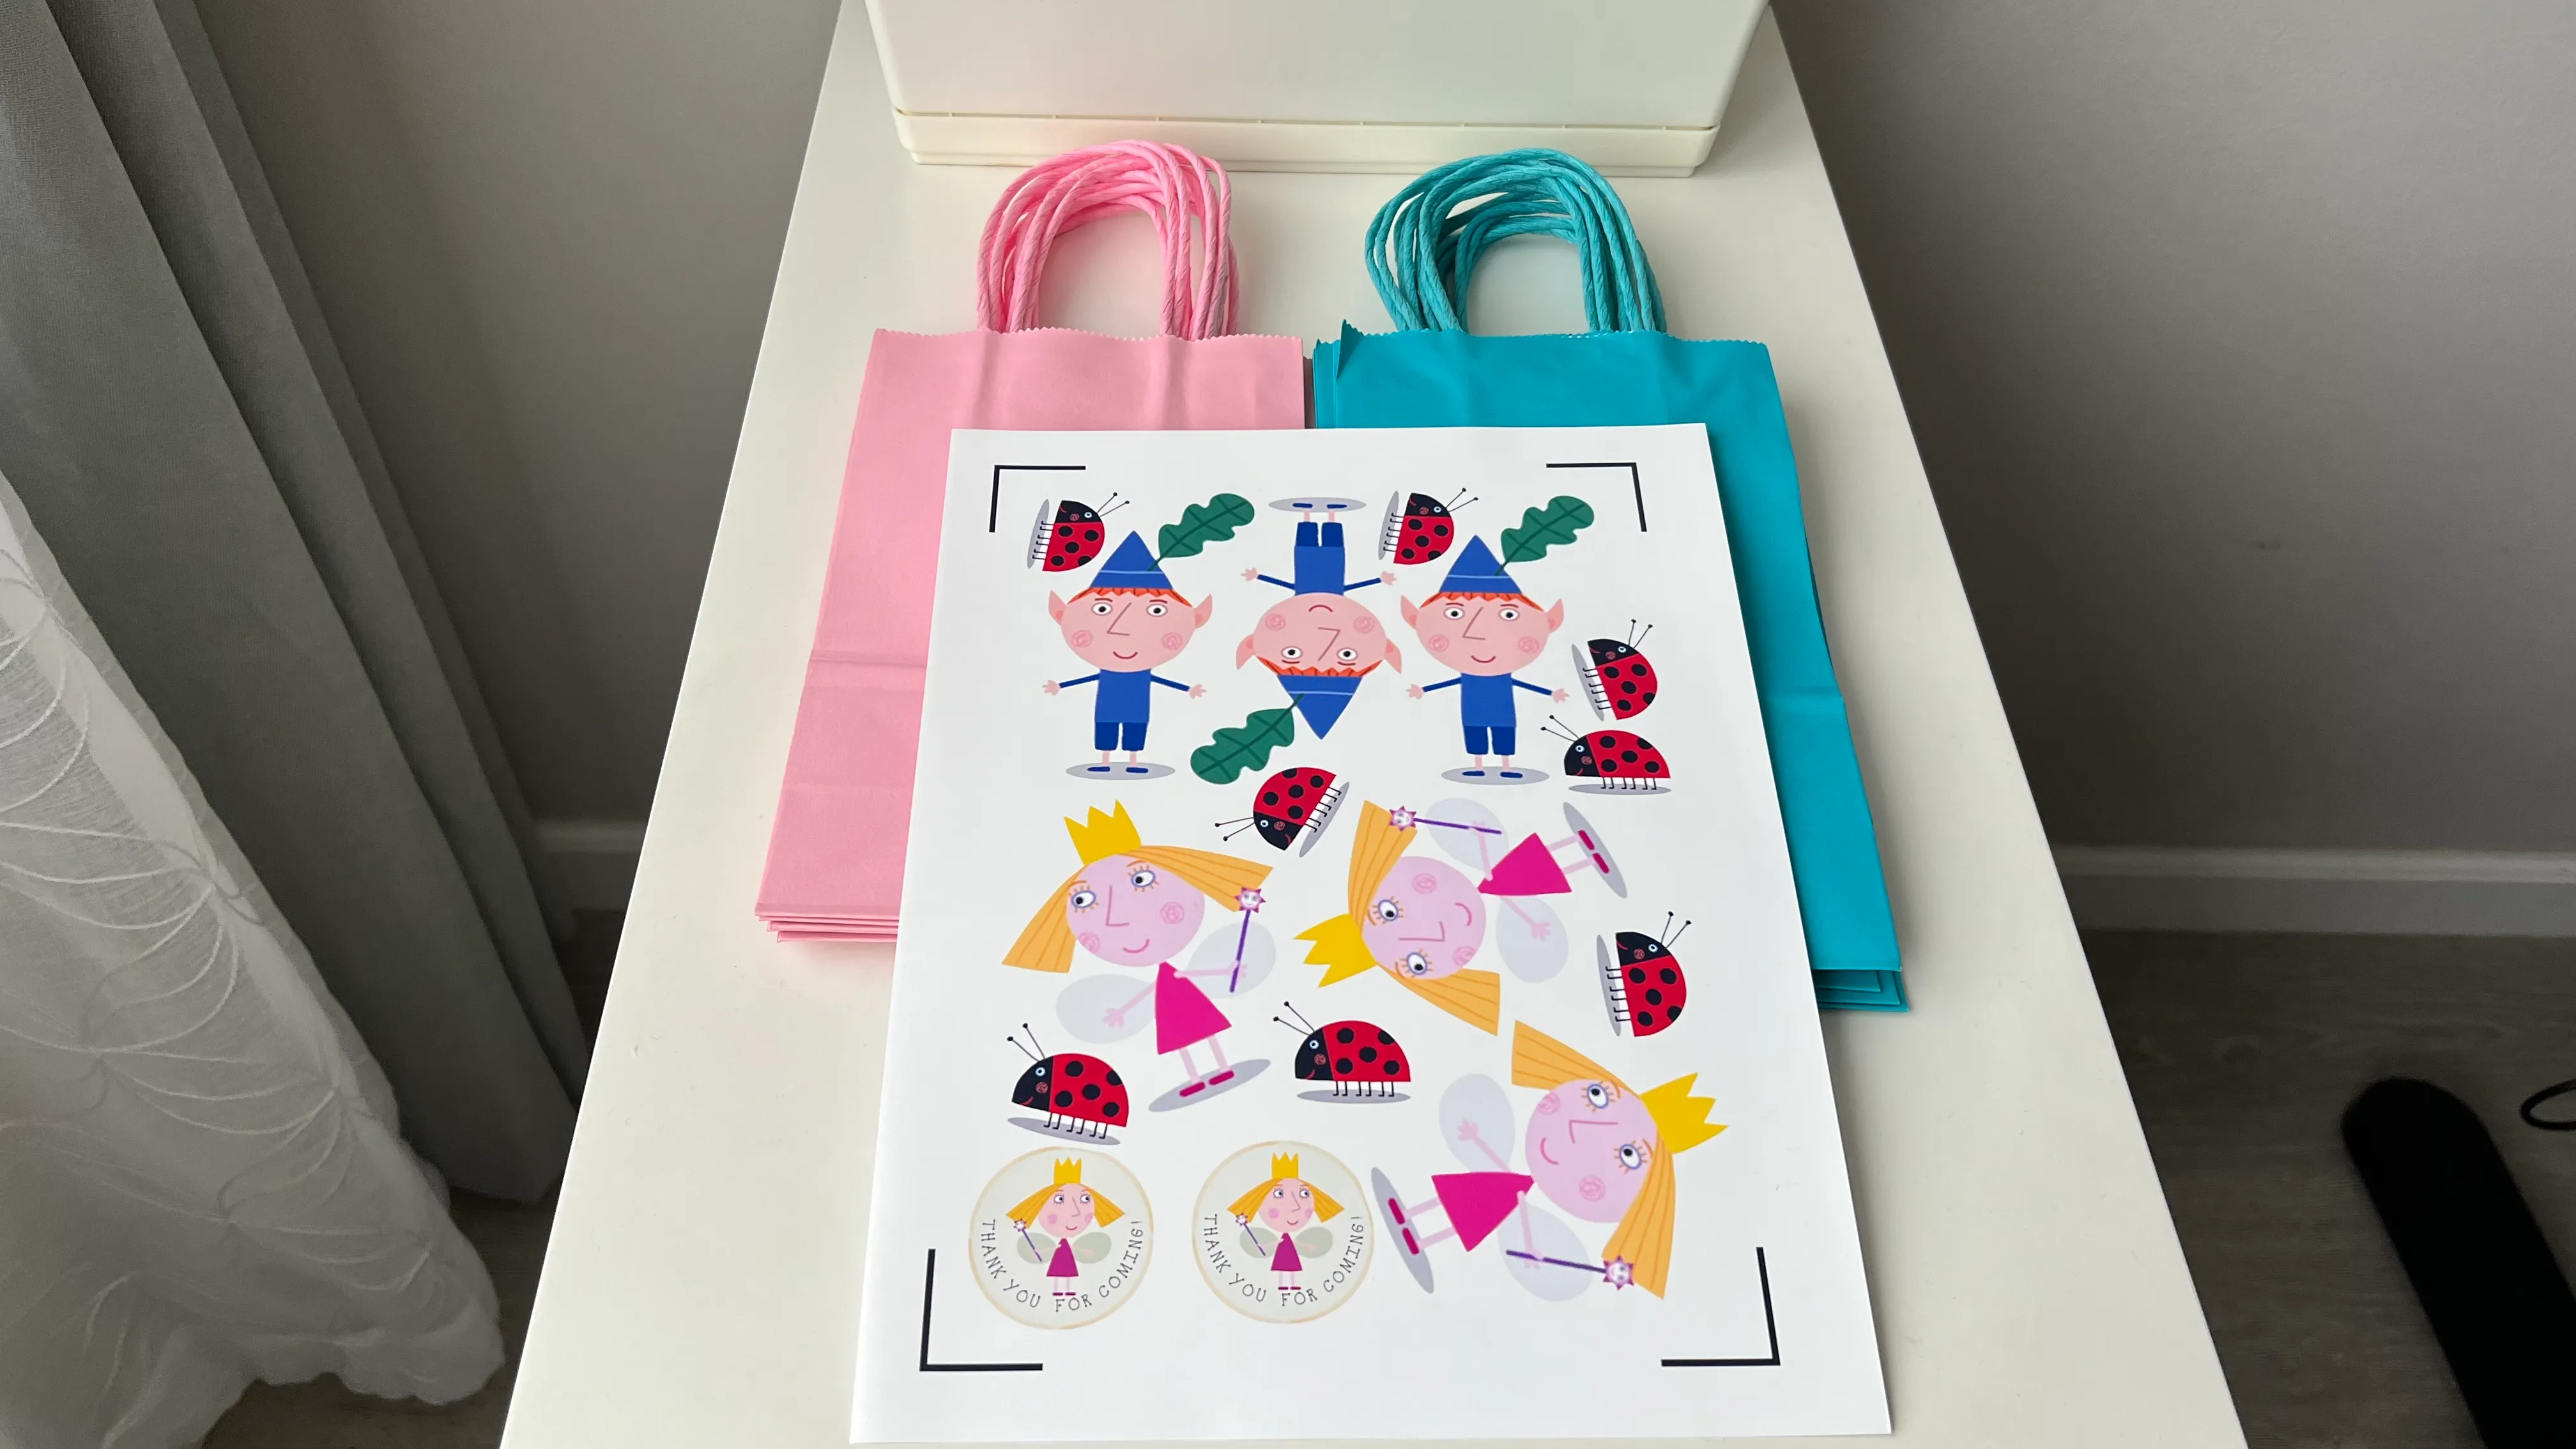
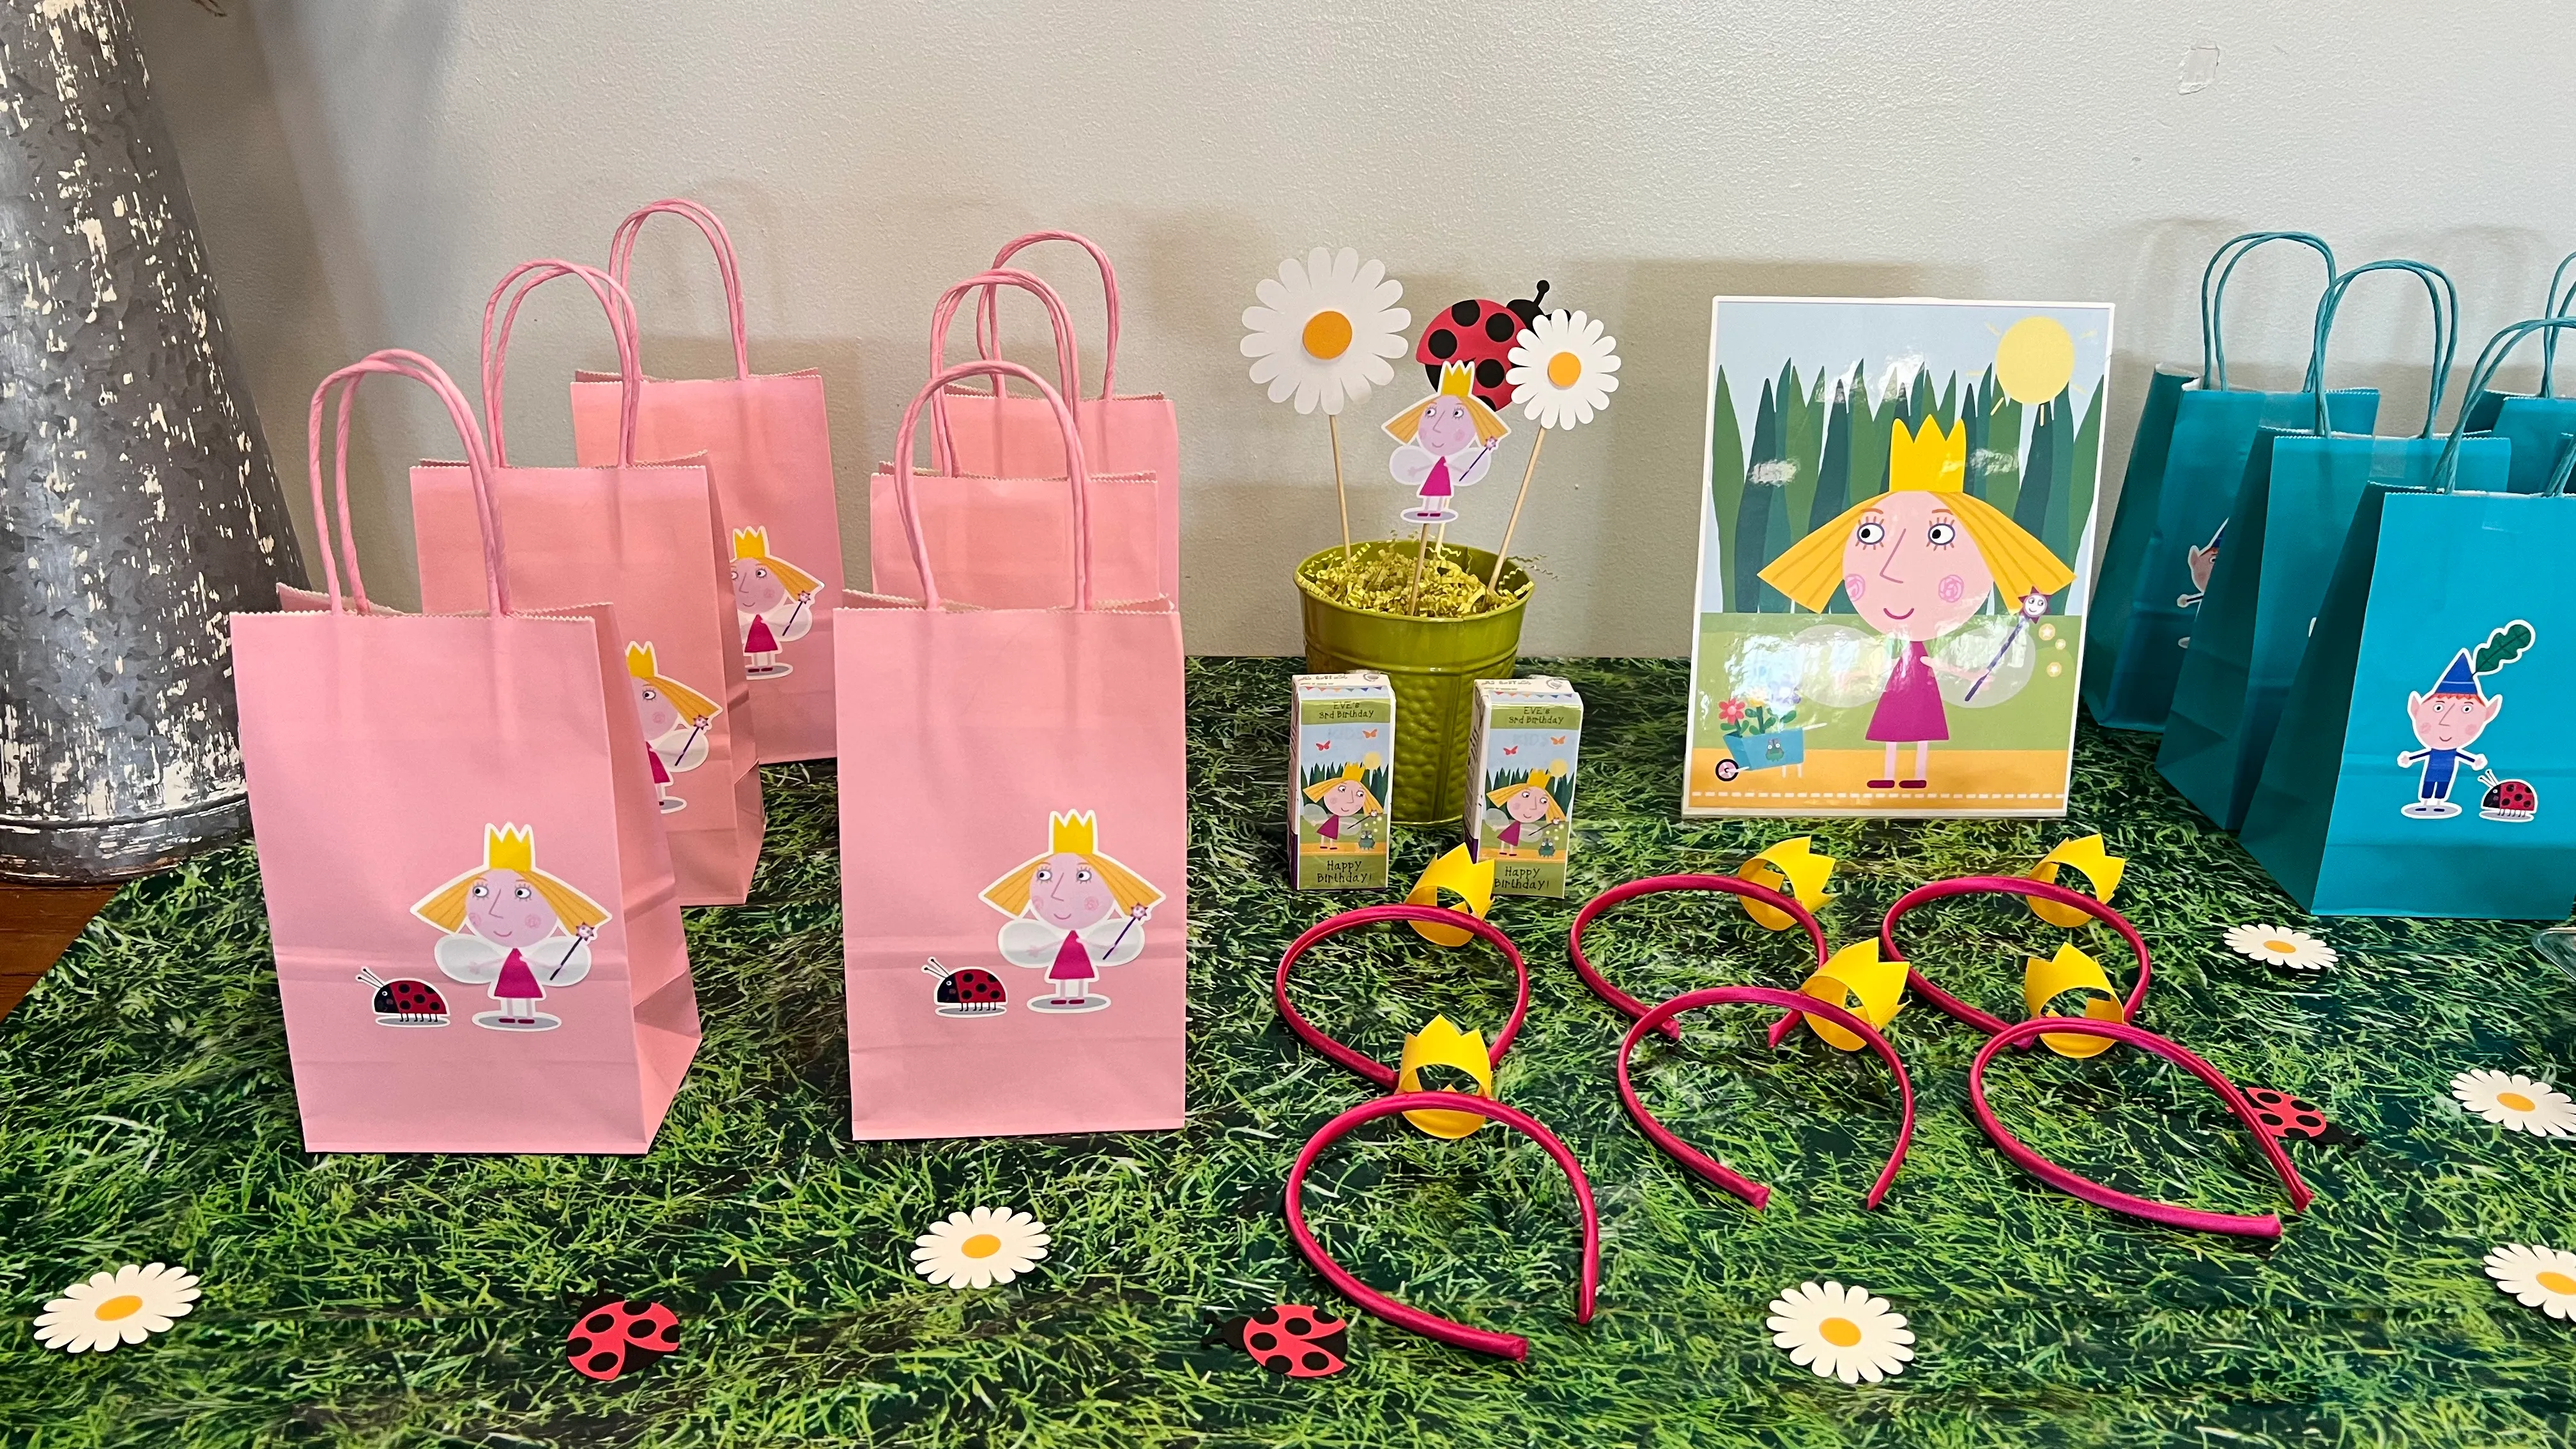
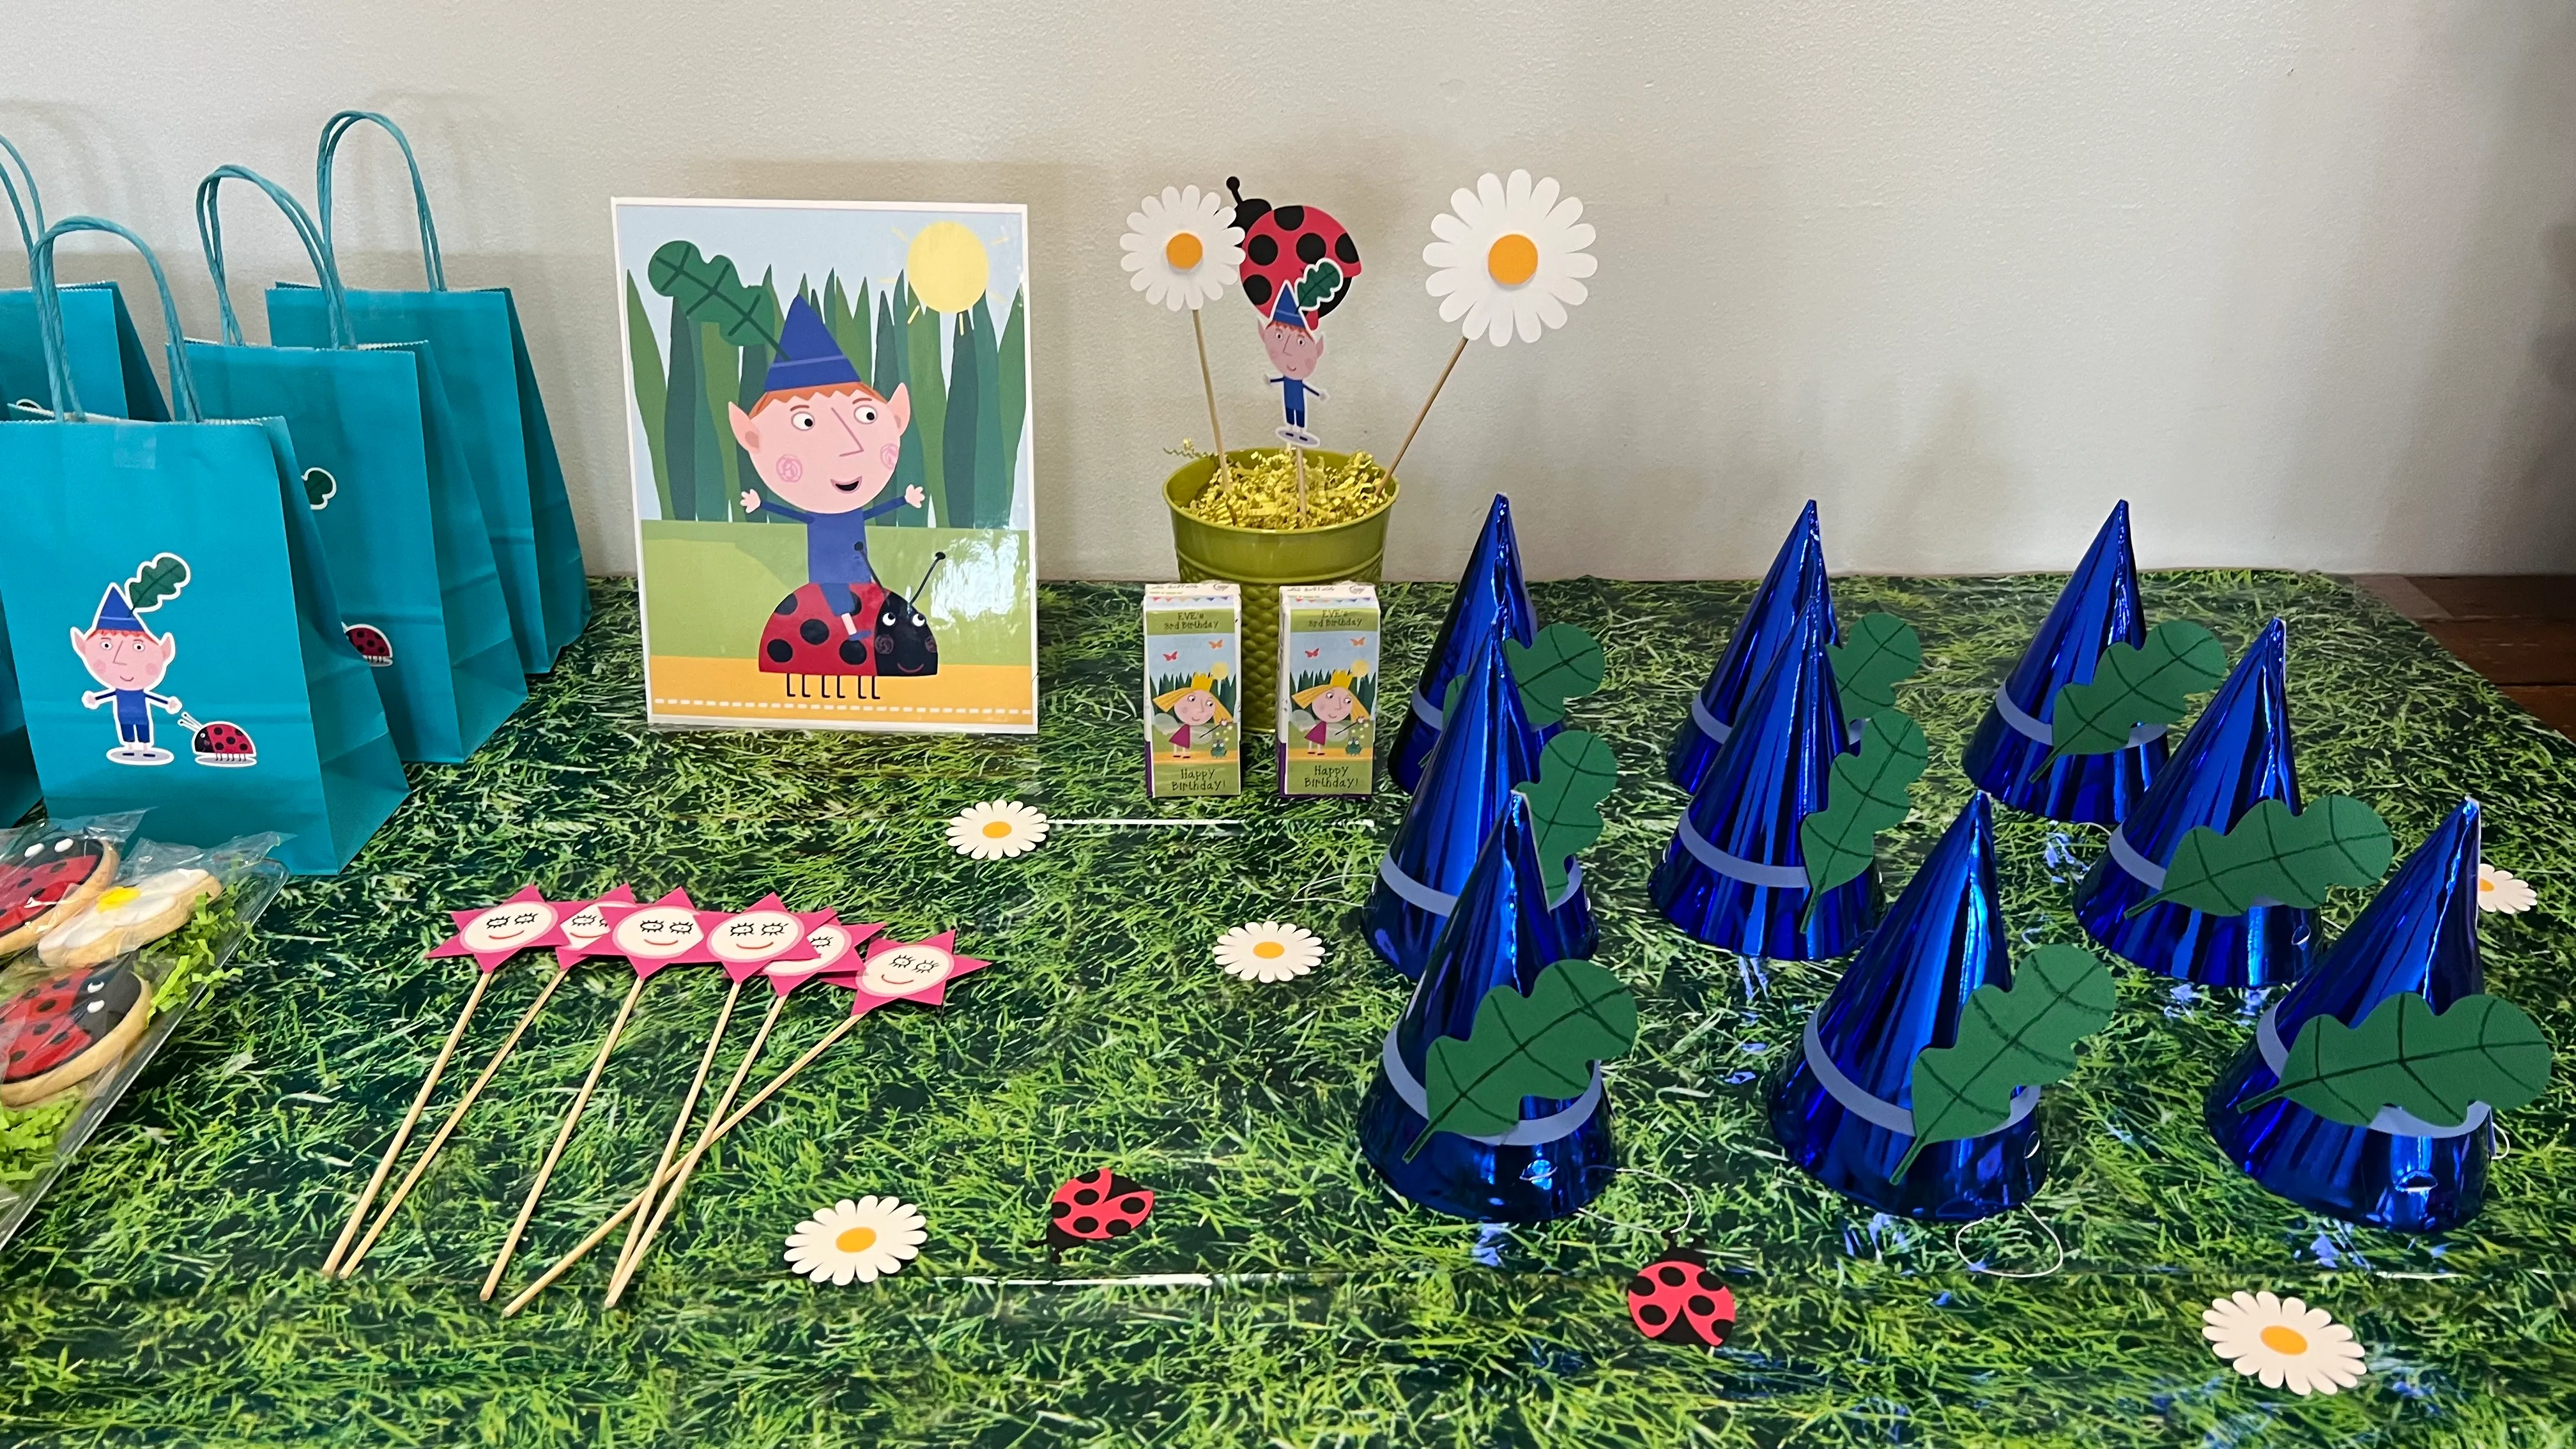
We also prepared goodie bags for the guests. We used two colors and printed stickers for them. Look how cute they turned out!
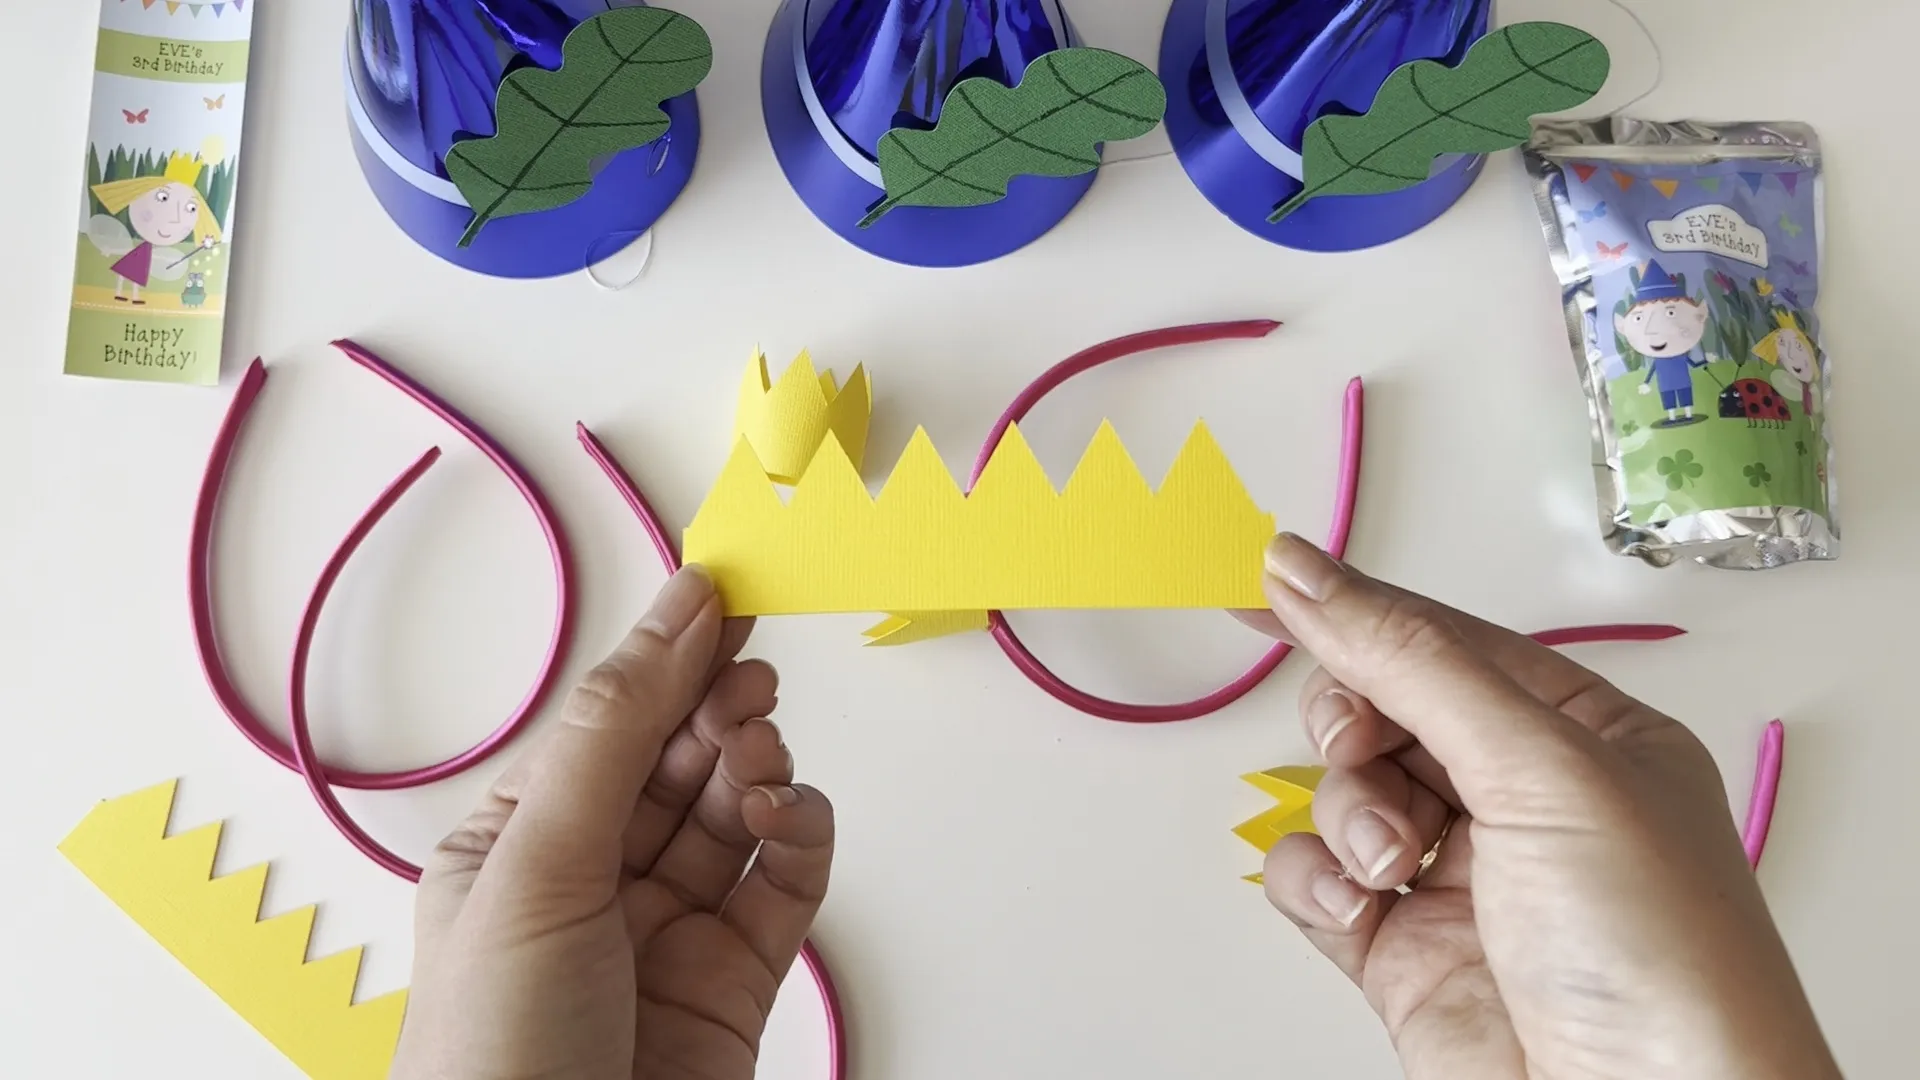
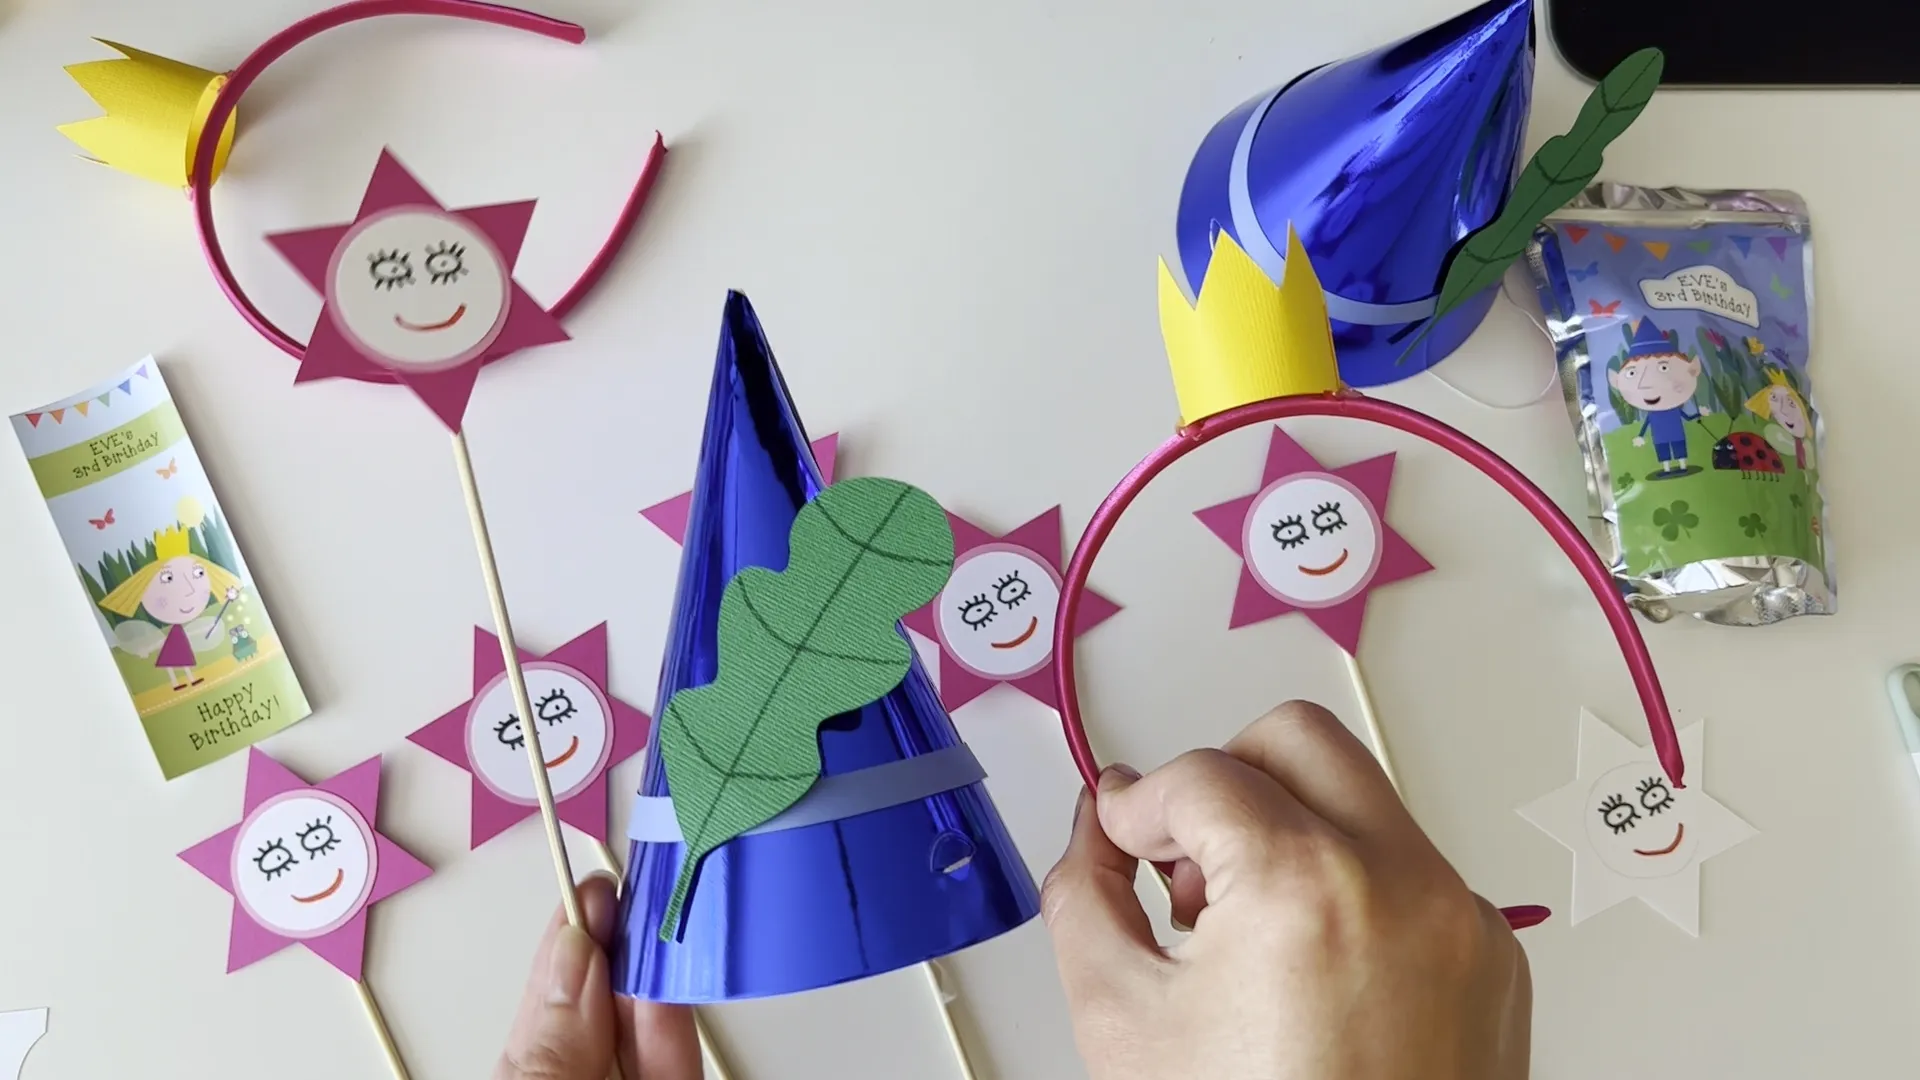
I found ideas with elf heads and princess crowns on Pinterest and decided to make the same ones for our event.
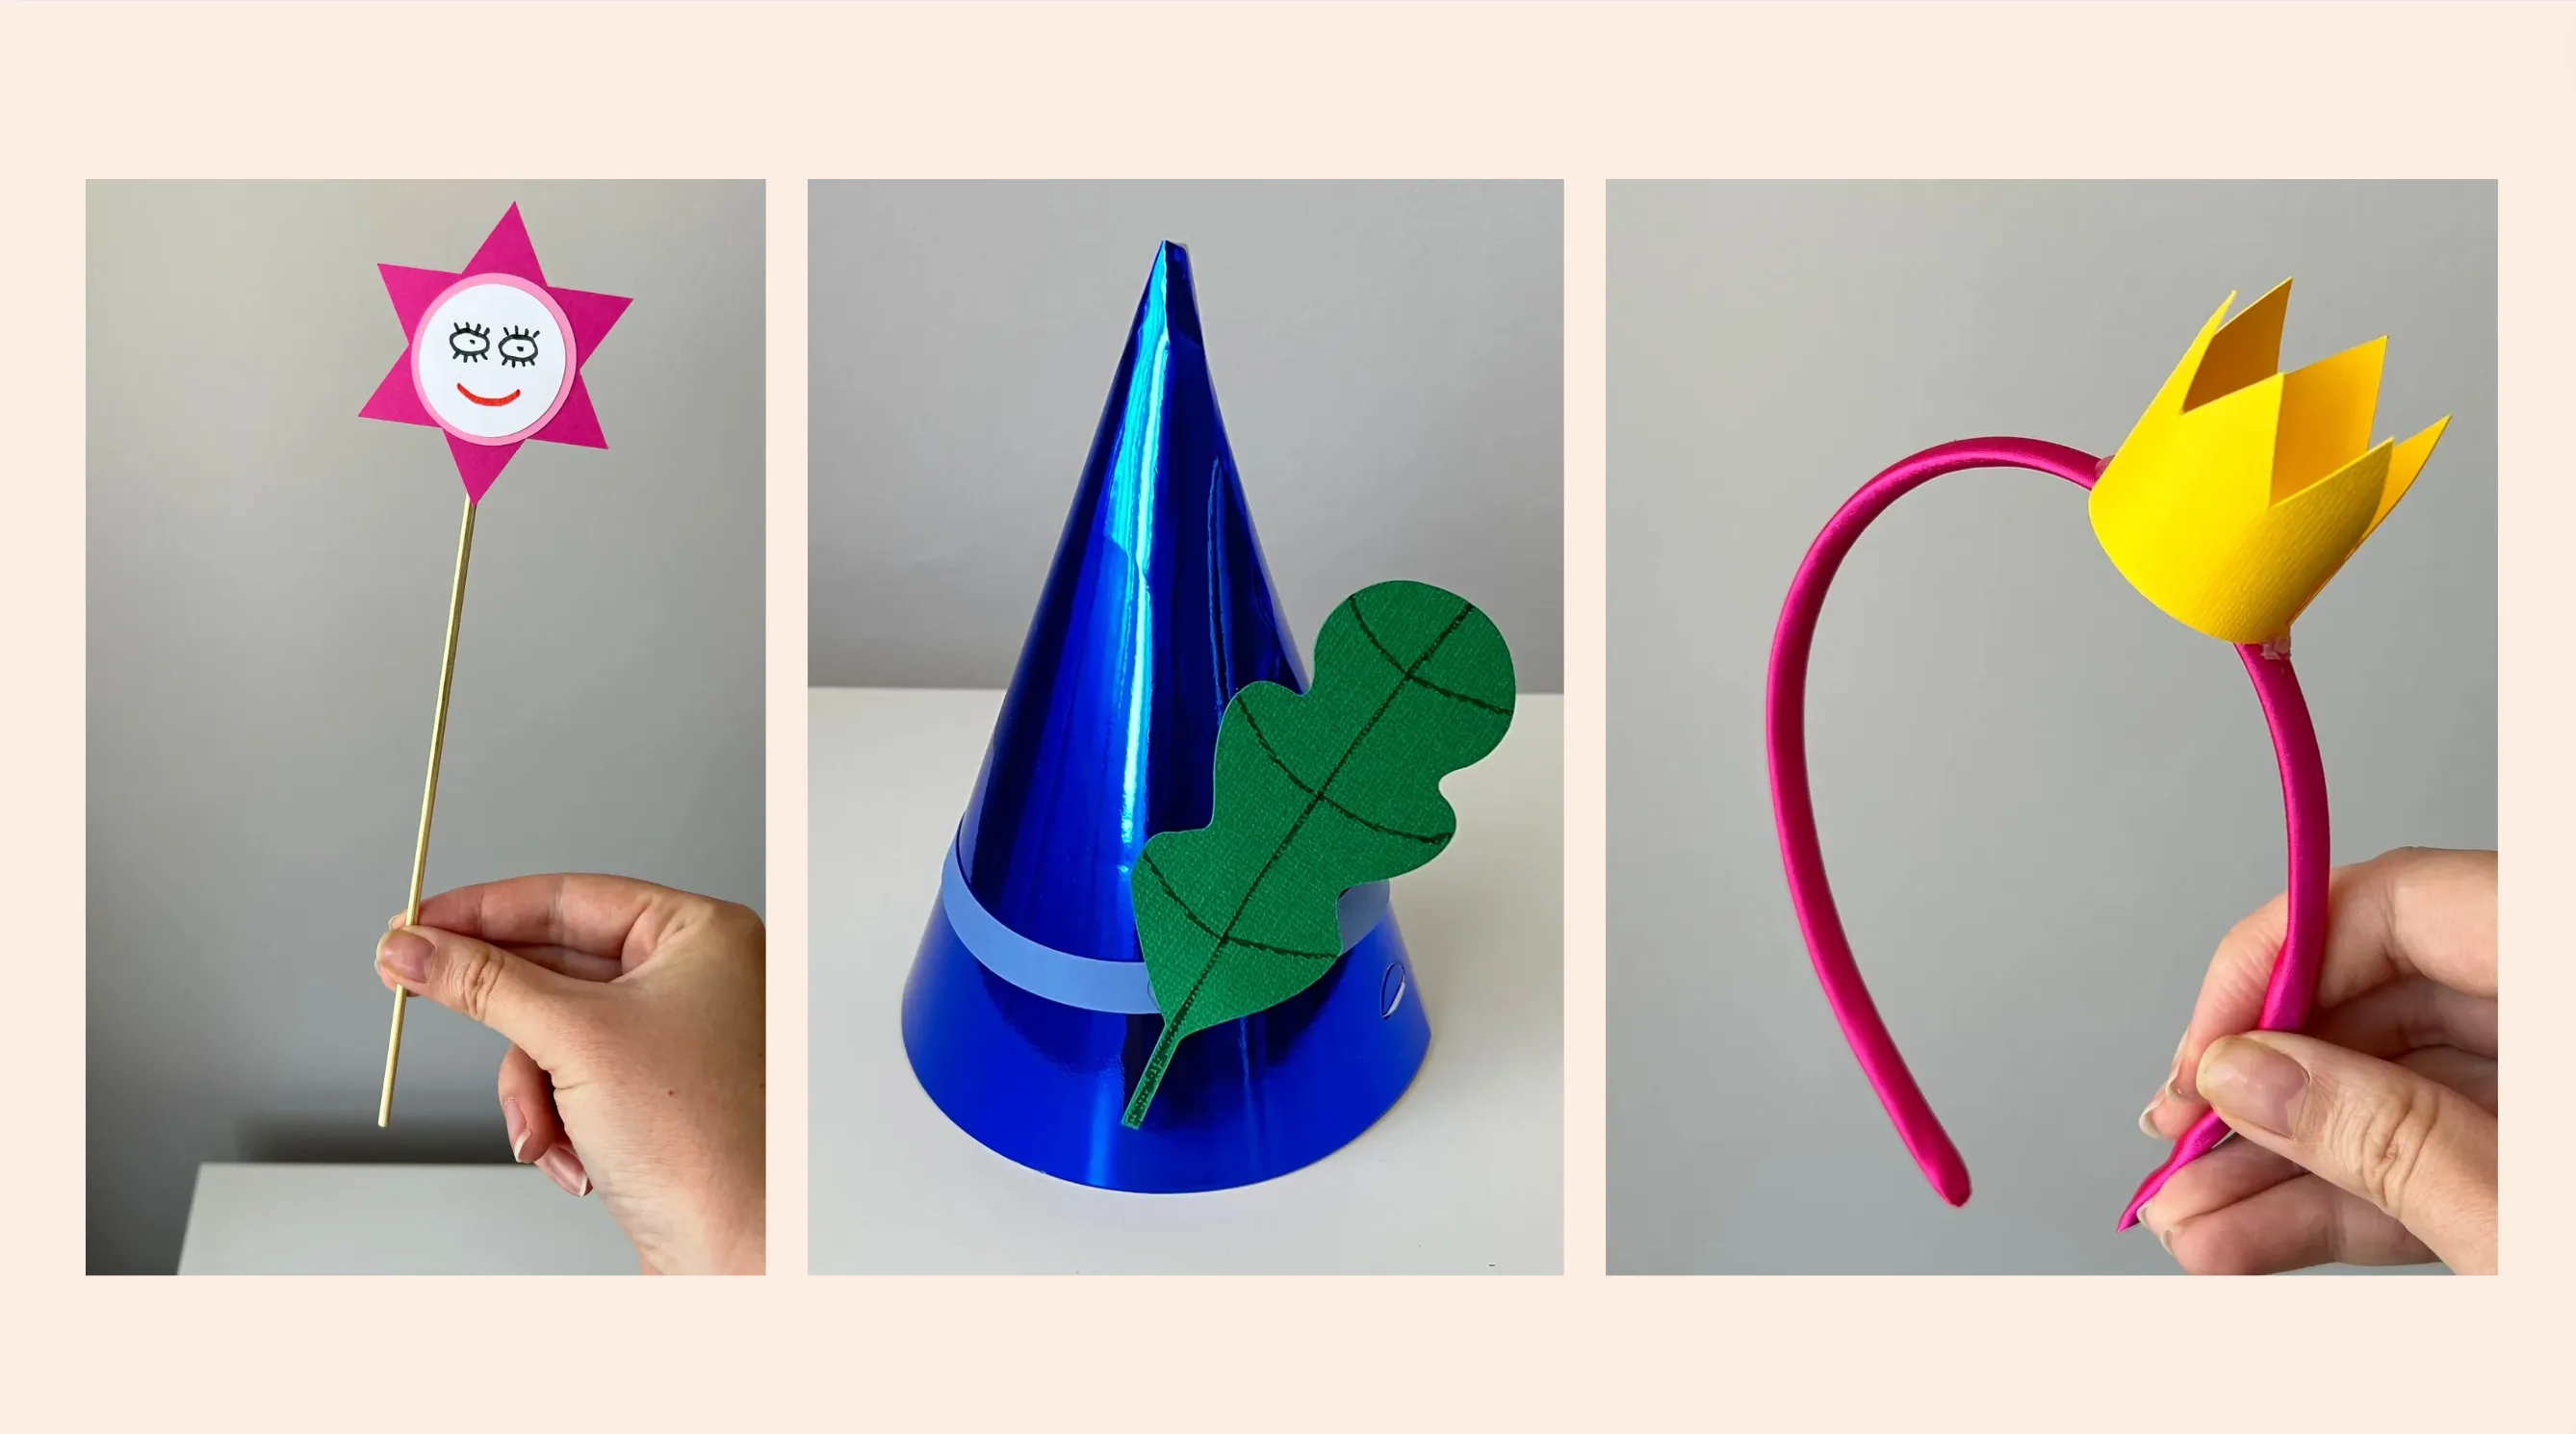
Check out my channel for a tutorial on how to assemble these photo props.
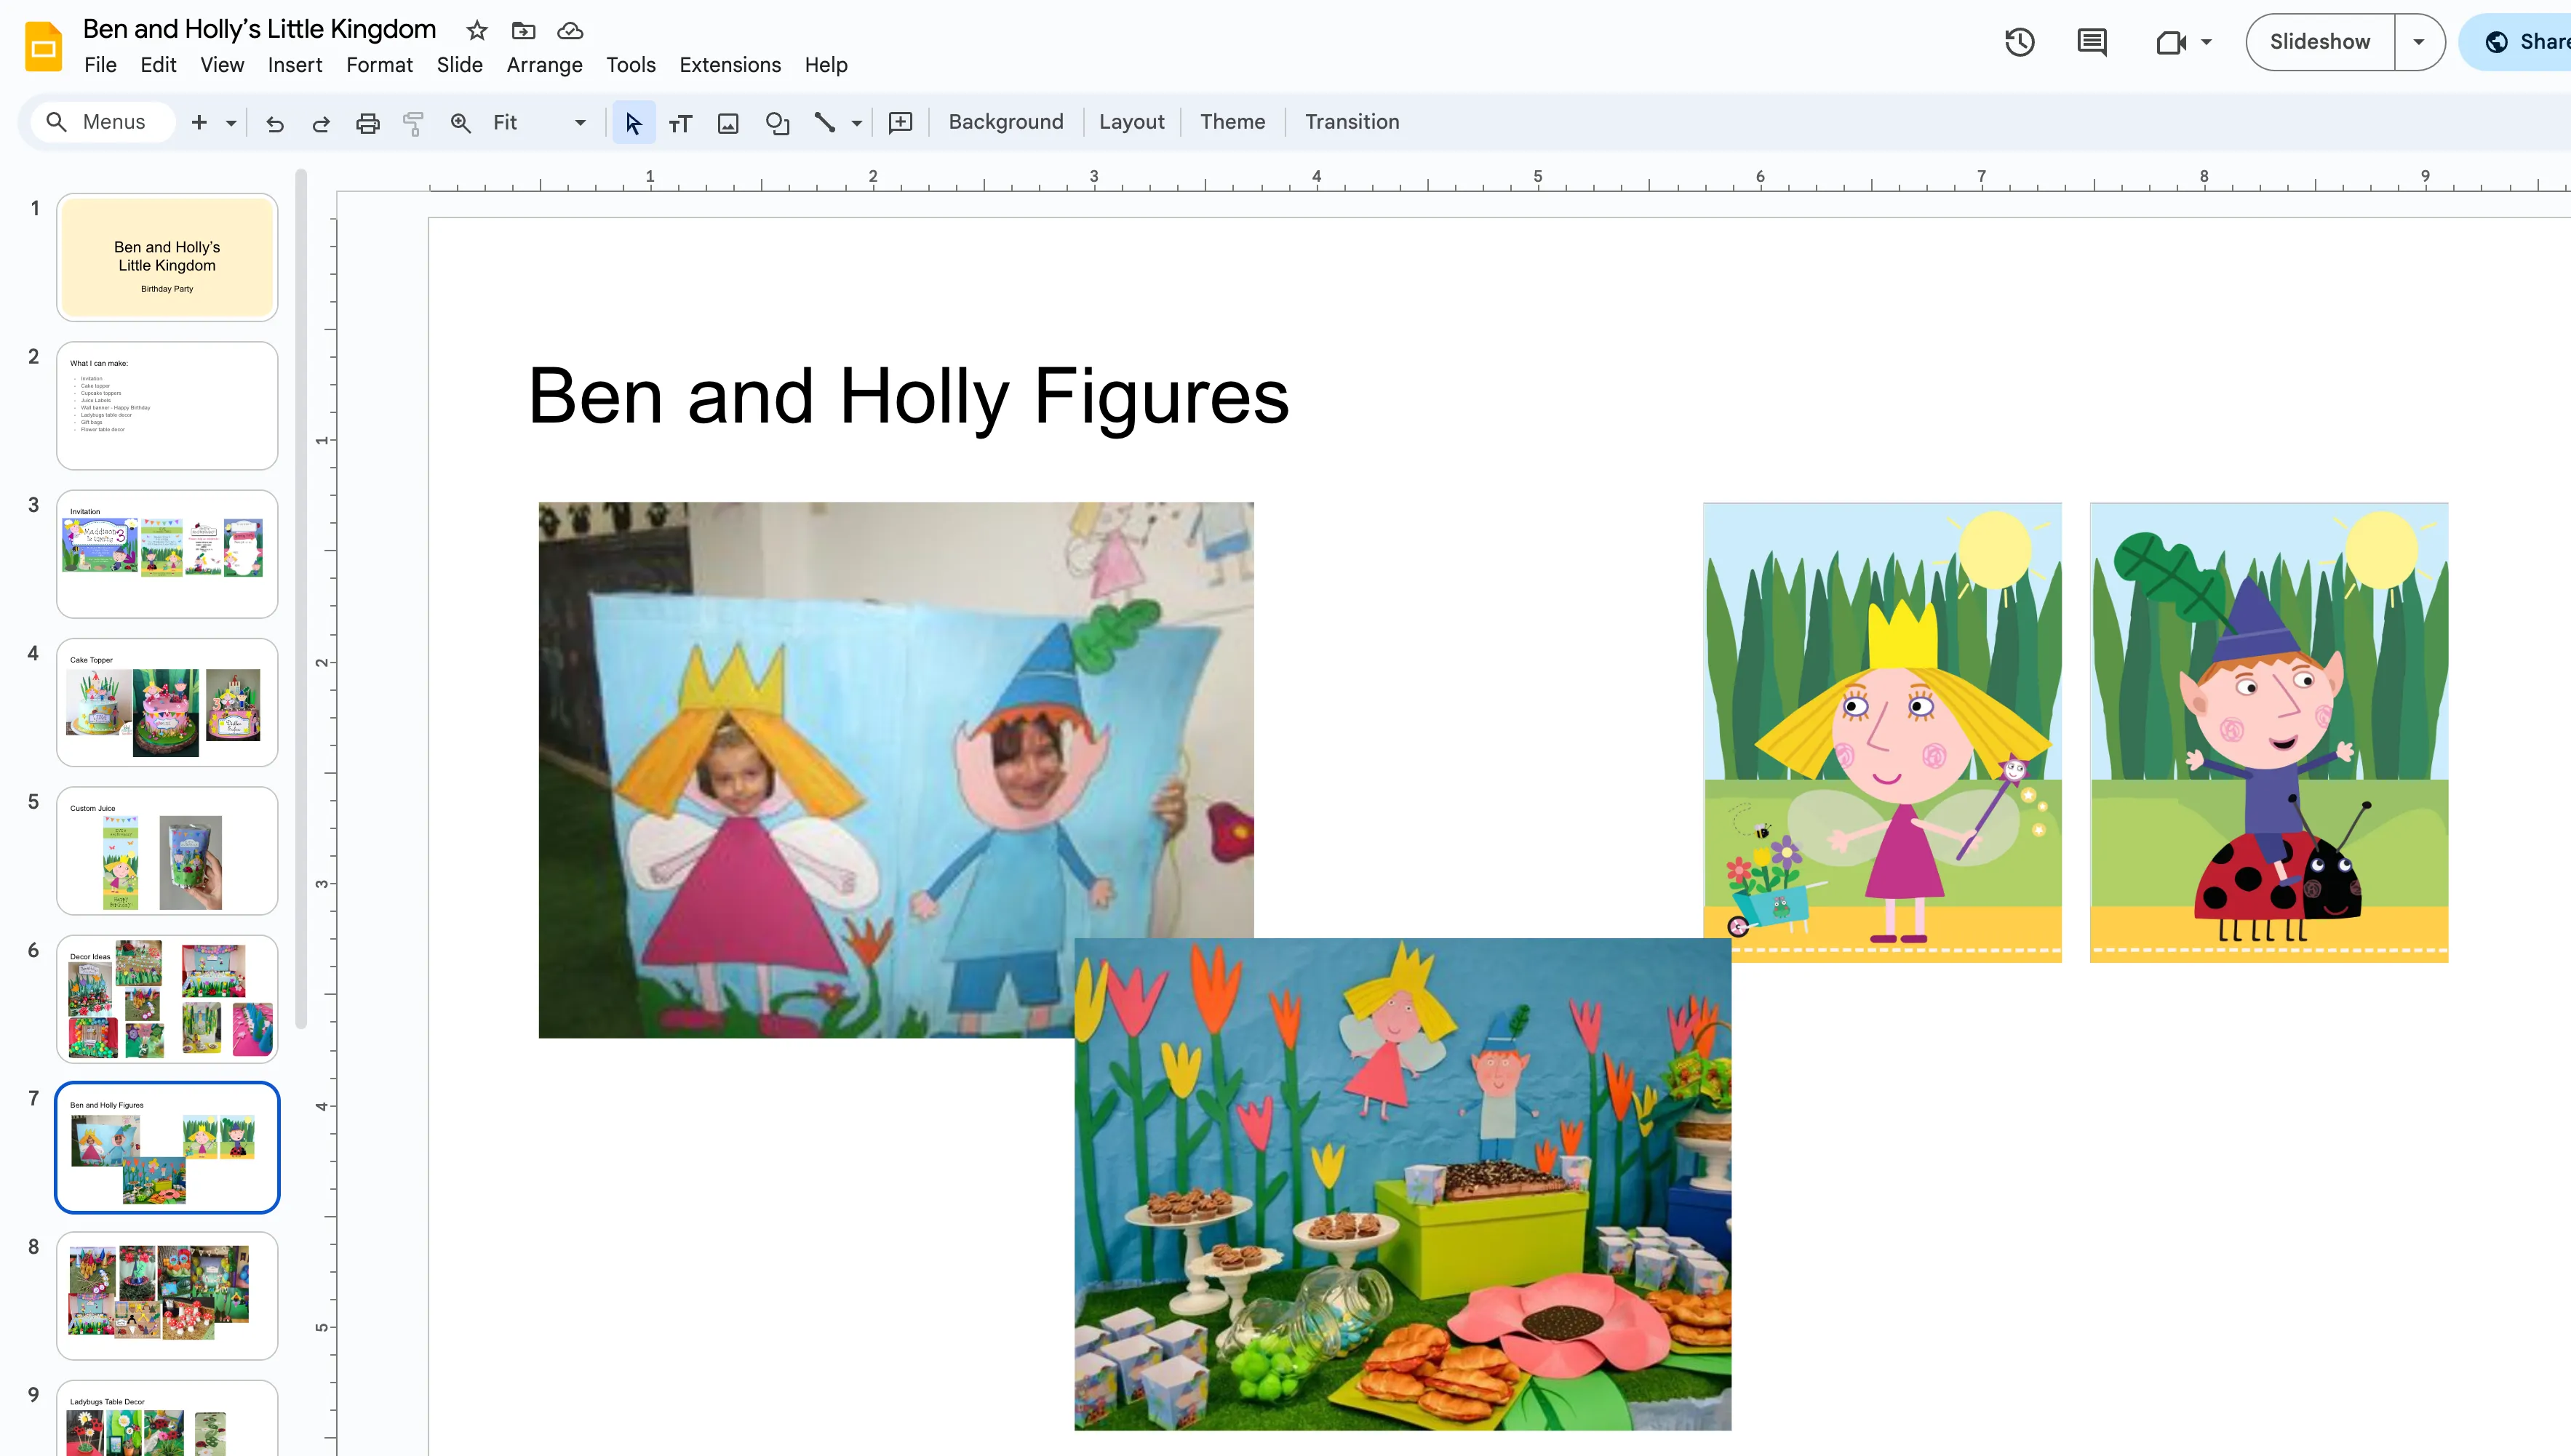
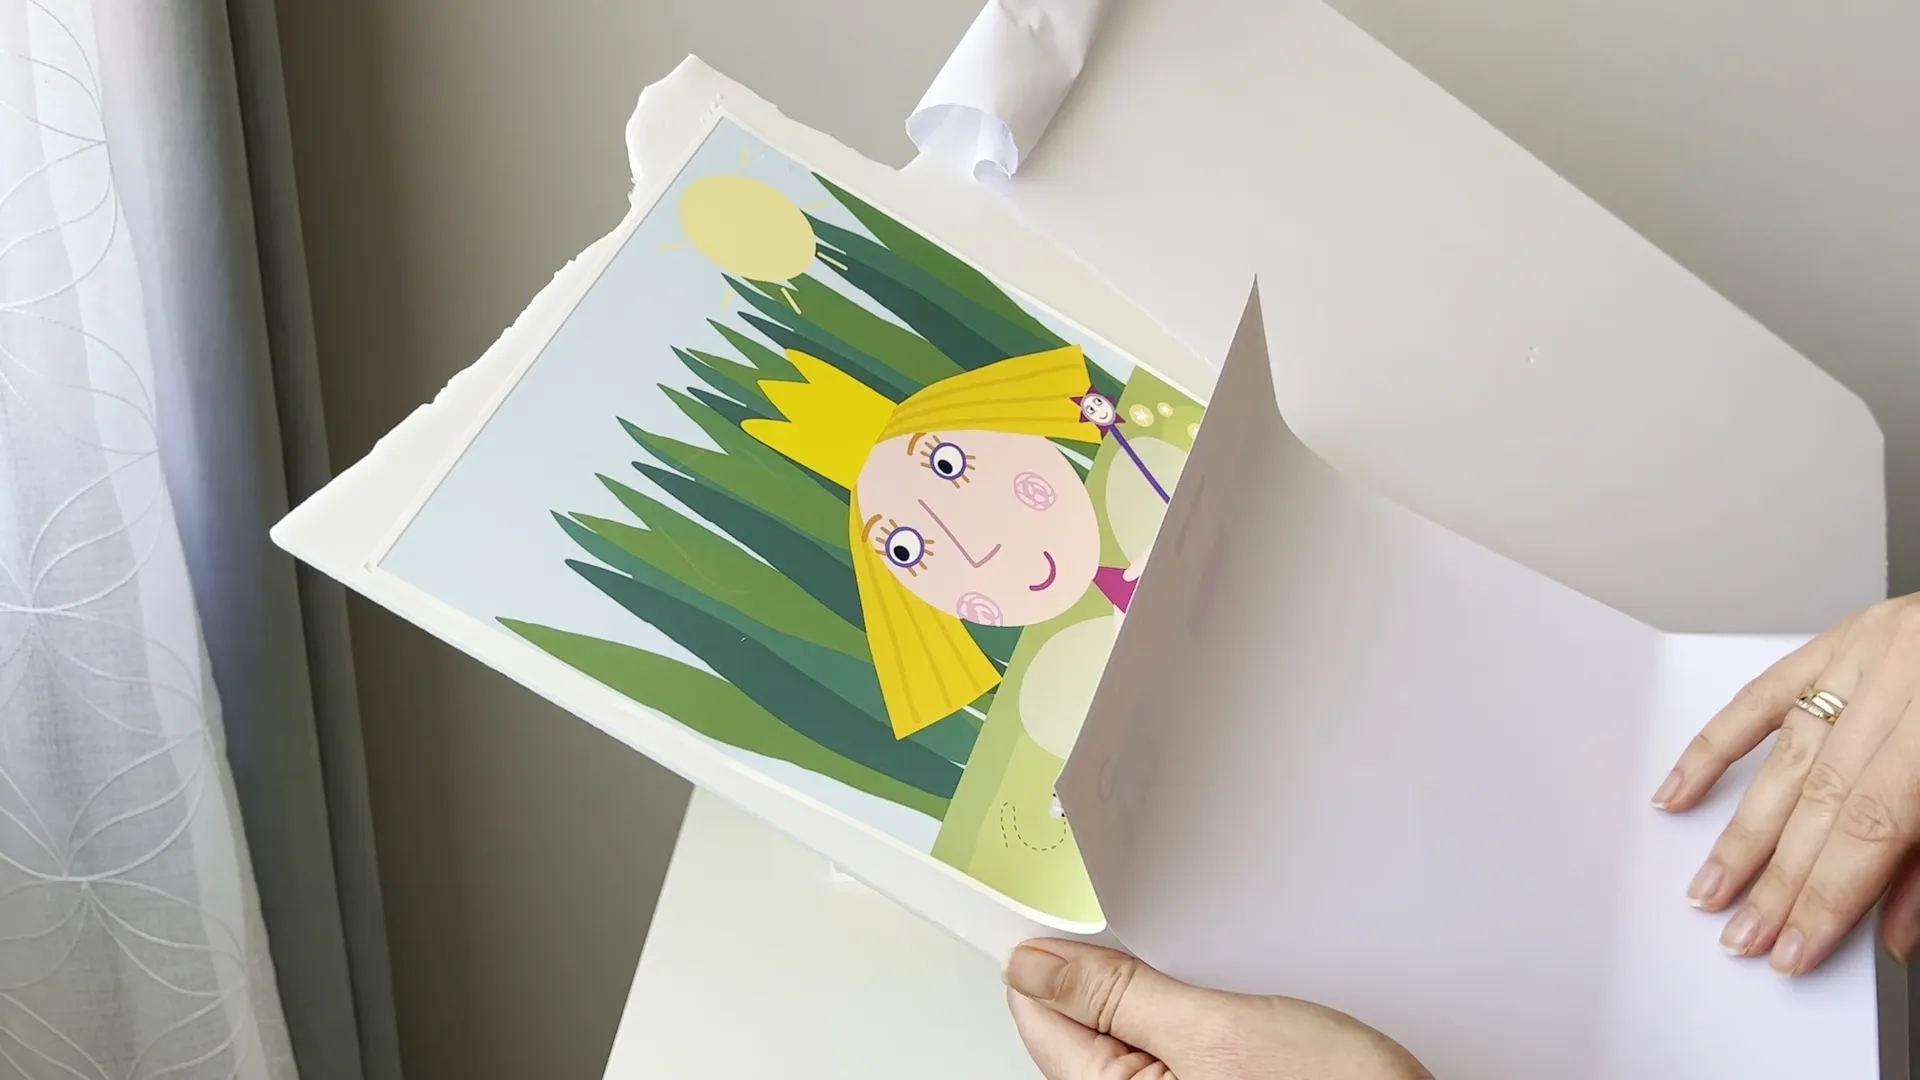
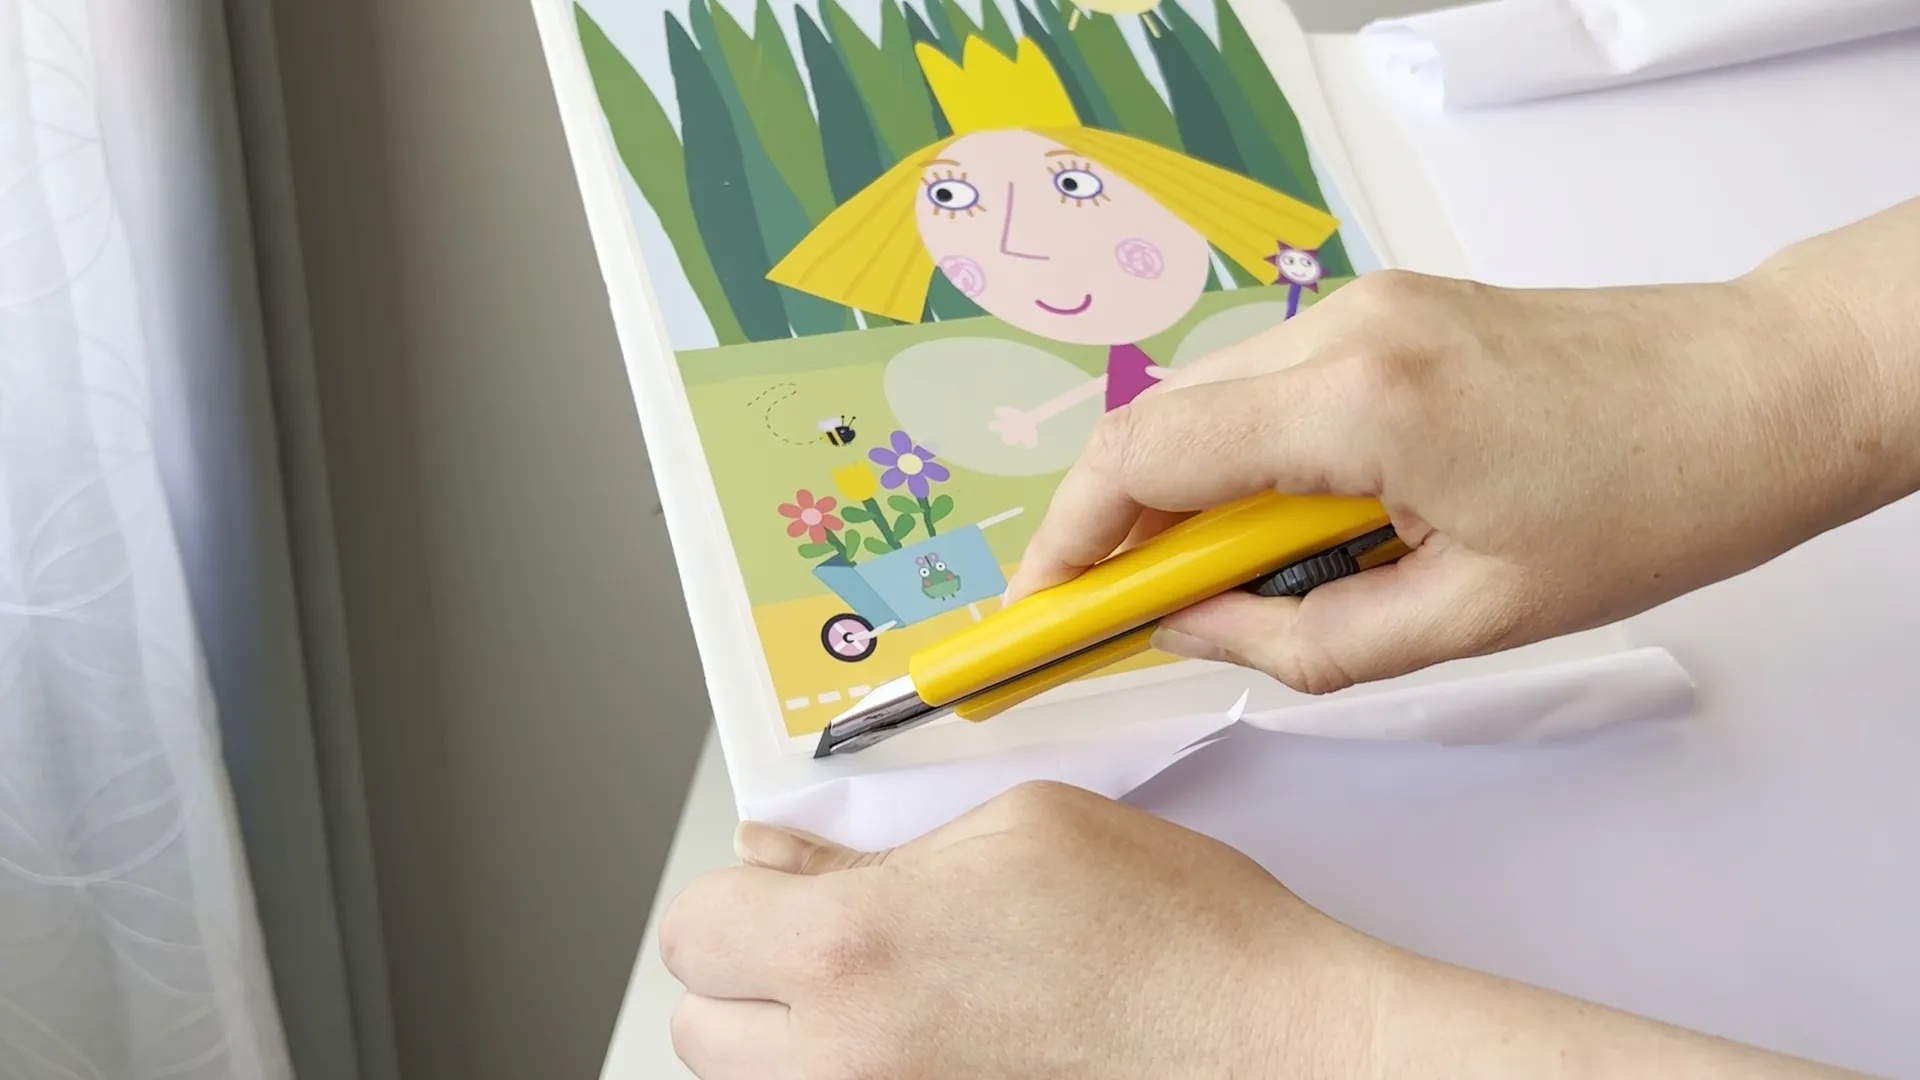
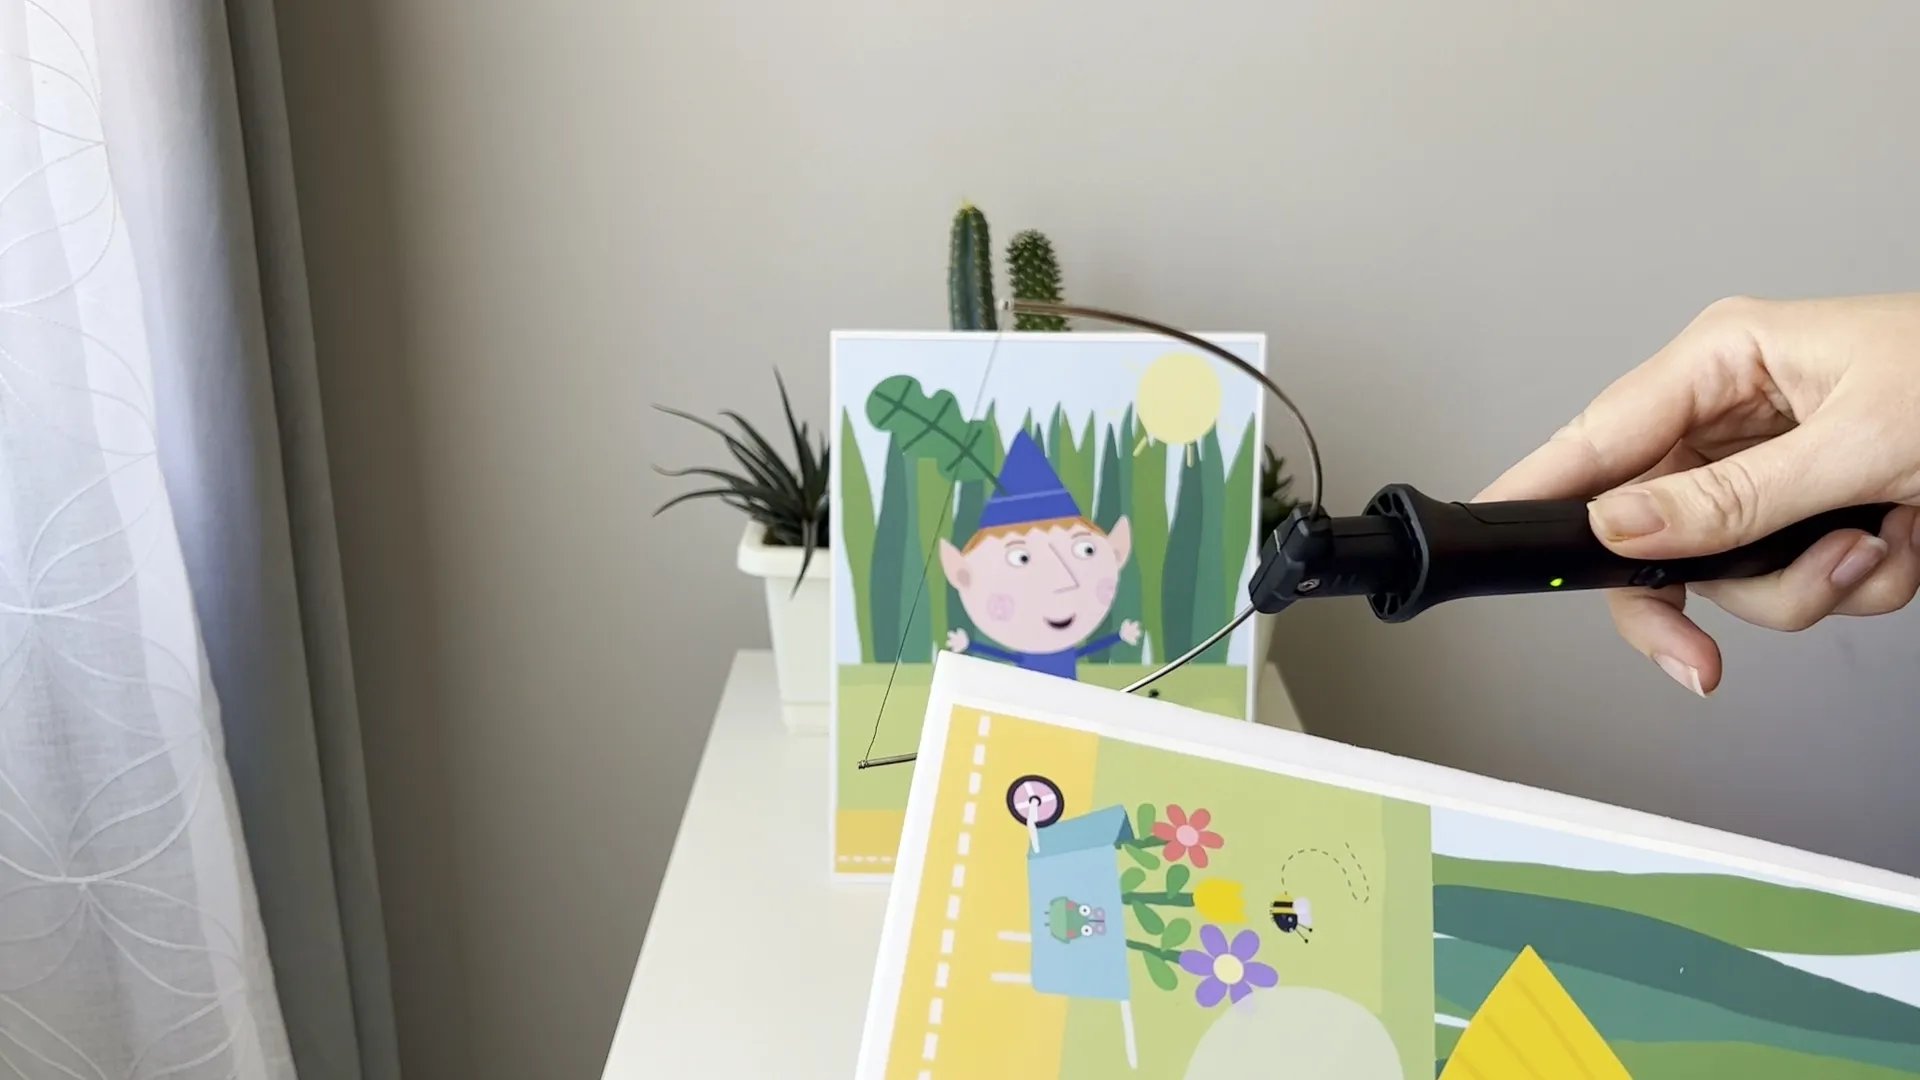
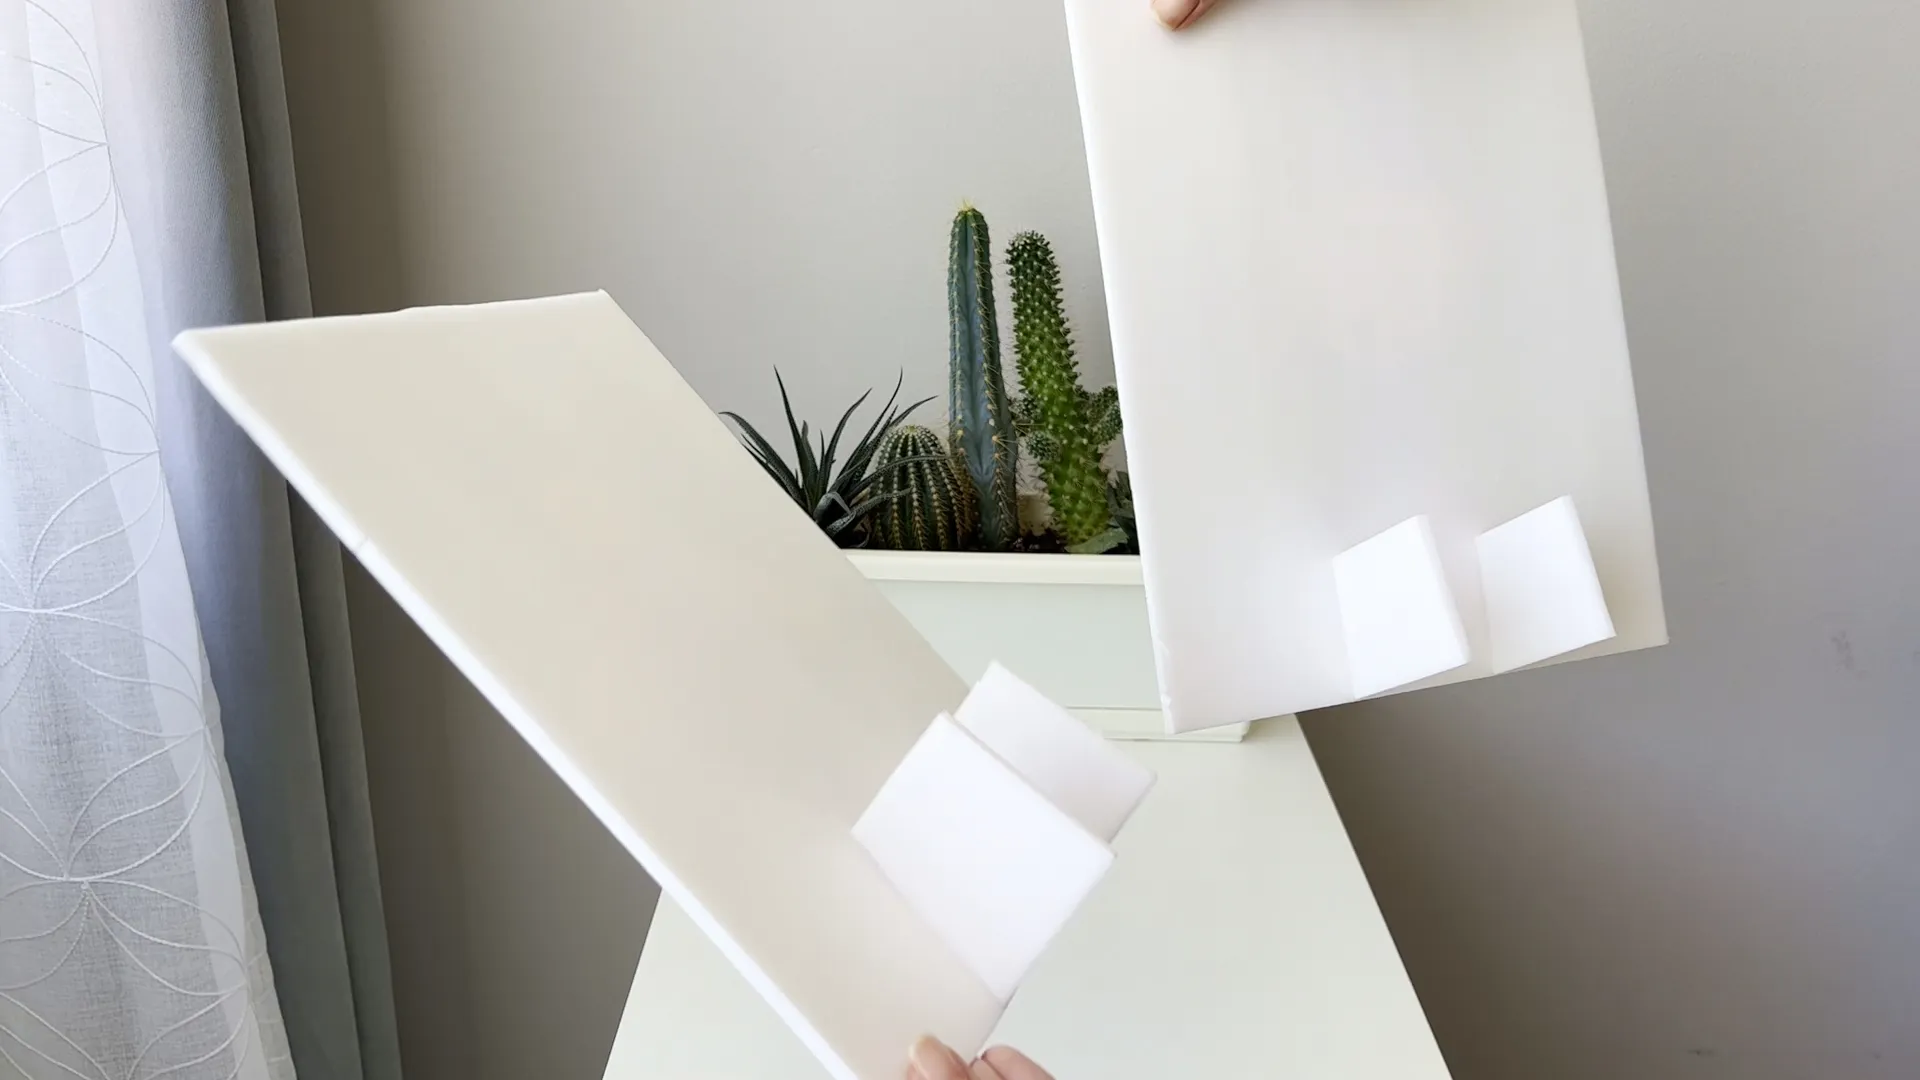
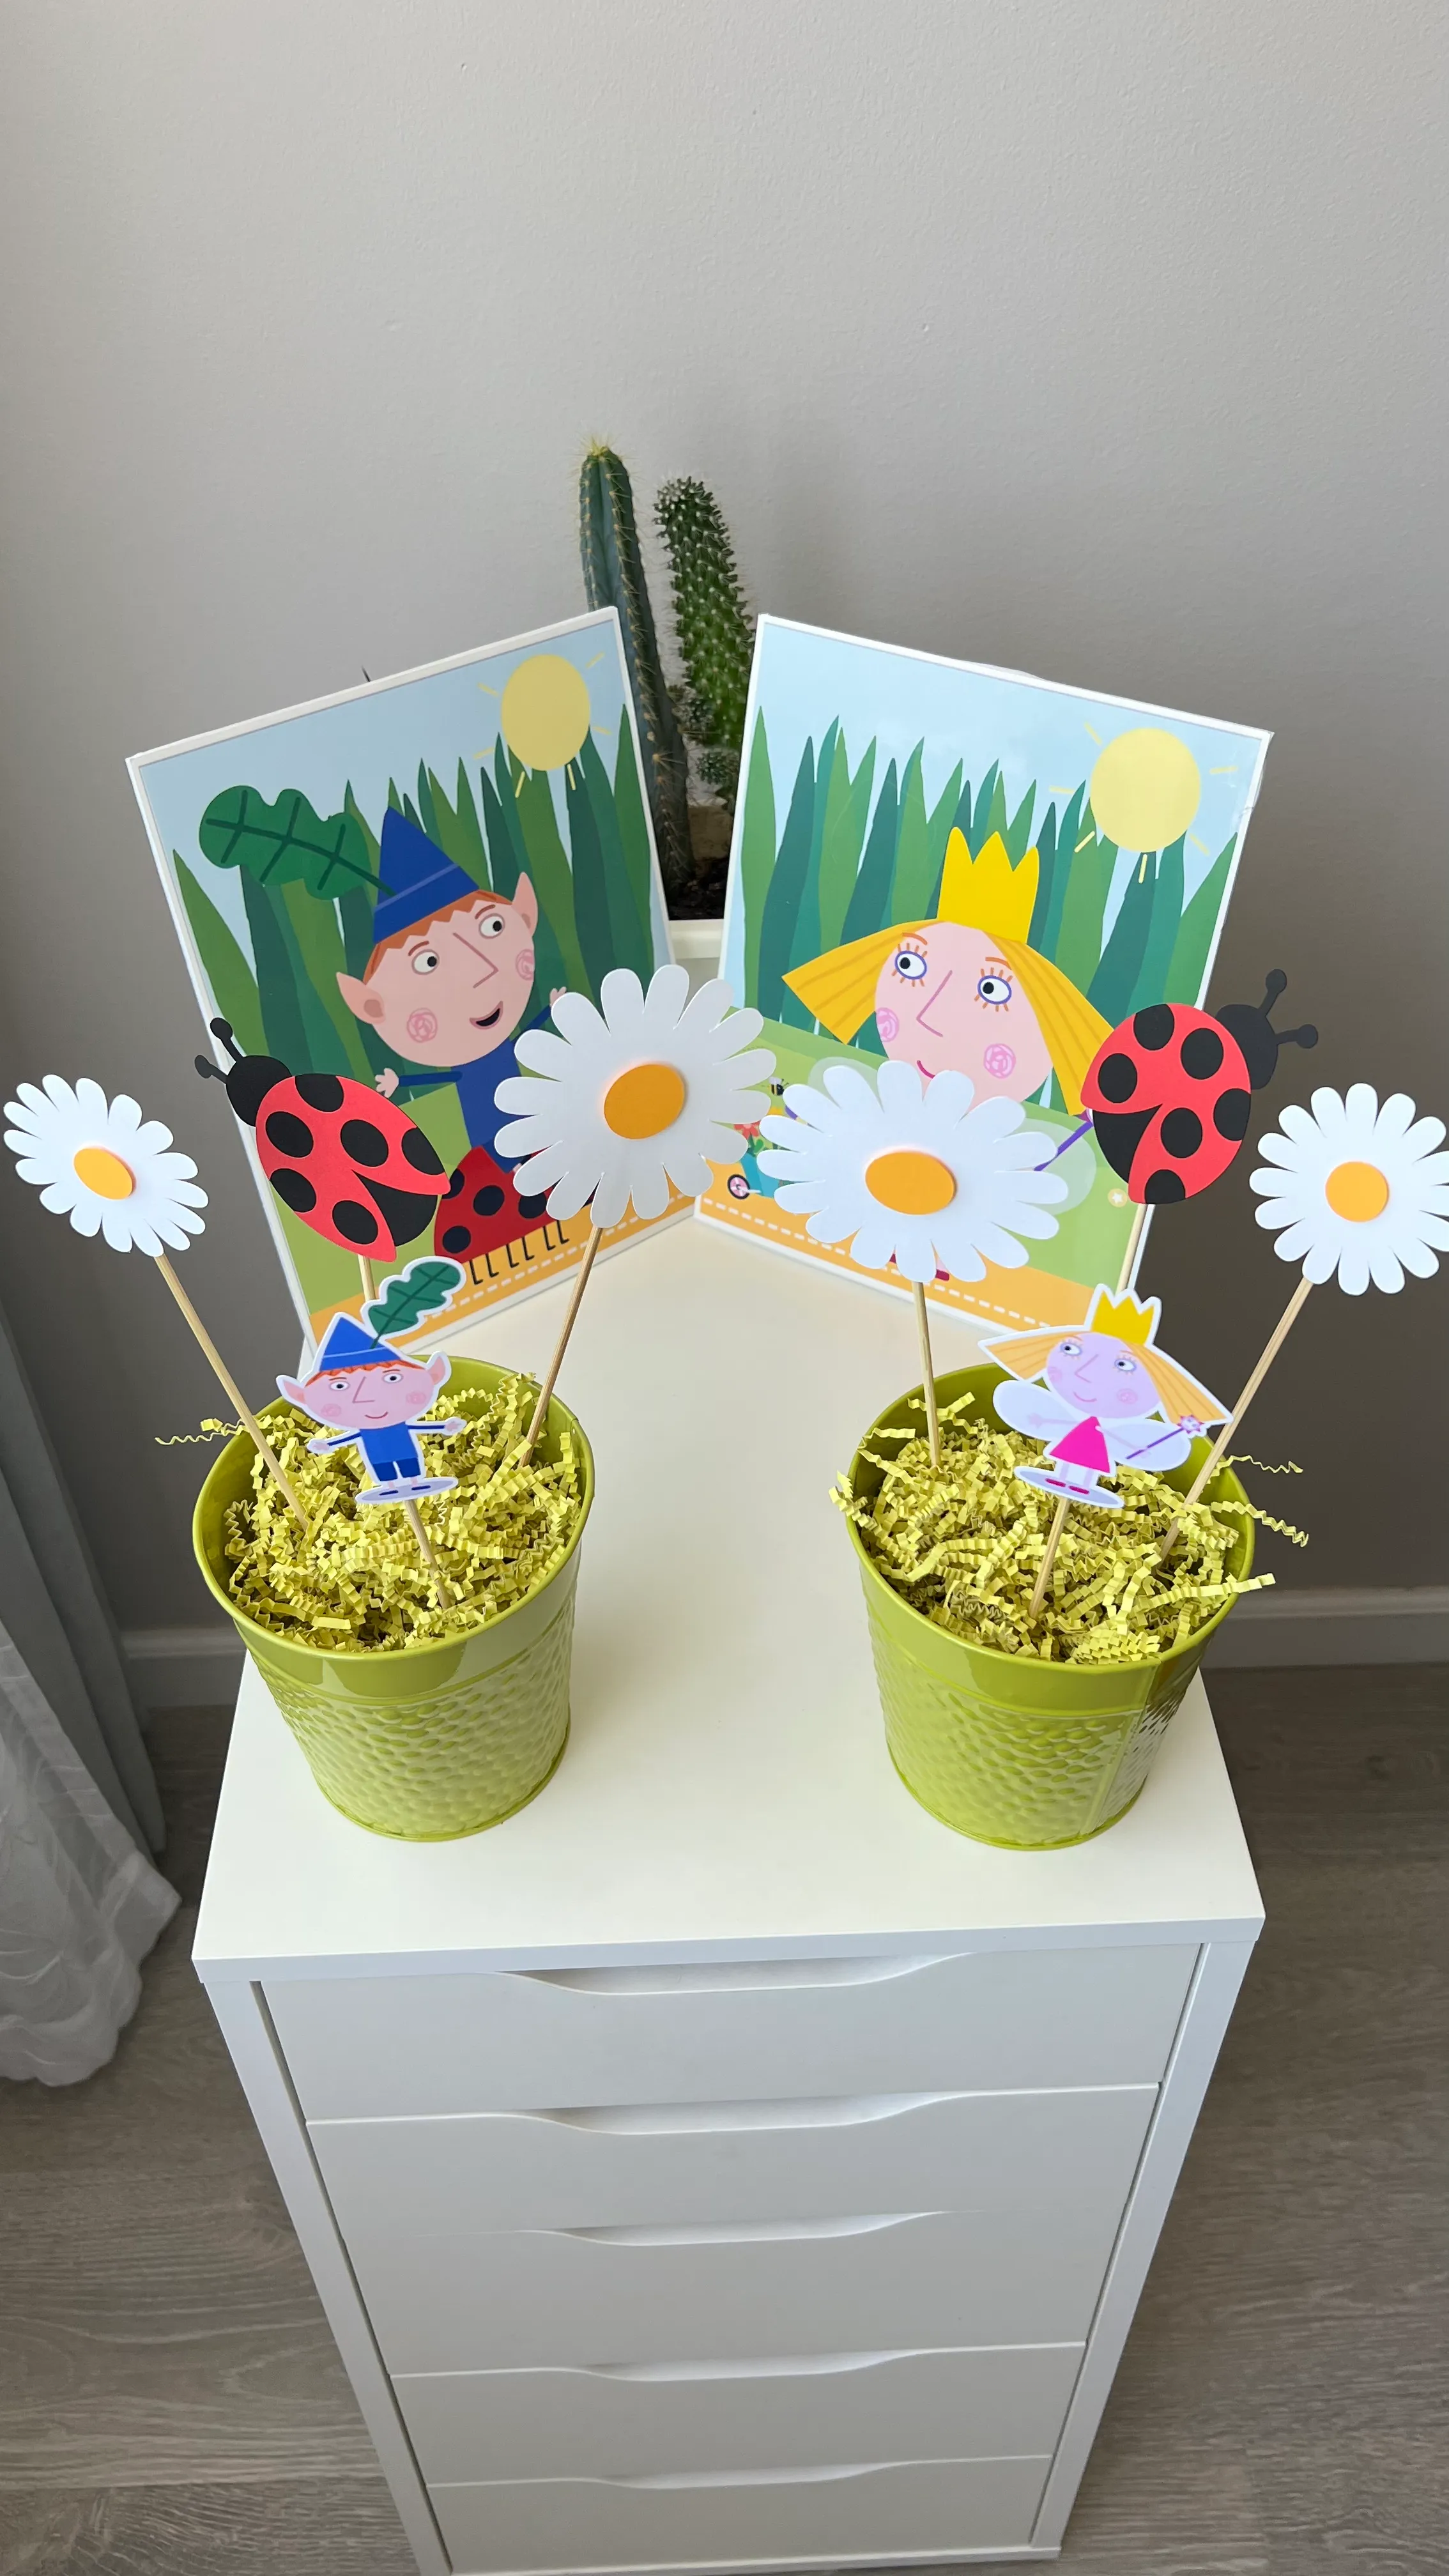
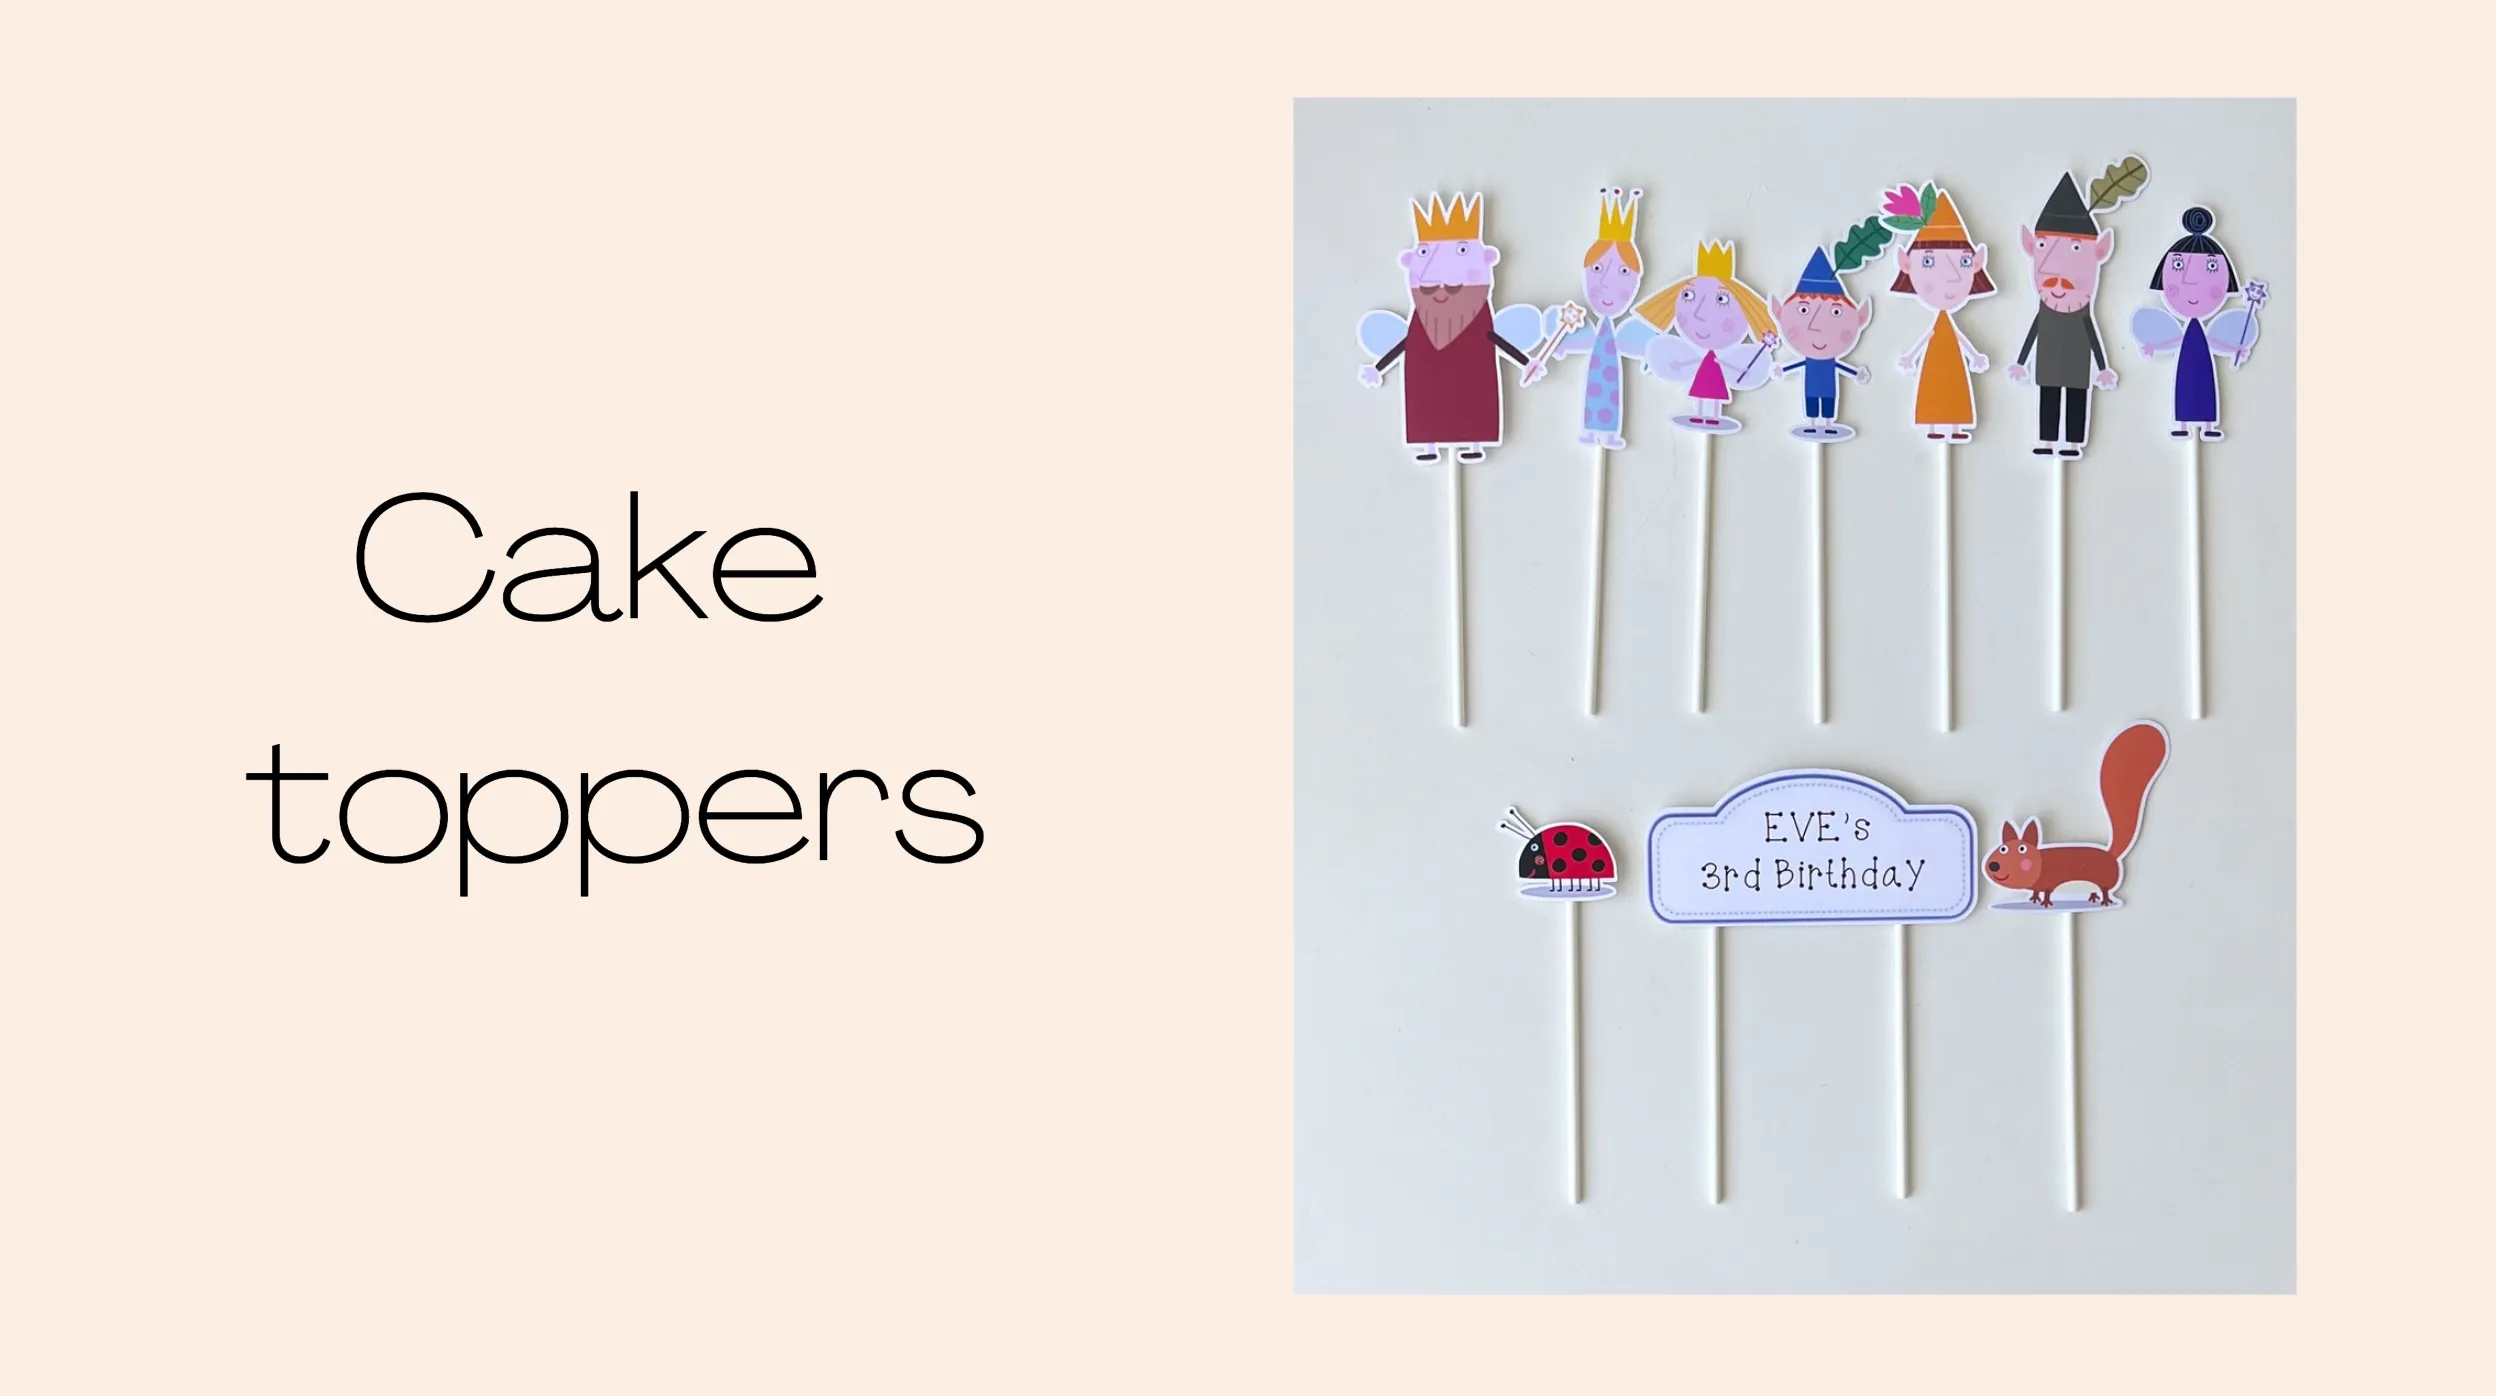
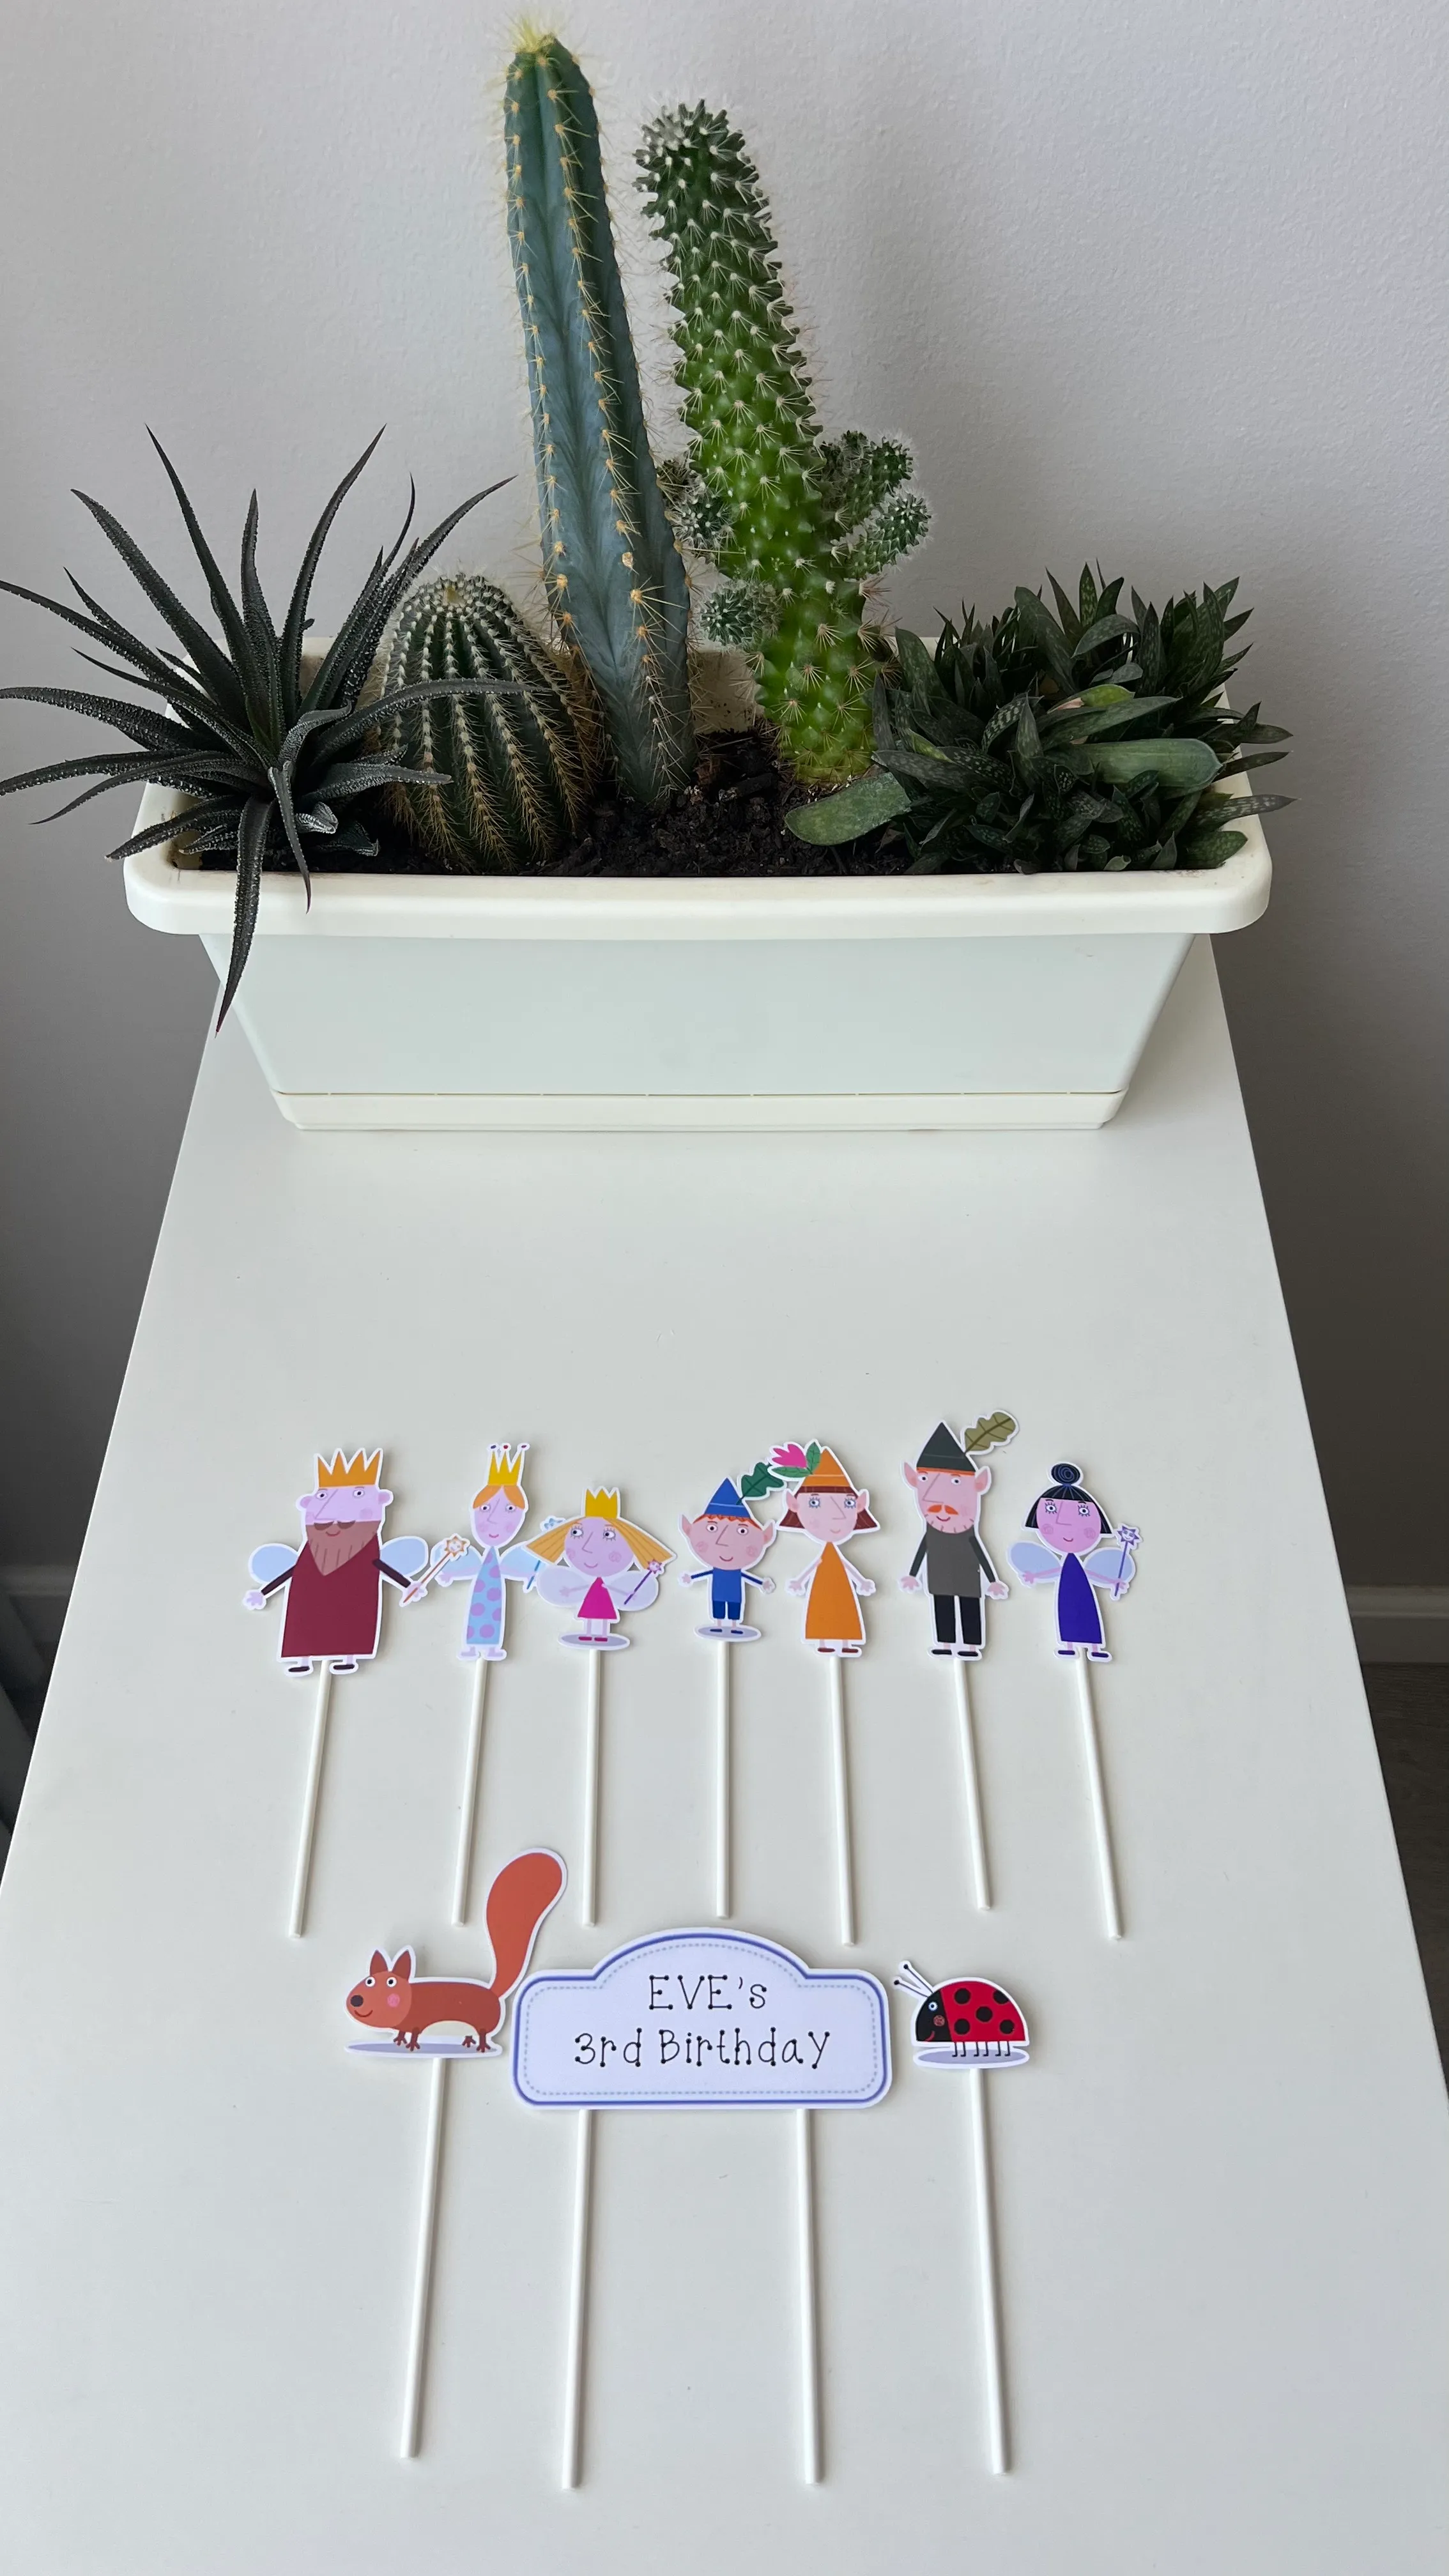
I wanted to make character cutouts for a long time and I’m really happy with how they turned out for that project.
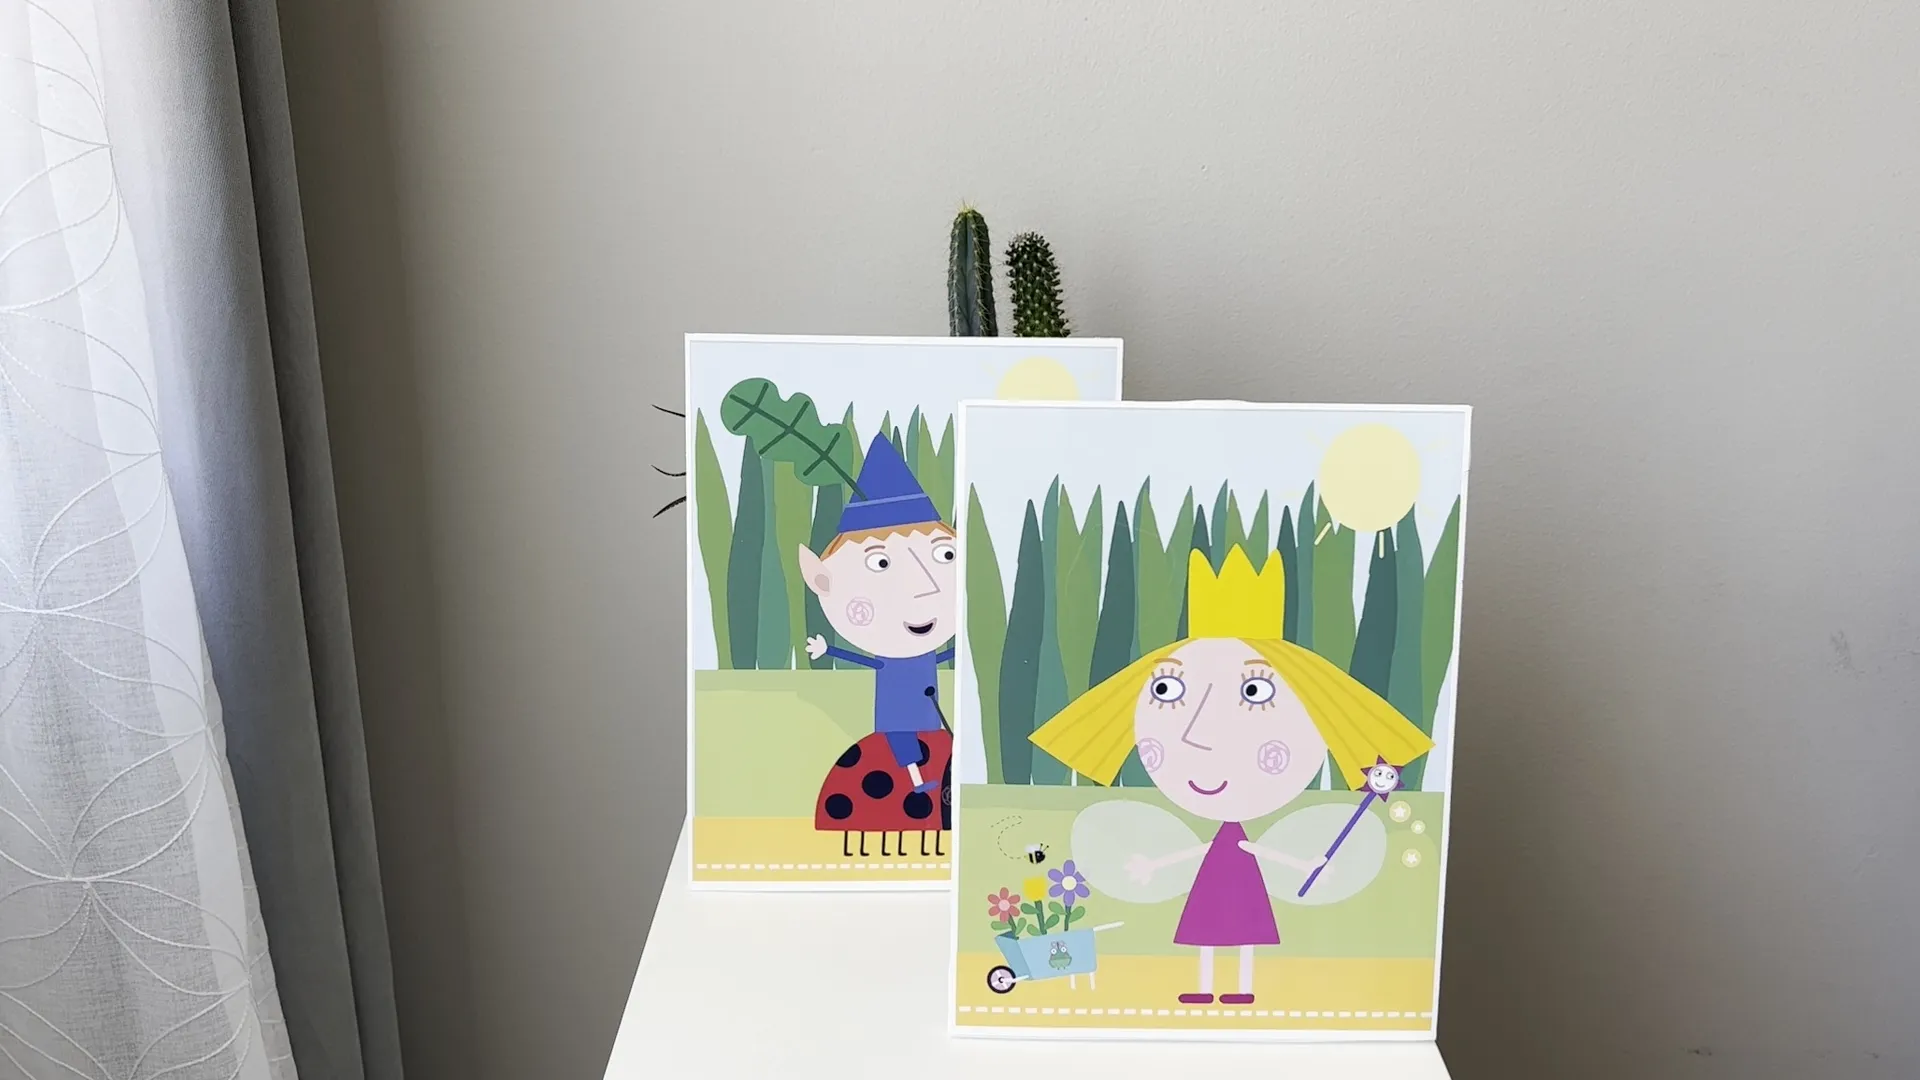
Here’s a quick rundown of how I did it: I printed my images on glossy photo paper, bought foam board from Dollar Tree, removed the upper layer, and applied my sticker images. You can then use a utility knife to cut out the pictures. For this project, you can also use a hard foam cutter, which cuts foam board like butter. Choose the option that's more convenient for you. I cut small pieces of foam board and glued them with a hot glue gun to hold our cutout characters.
I also made these awesome buckets and added toppers with daisies and ladybugs. How to make the same project watch here.
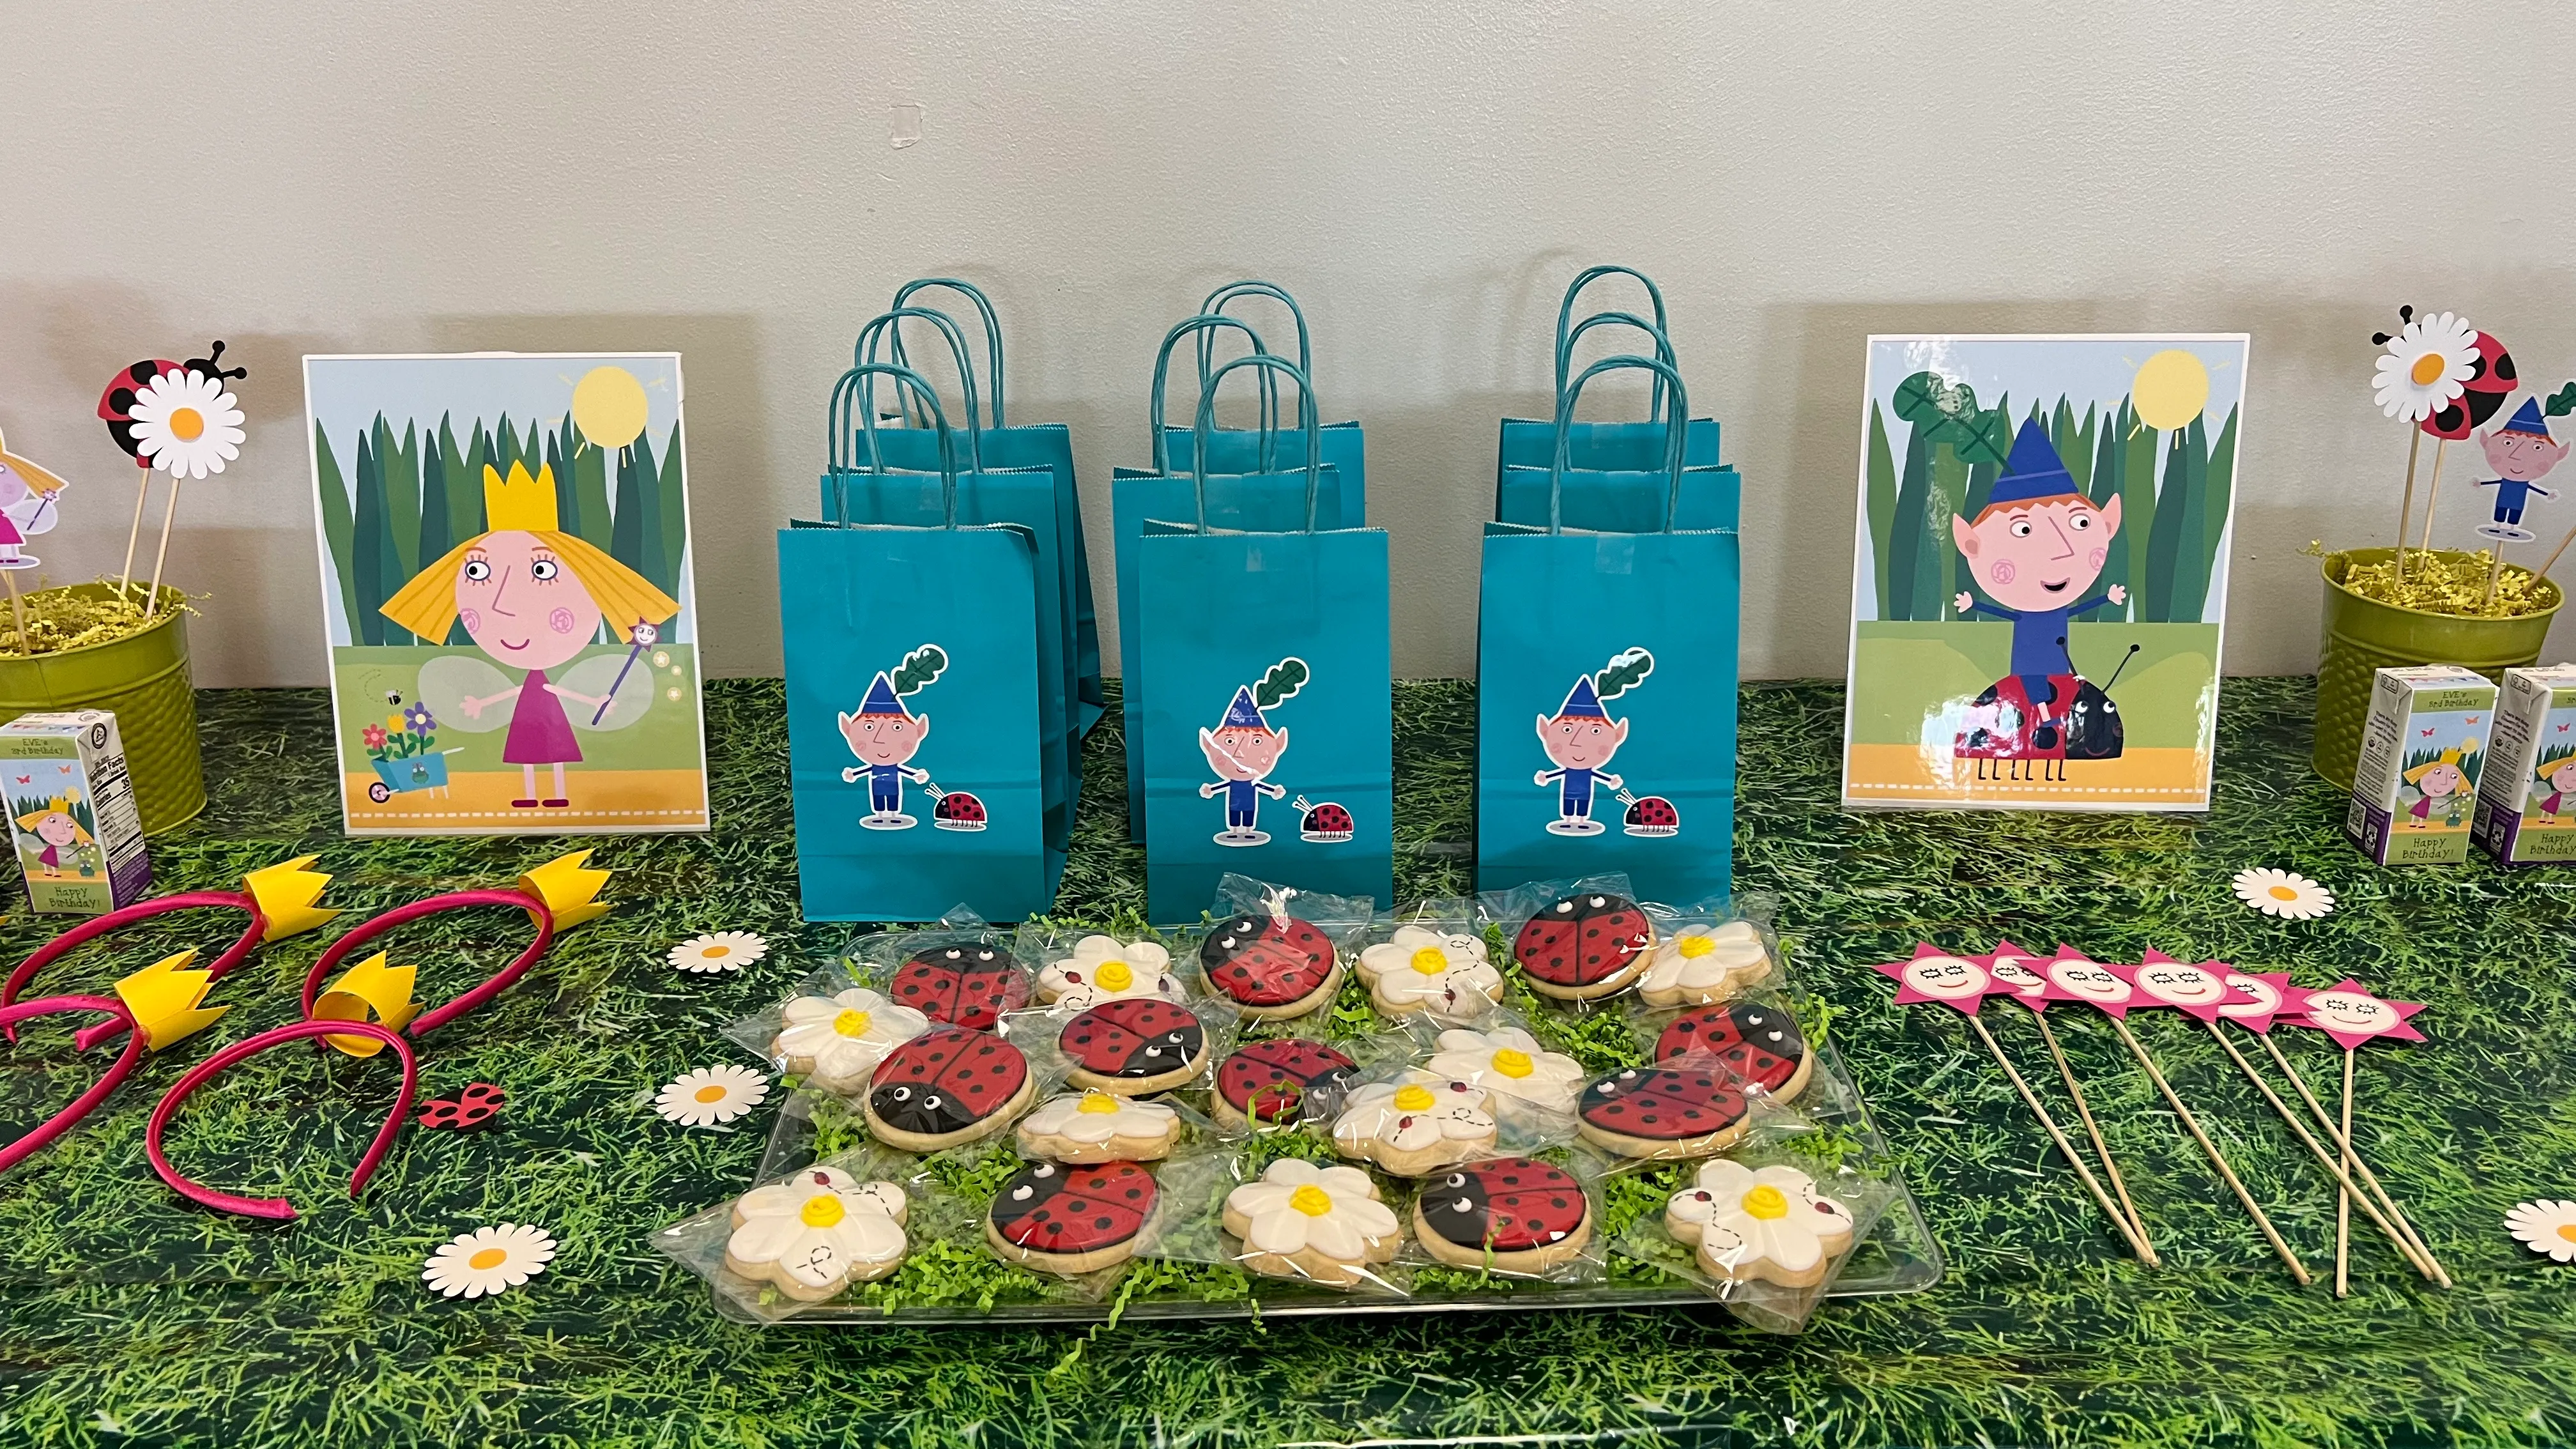
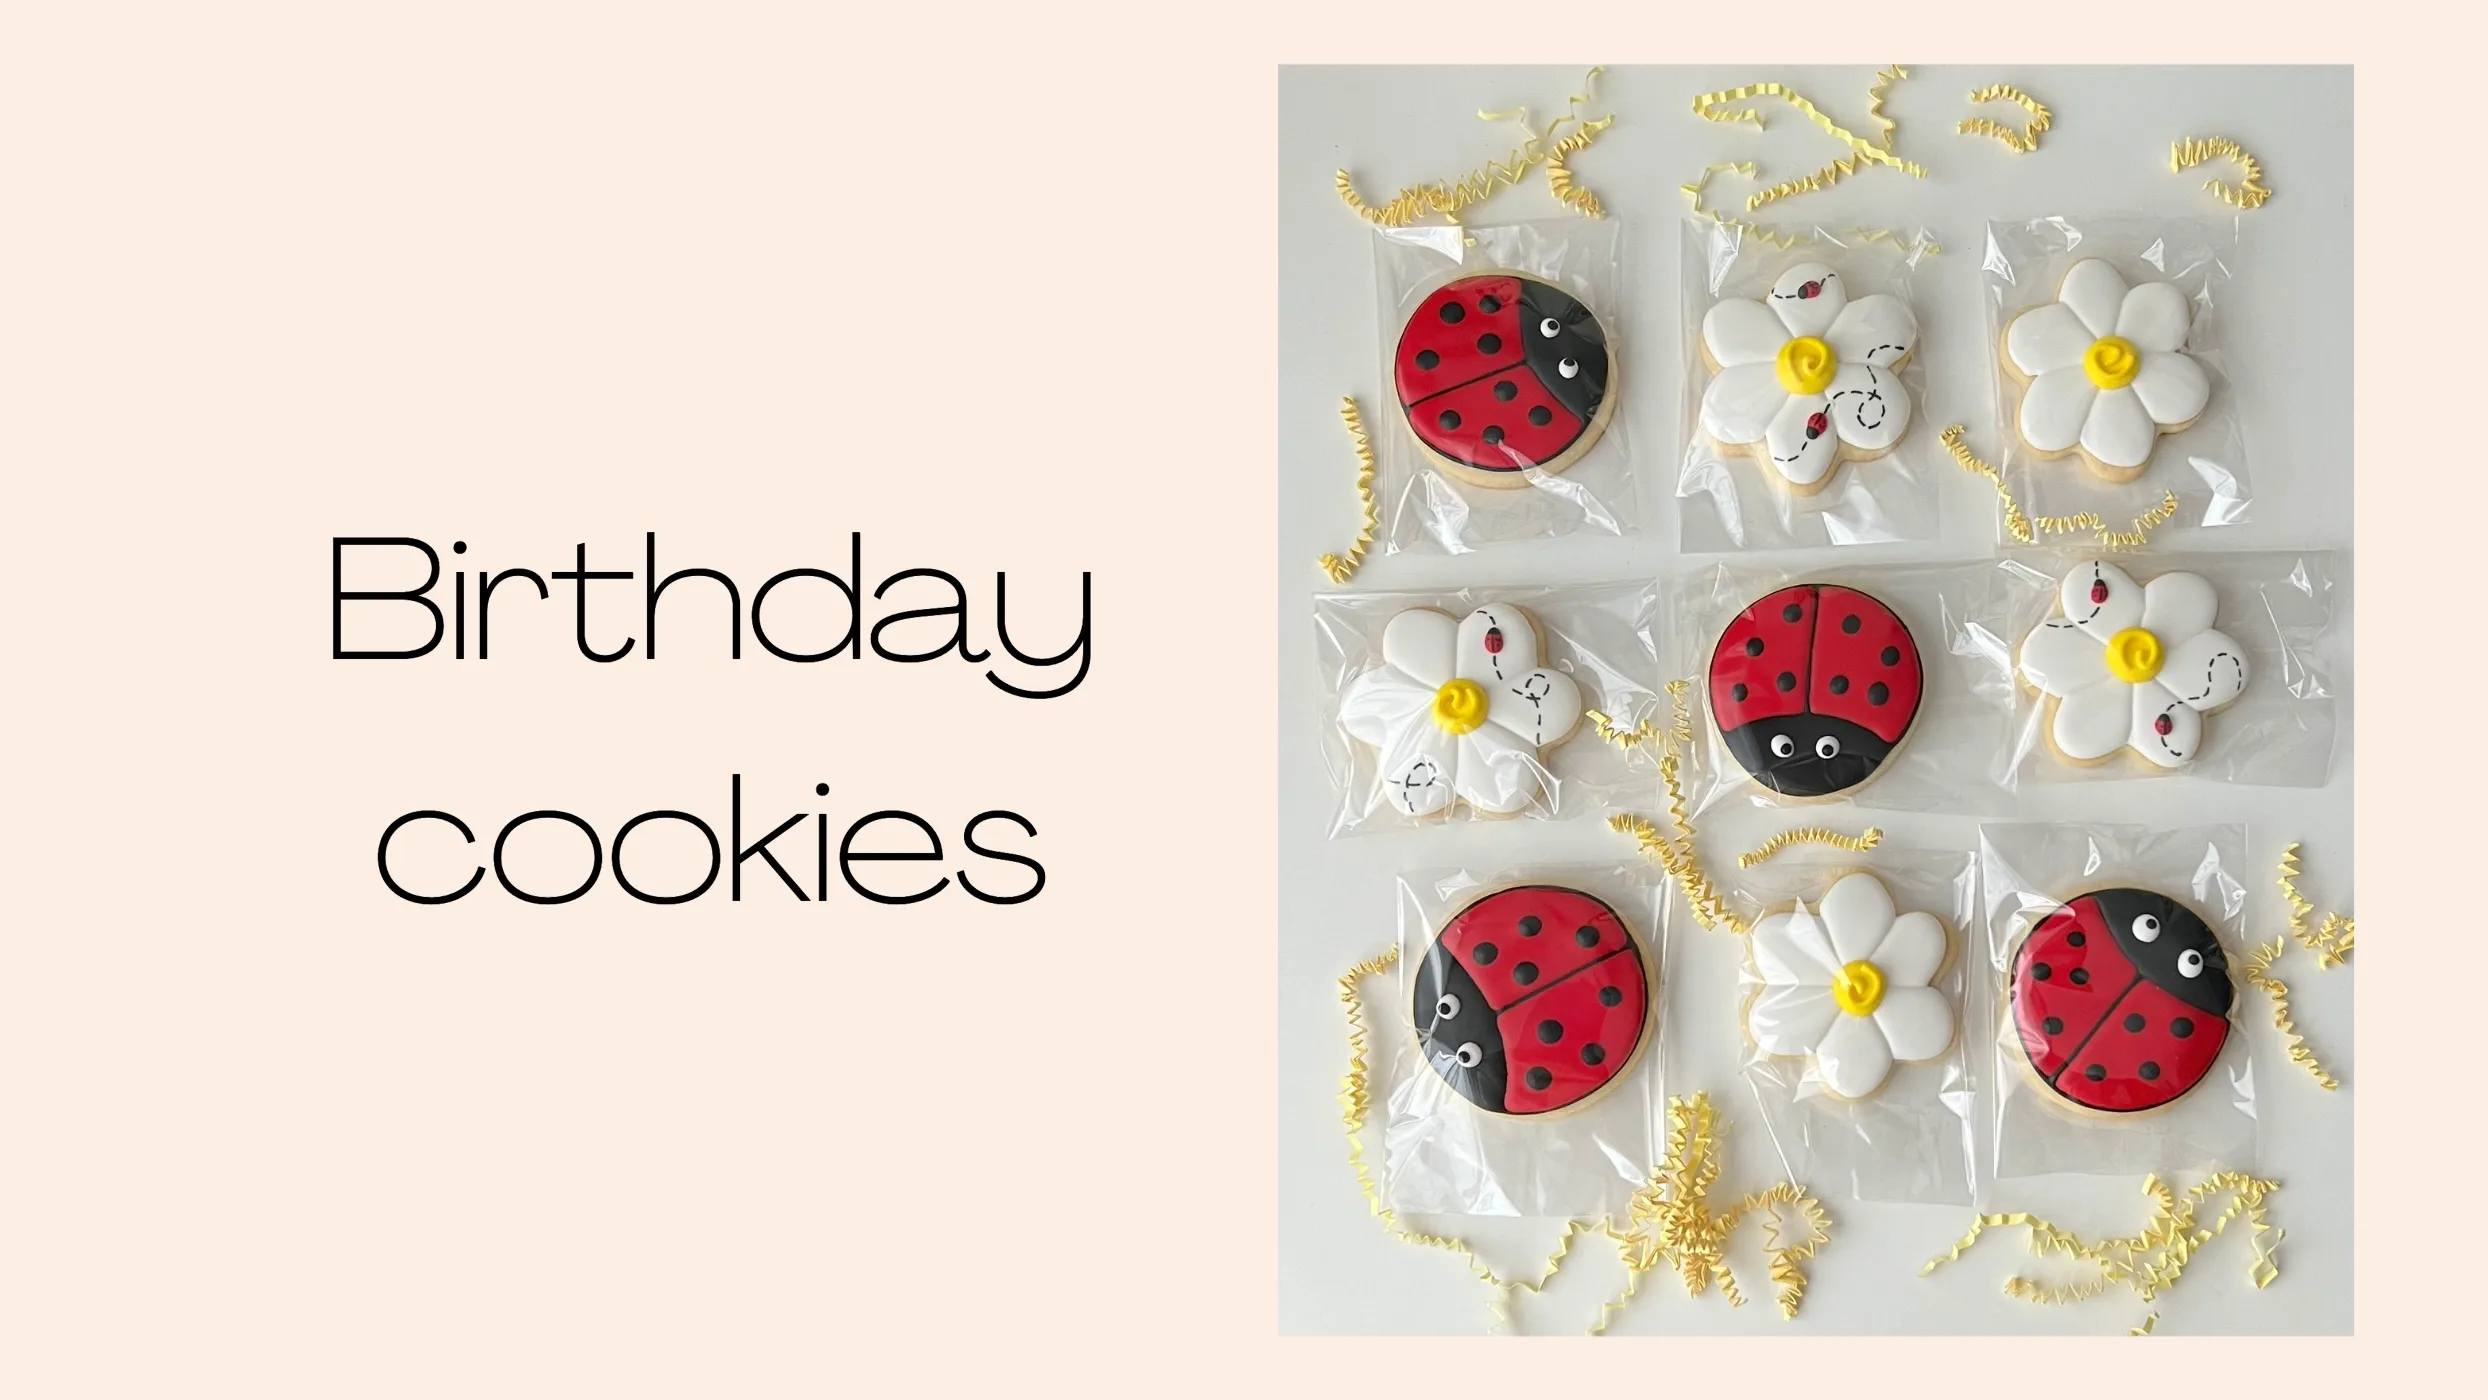
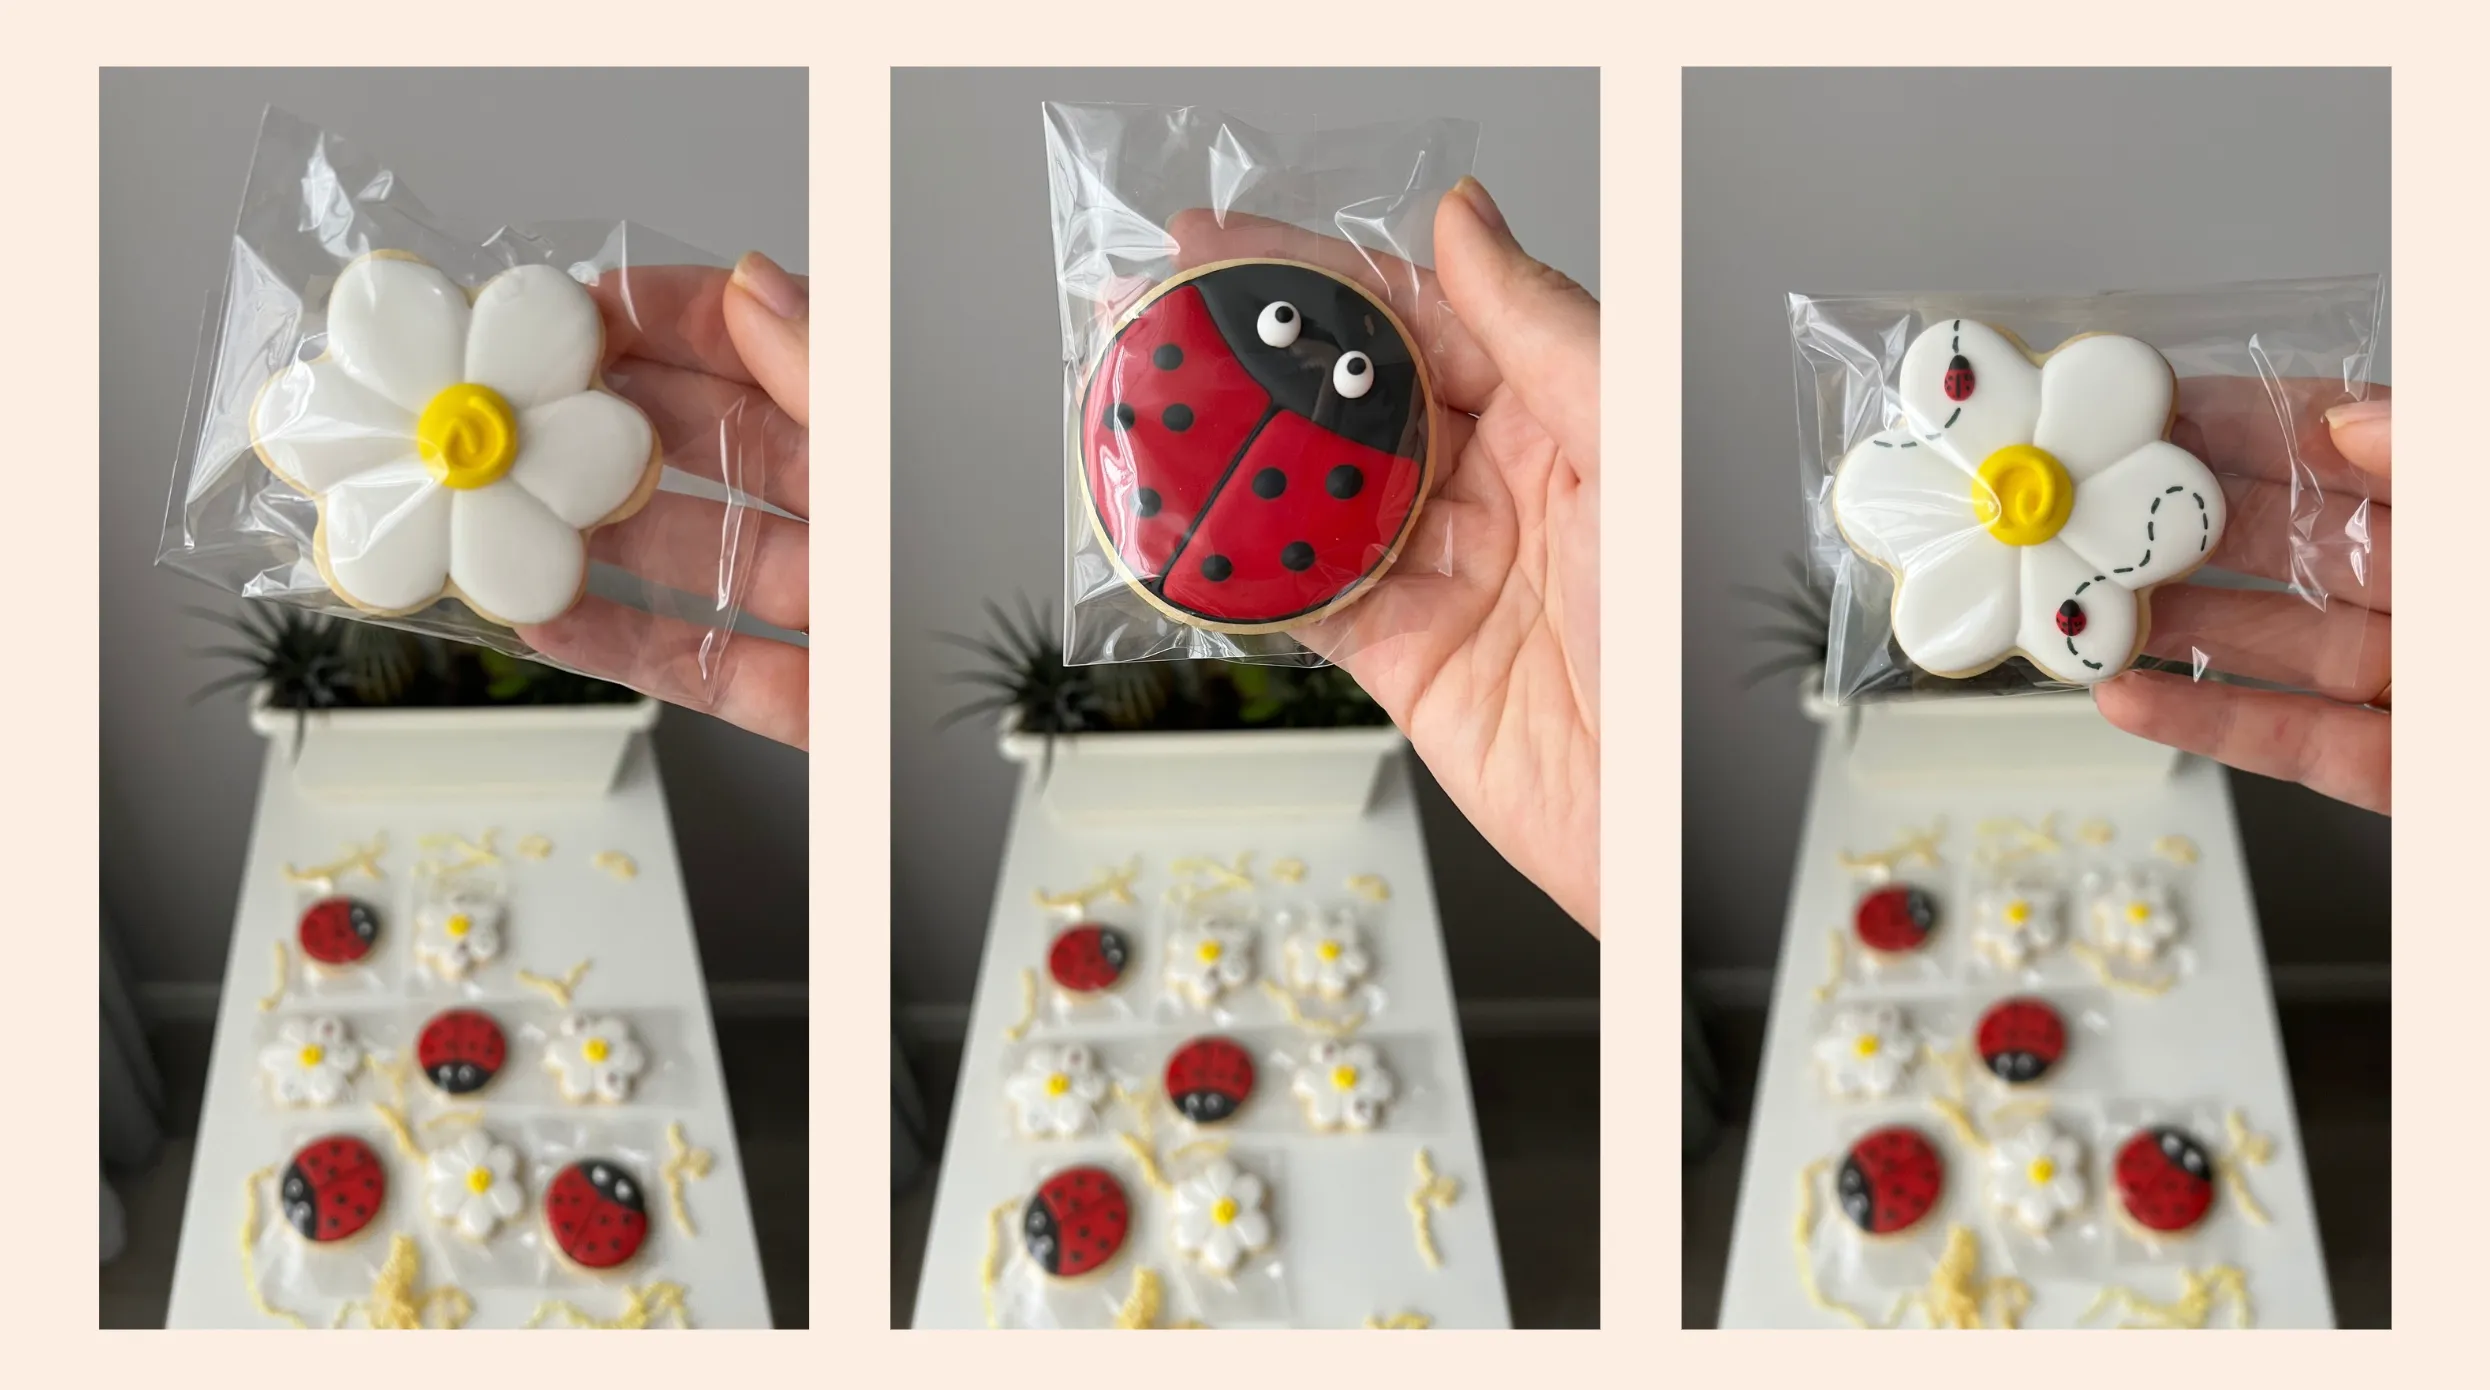
Especially, I want to highlight these cookies that my friend Olga made for this event - here is her Instagram. Look at the details! The kids couldn't wait to try them.
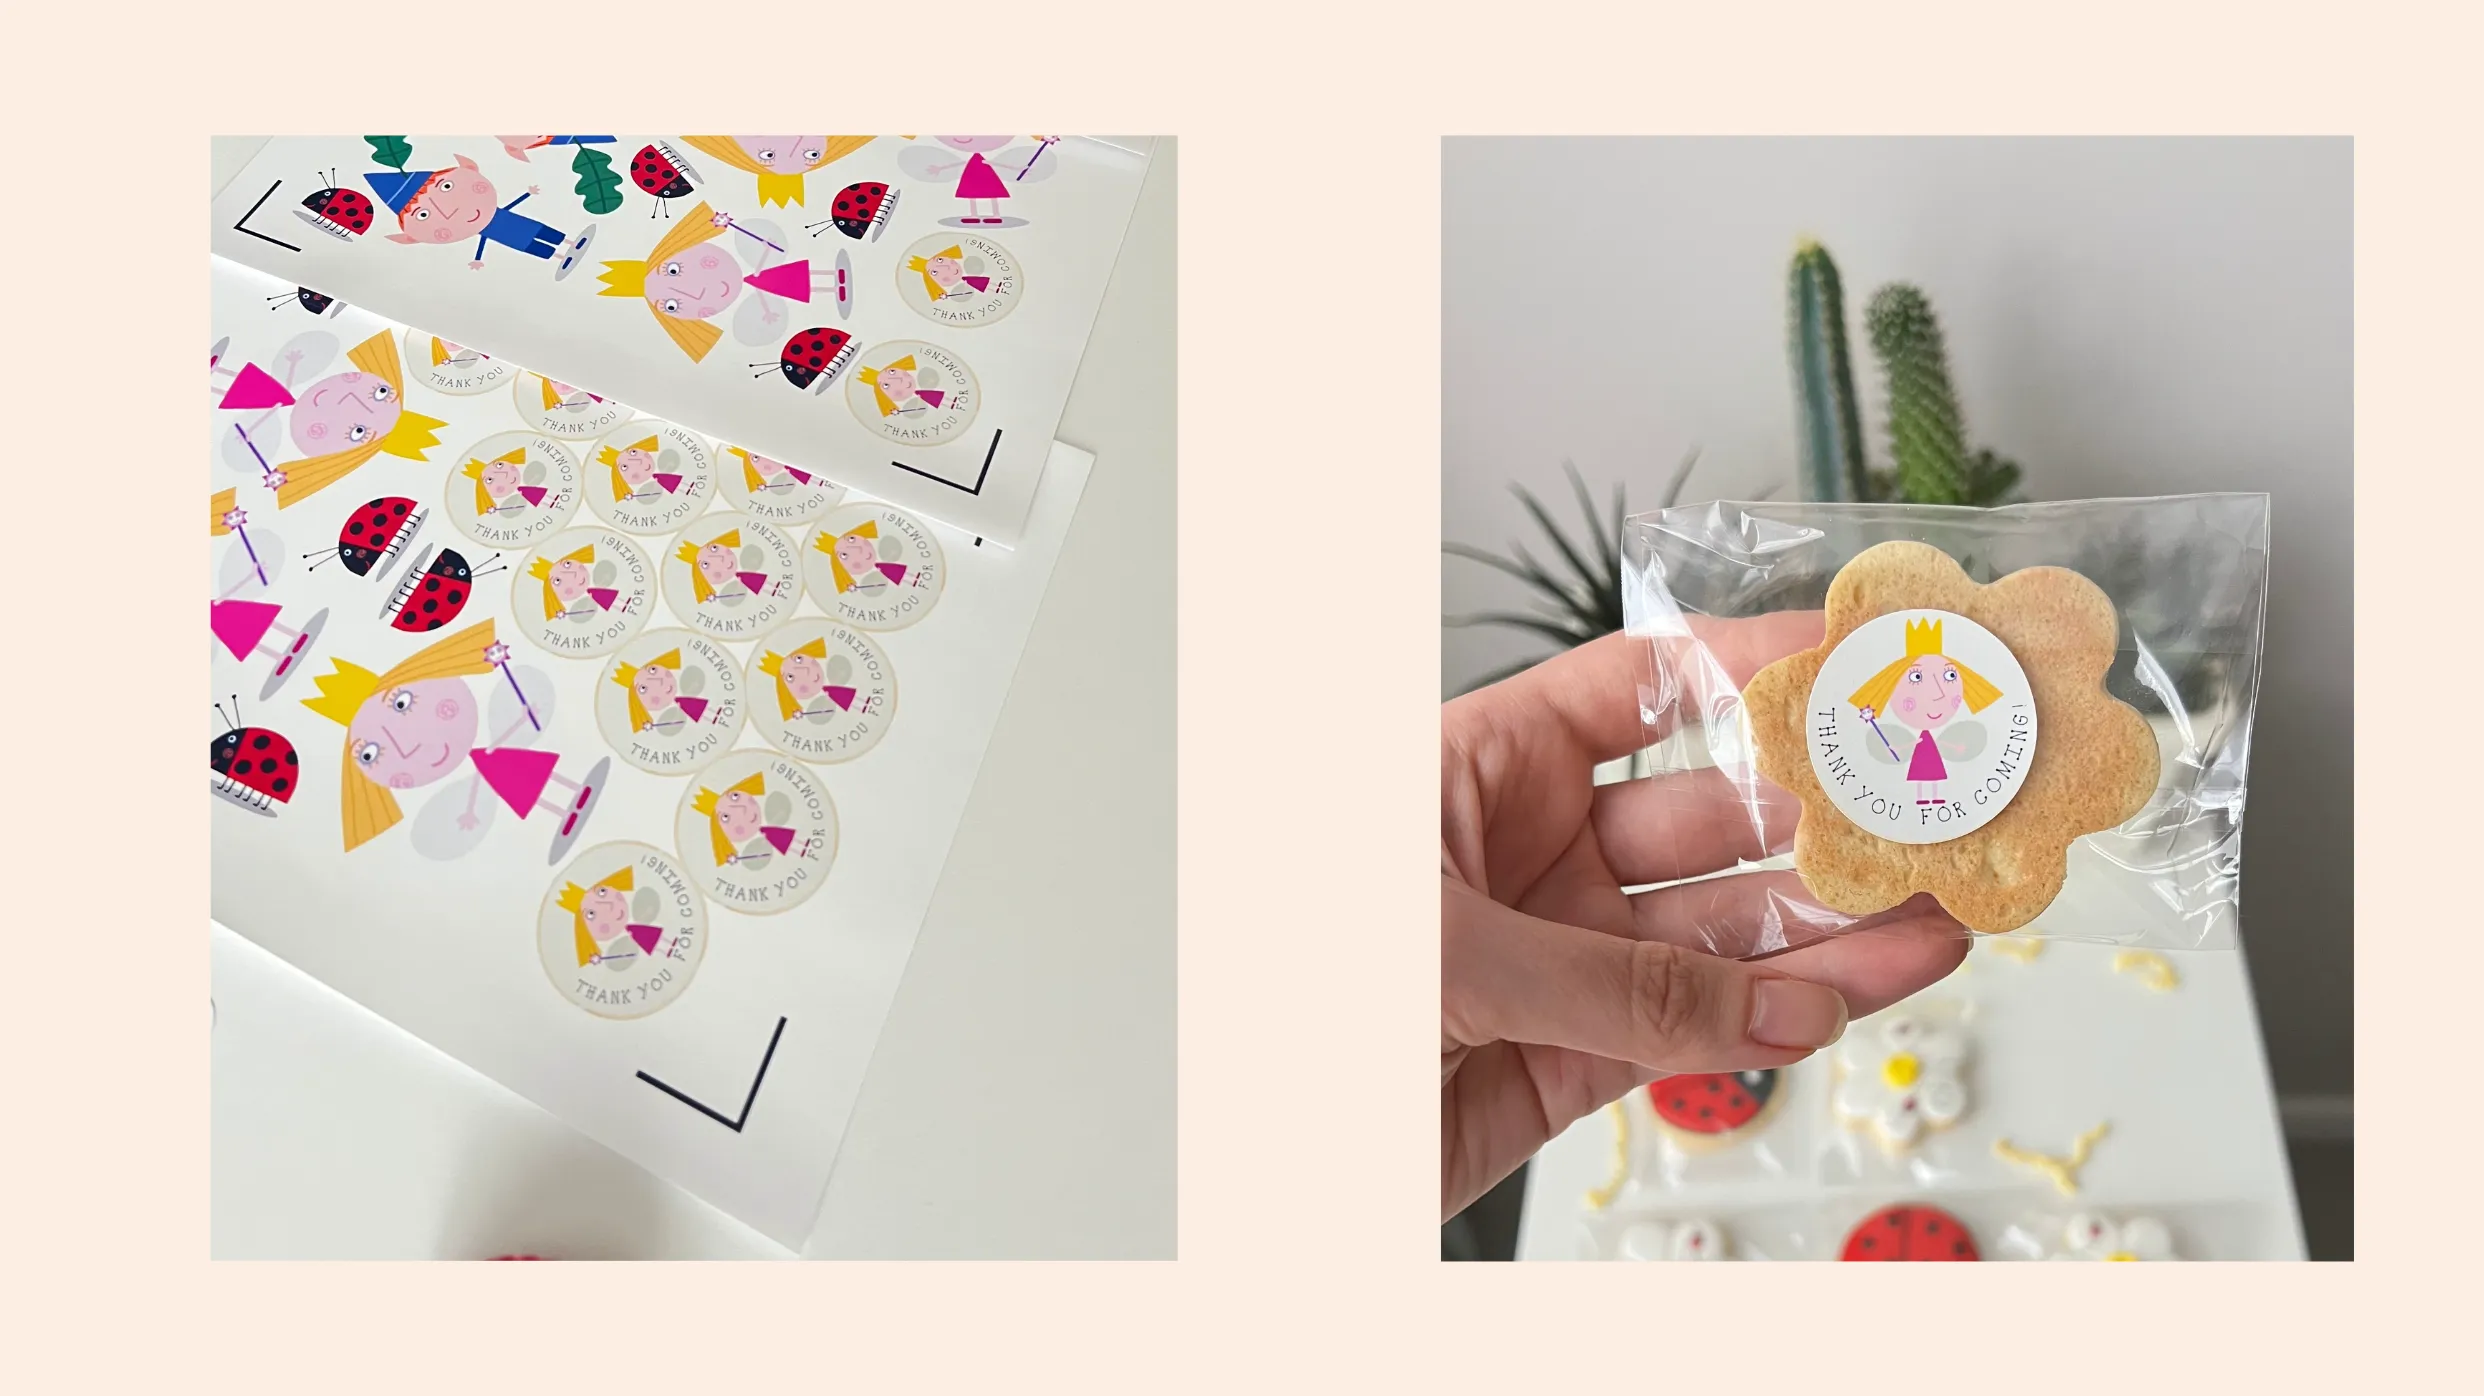
For each cookie, I made custom thank-you stickers.
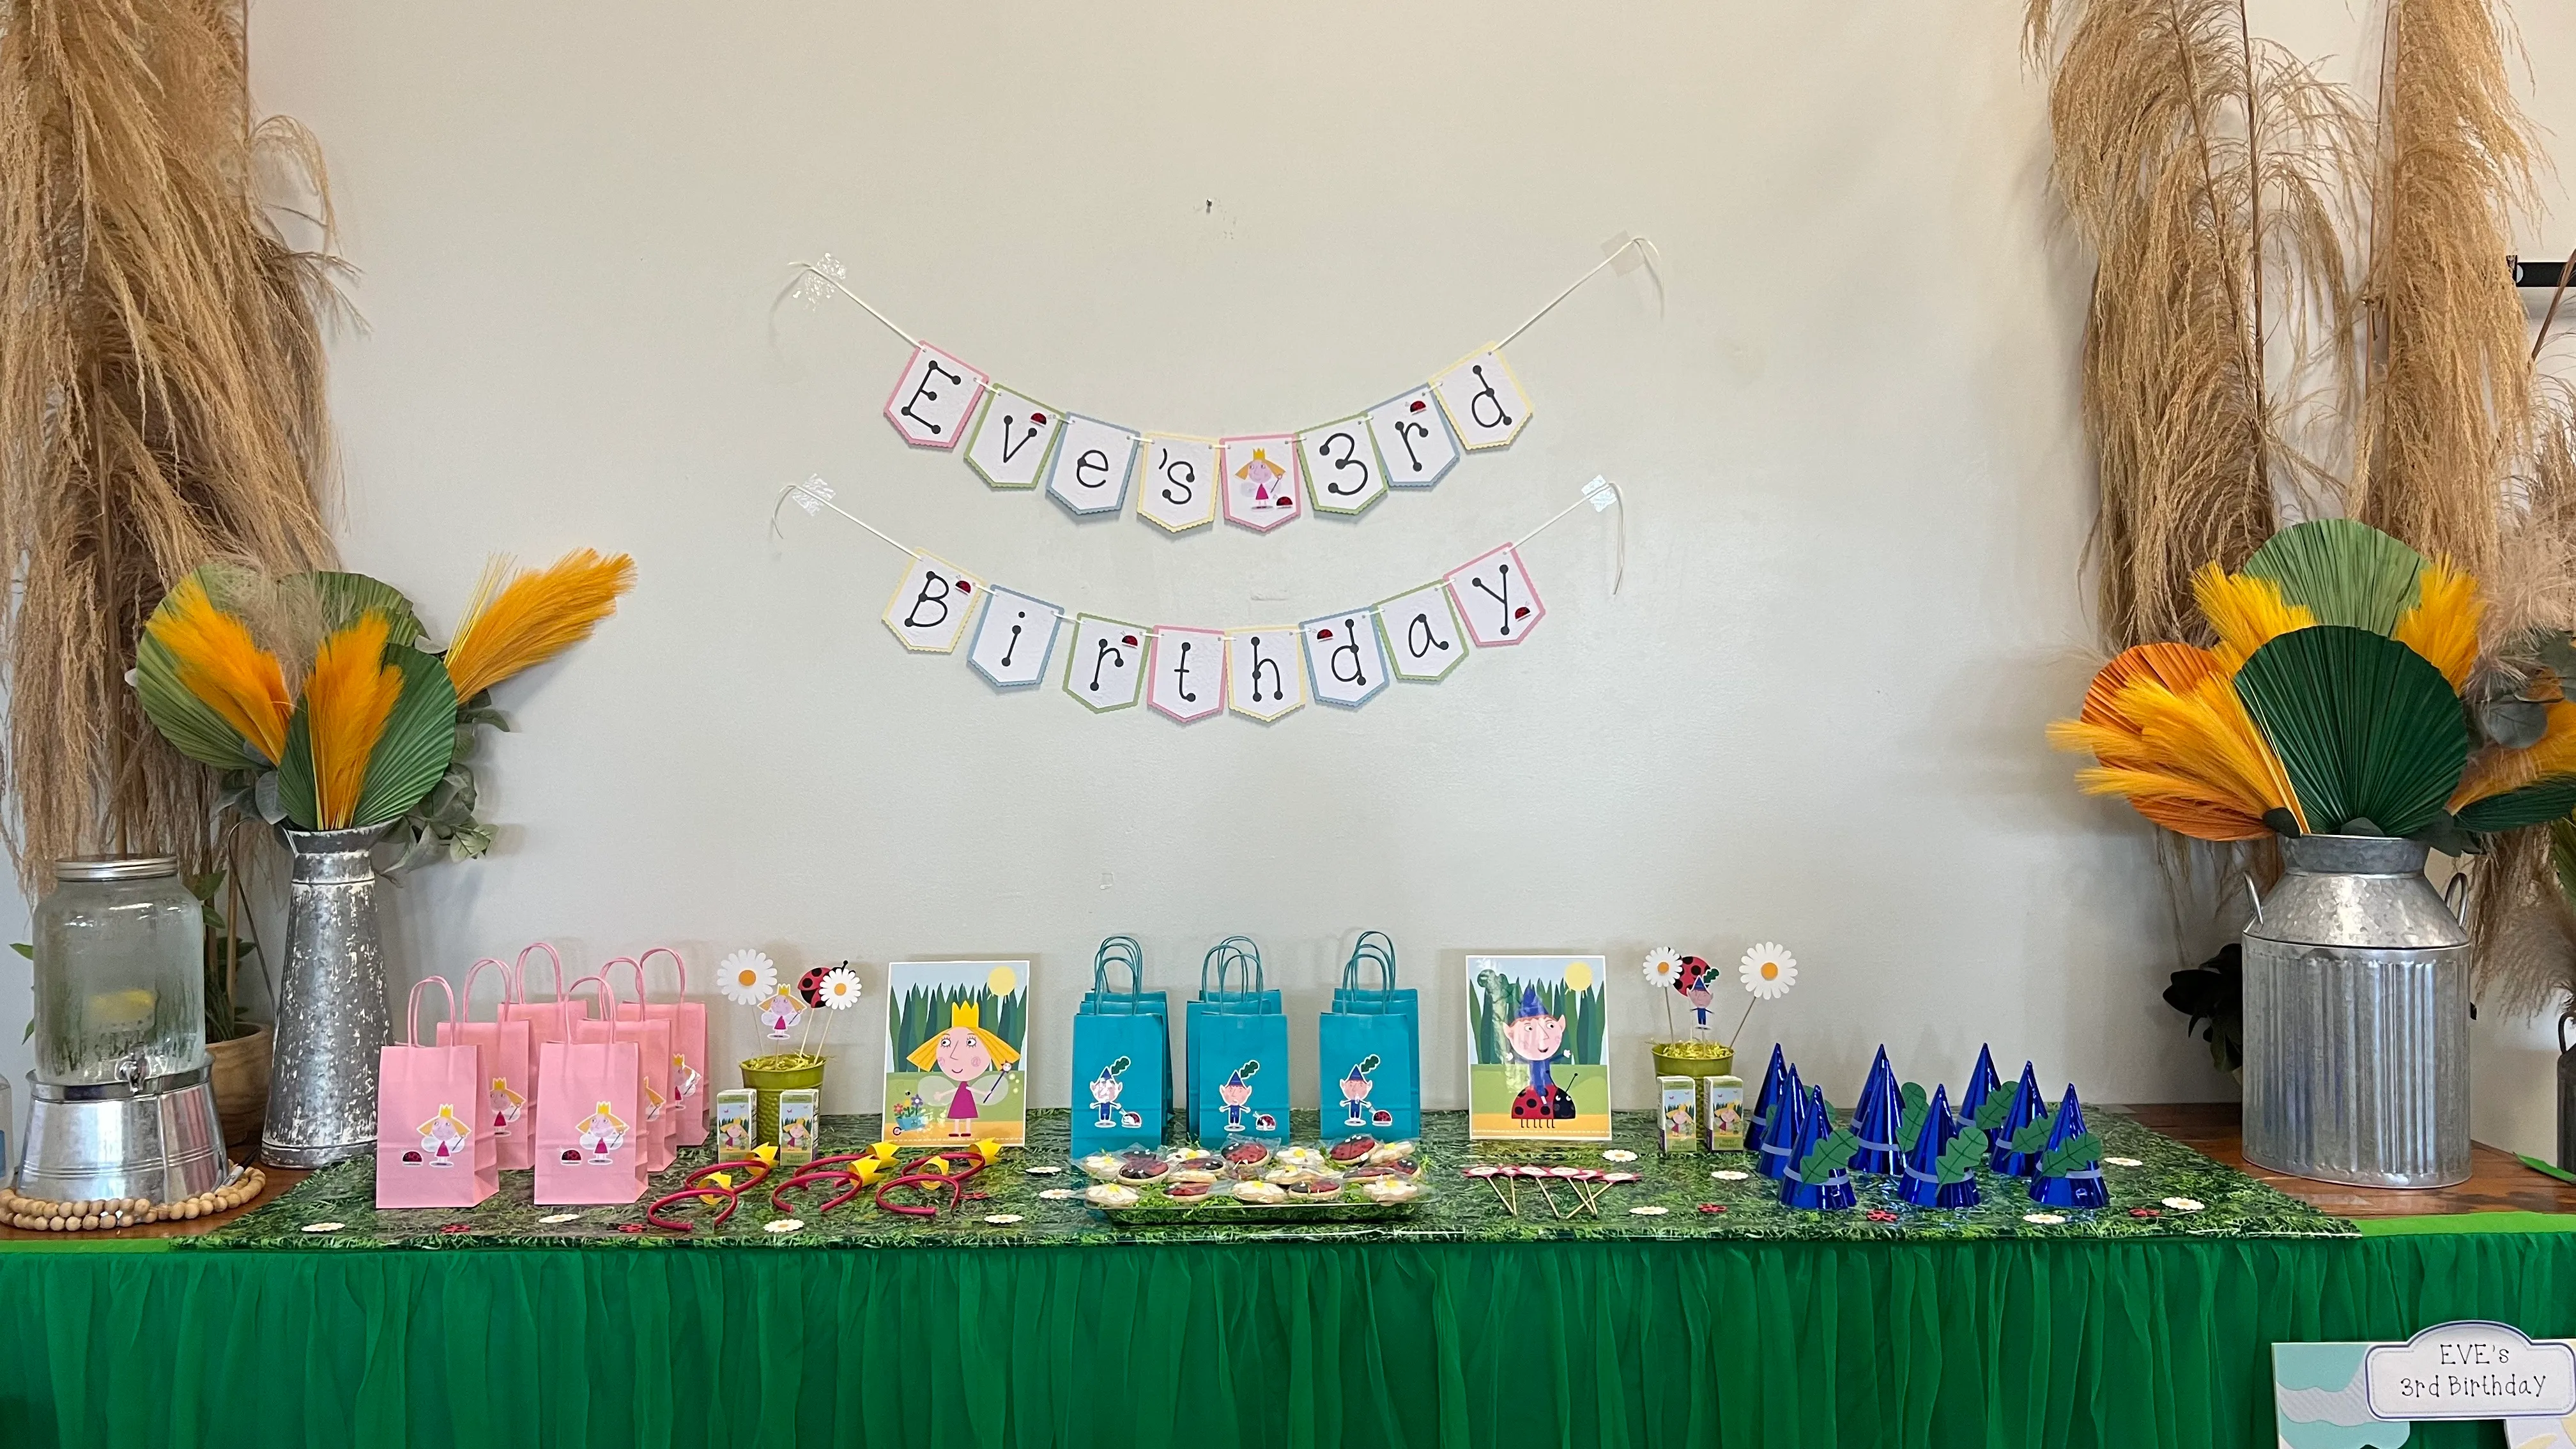
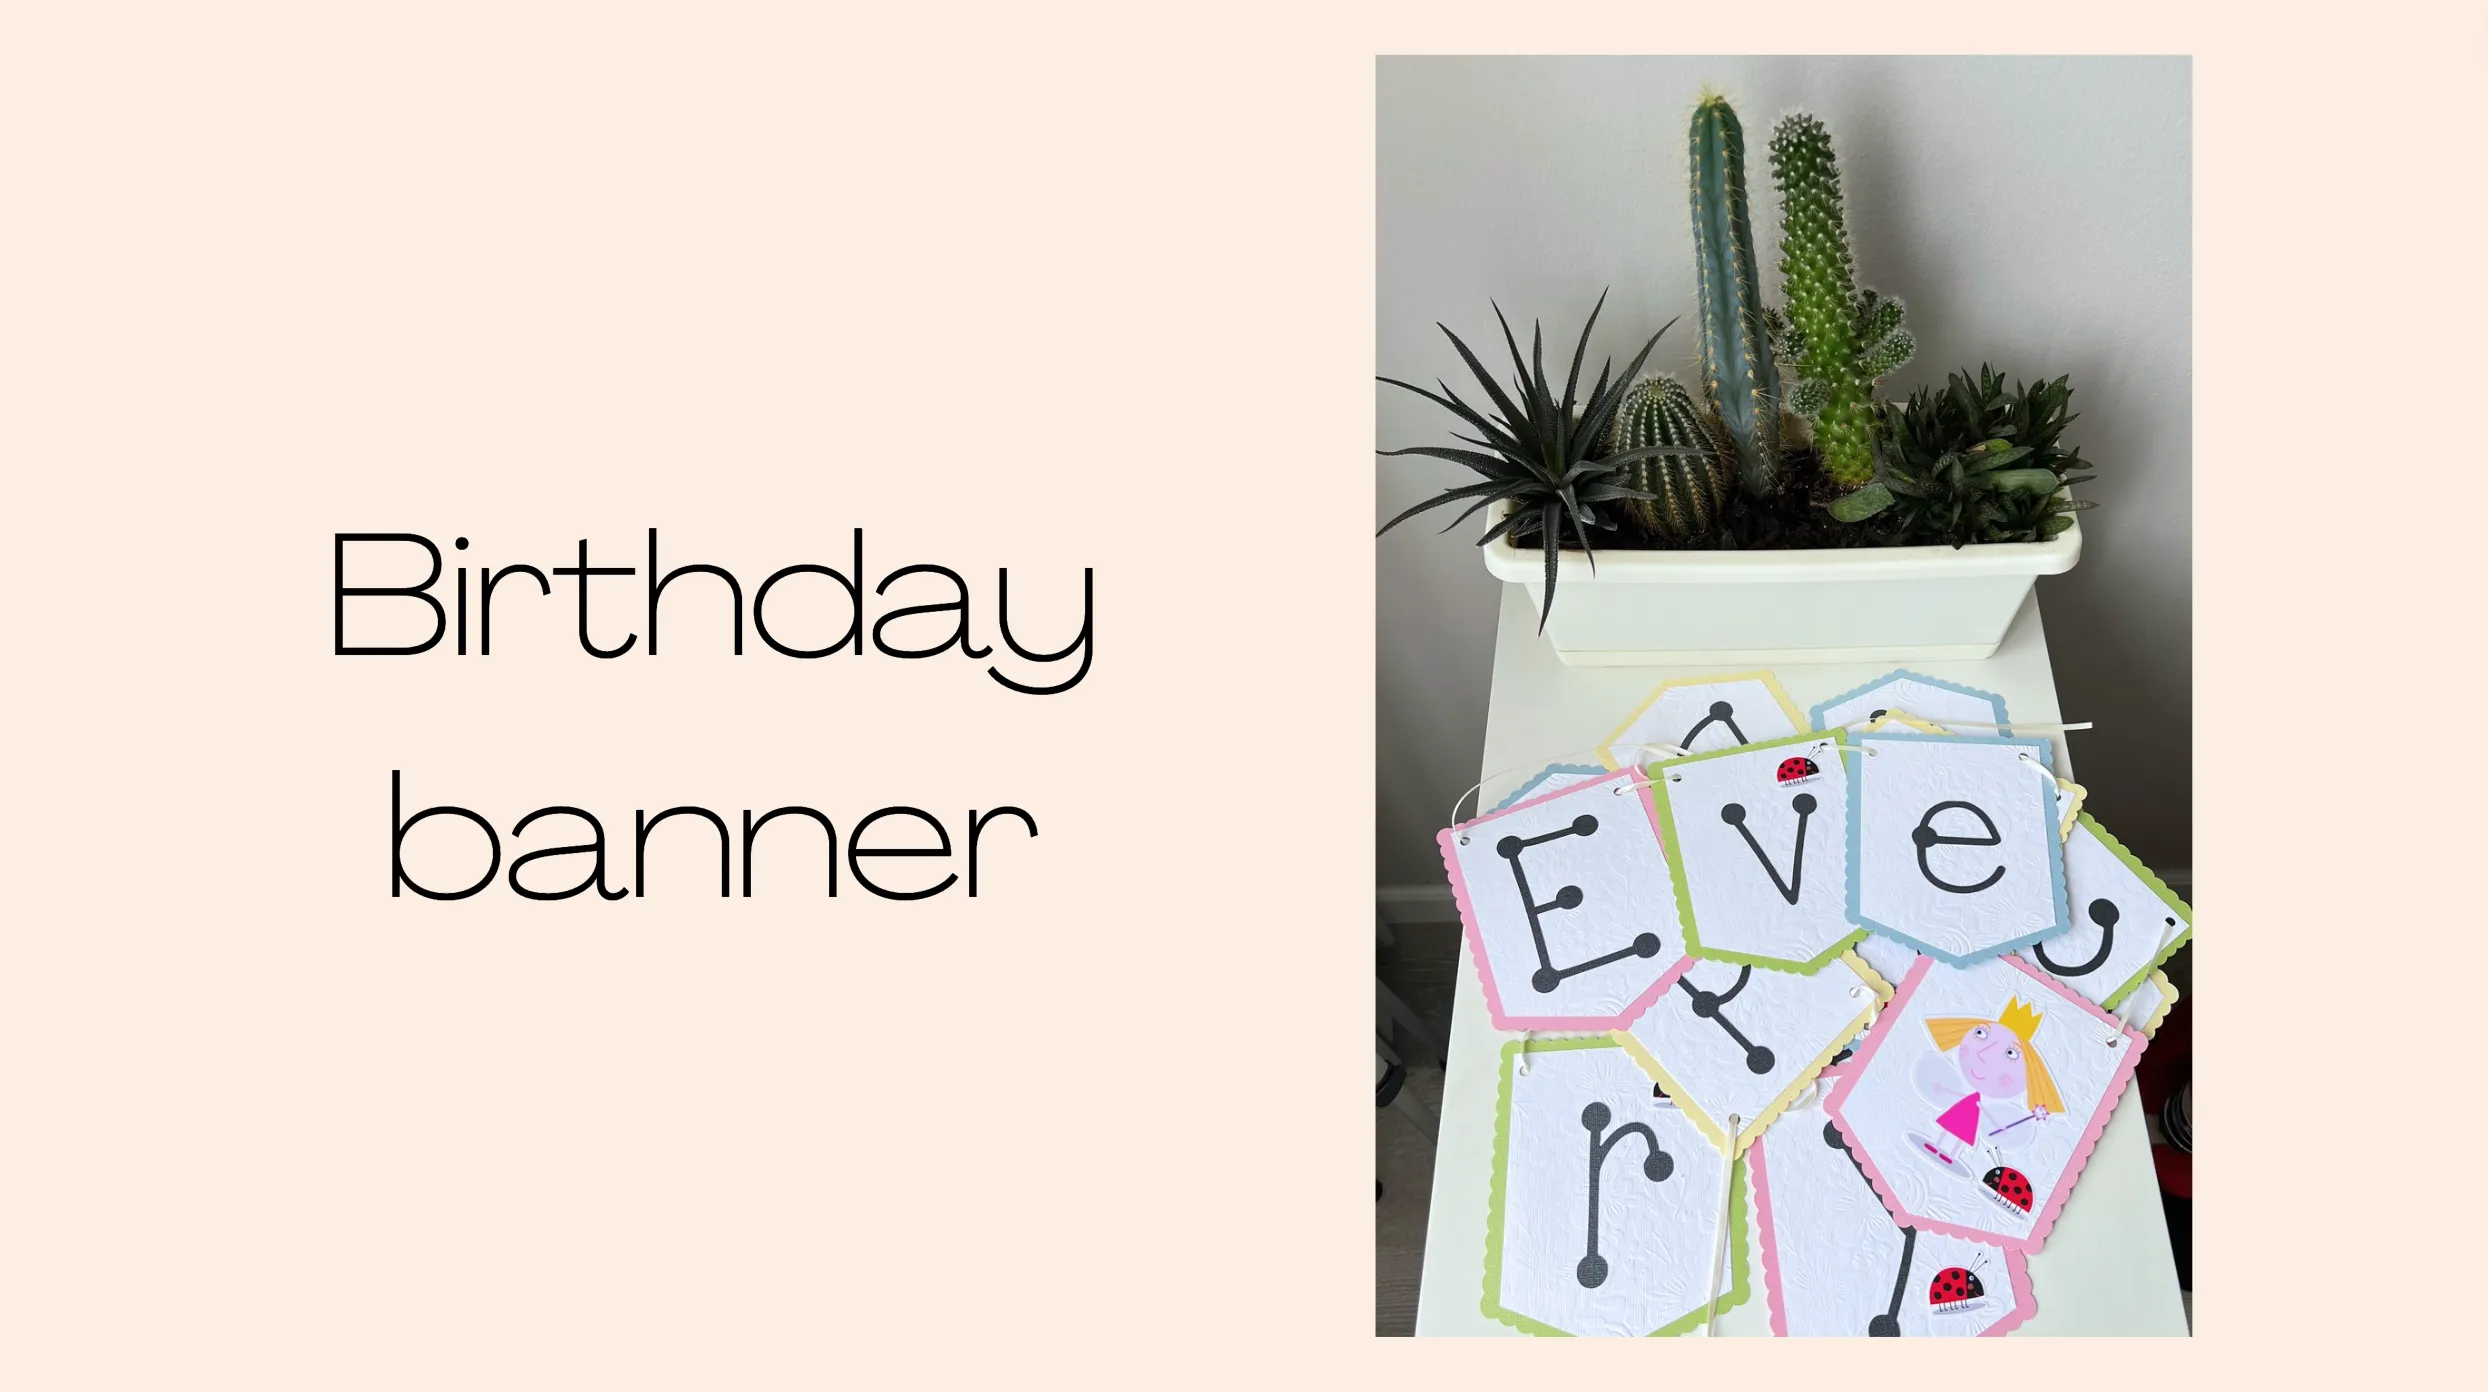
Of course, I made a birthday banner with the name of our birthday girl.

I also found coloring pages in the theme of our party and printed them out for the kids.

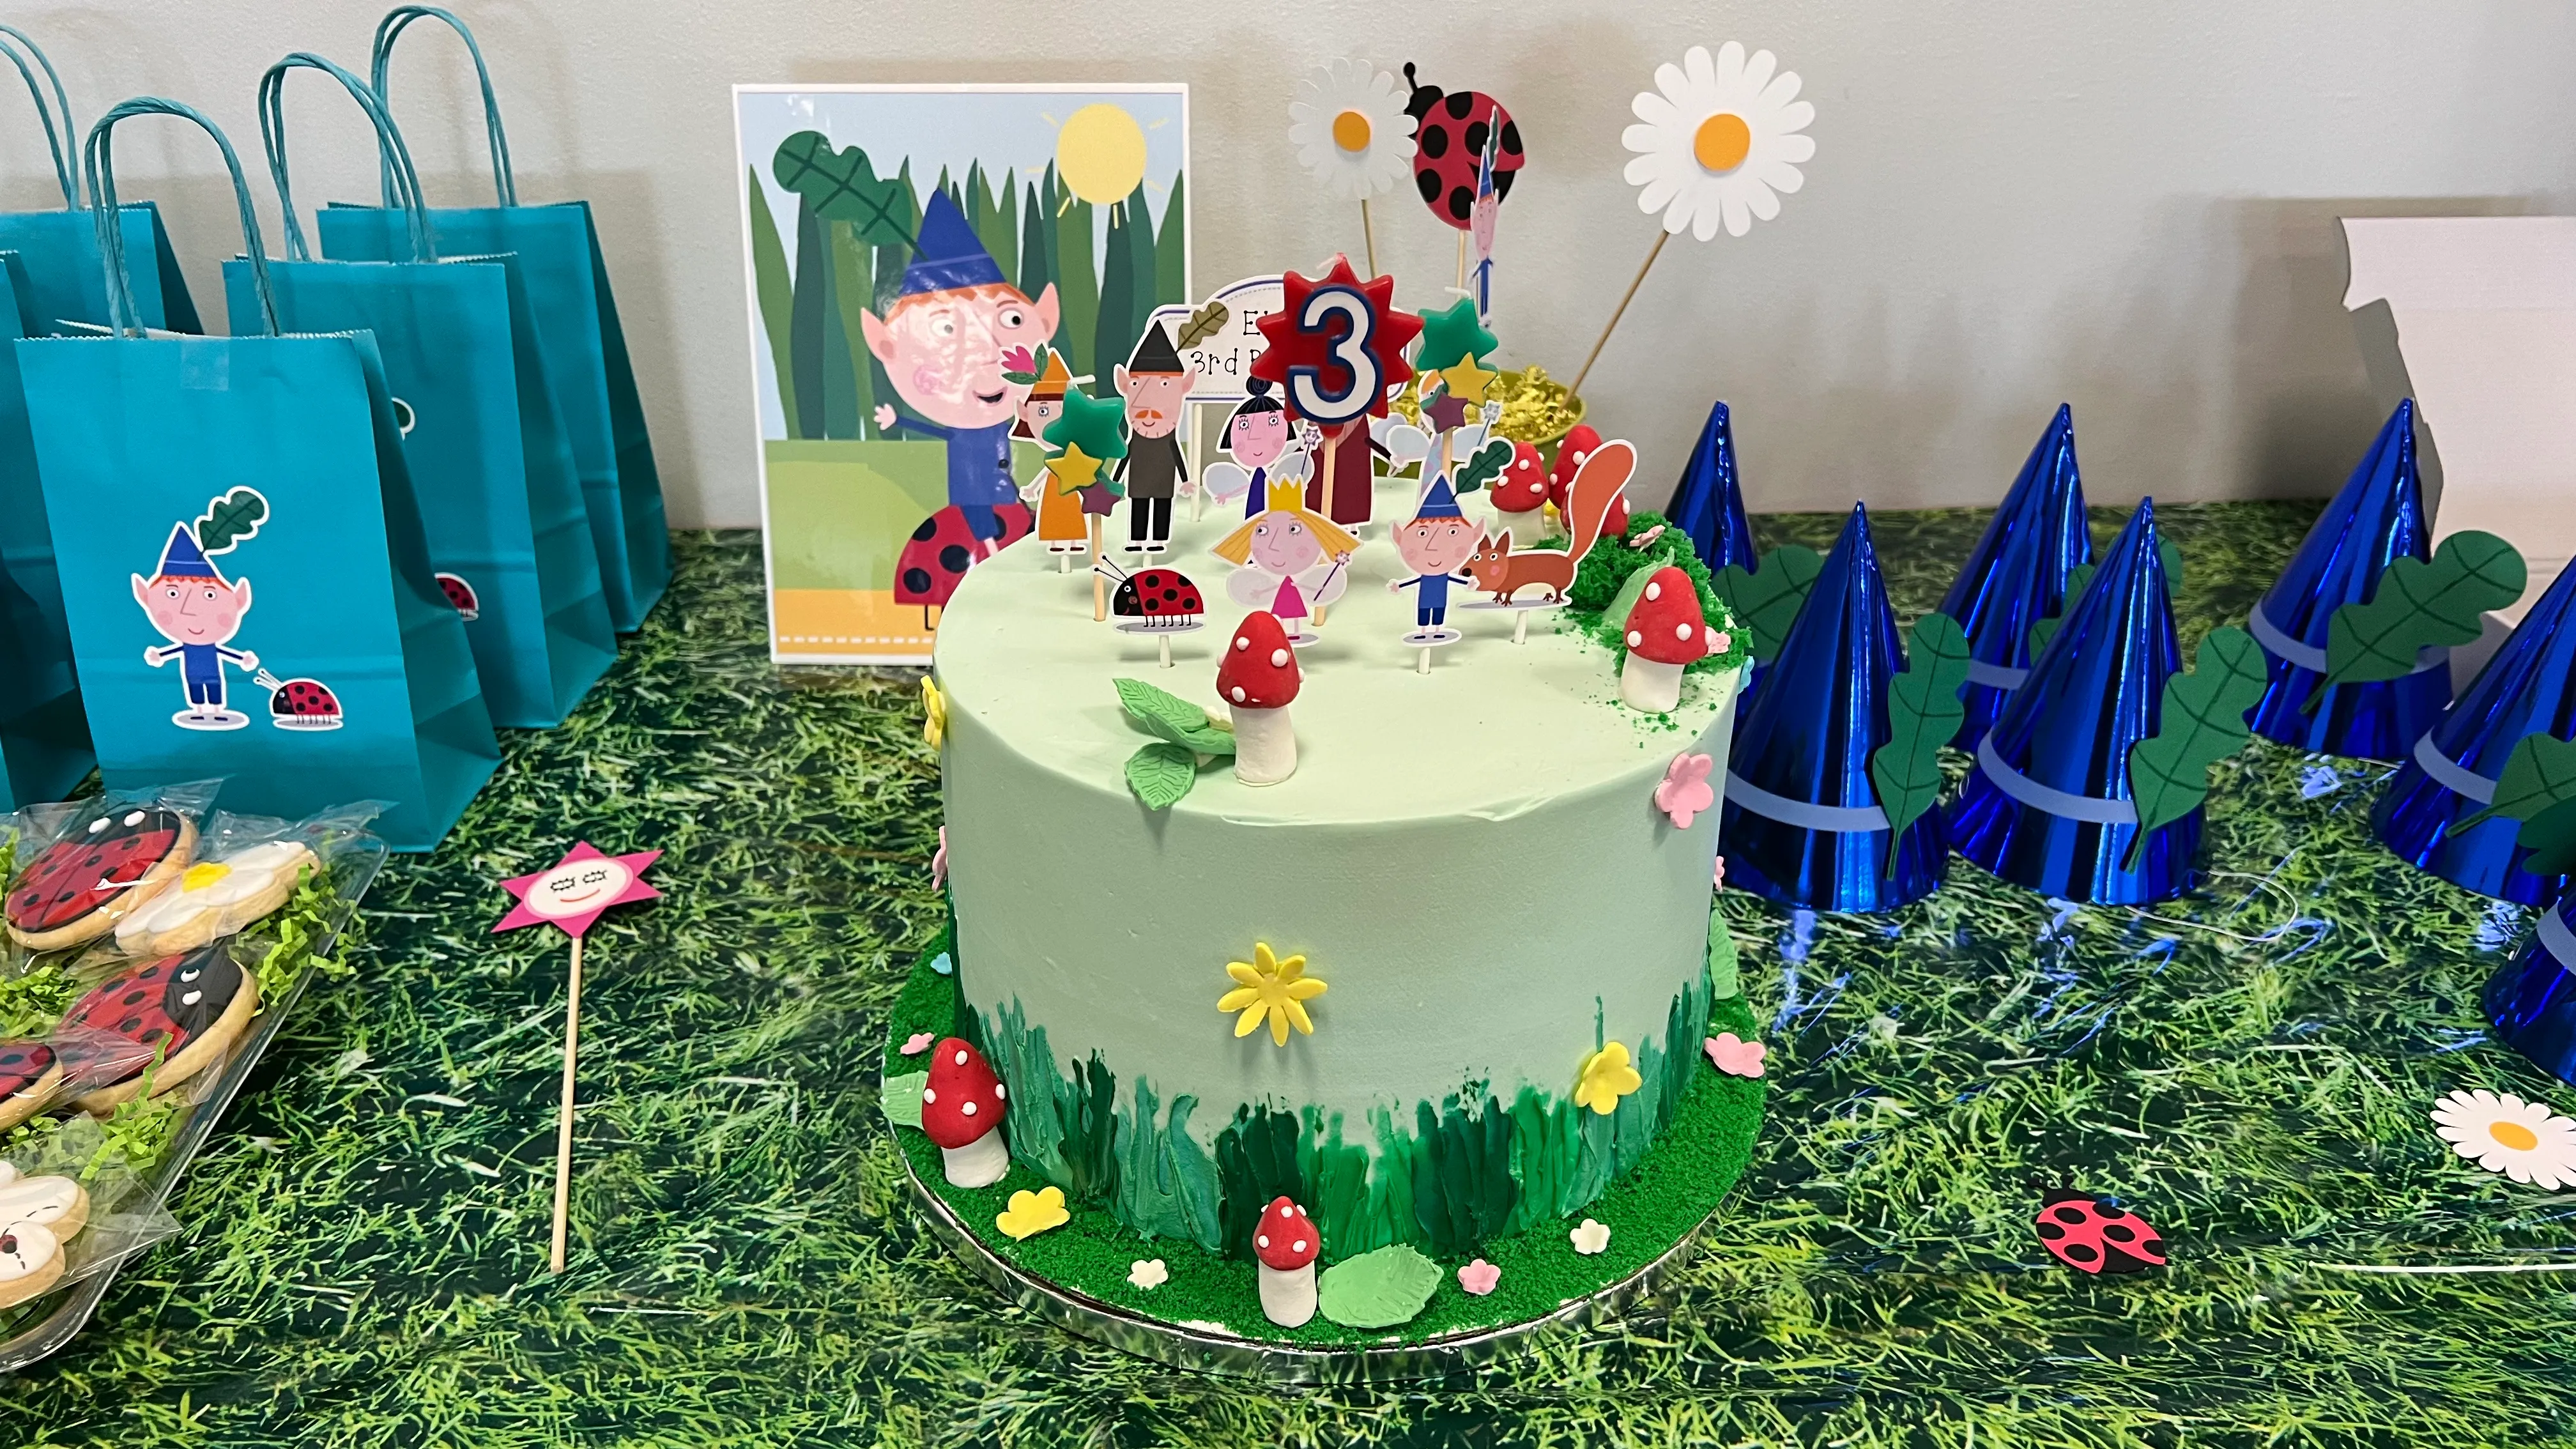
What's a birthday without a cake? We printed all the main characters and decorated the cake as a flower meadow.
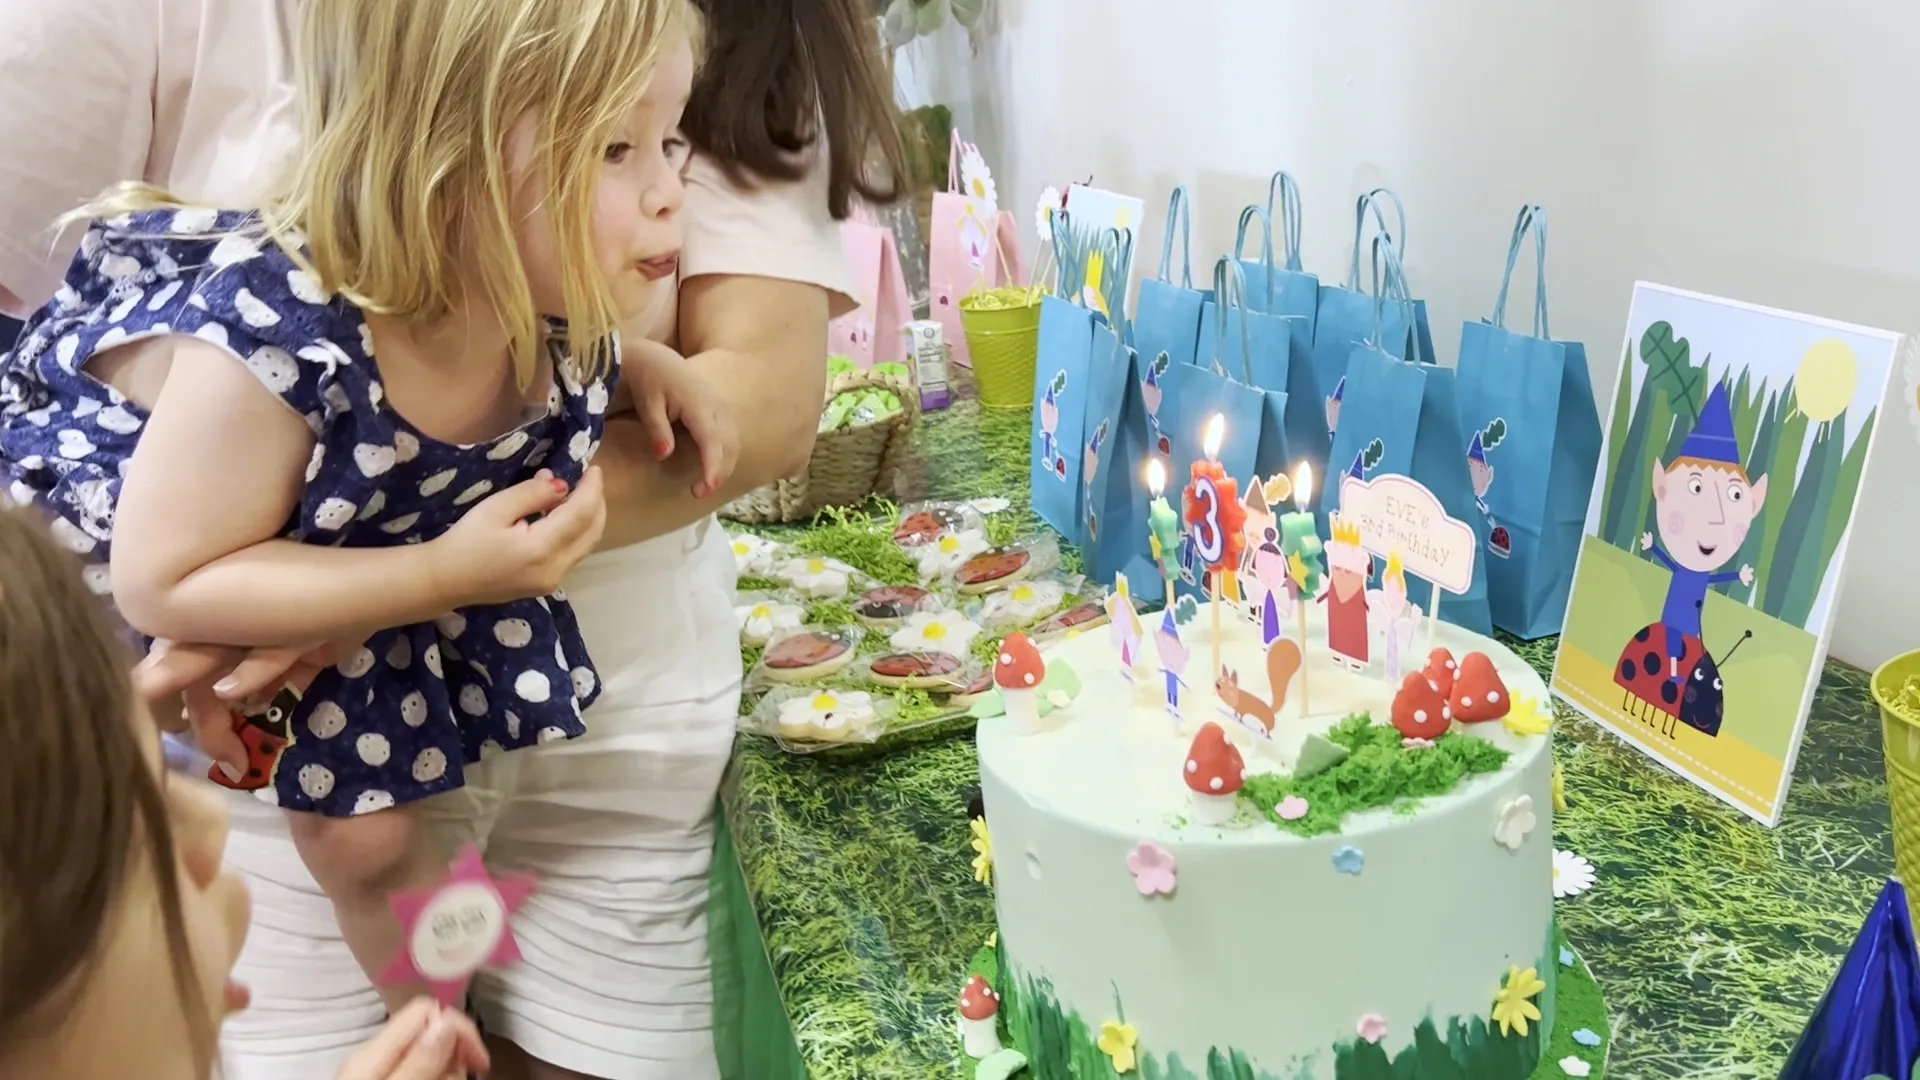
The birthday was a great success, and I did this project with great pleasure.
I hope you like this article. Subscribe to my YouTube channel, follow me on other social media and happy crafting, my friends!
If you would like to check out the materials or tools that I use, you can find them here below:
Juice Labels:
- sticker paper from HTVRont
- HTVRont Glossy Printable Vinyl Sticker Paper
- Epson EcoTank ET-3760 Printer
- Paper Trimmer
- Capri Sun 100% Juice Fruit Punch
Photo Frame:
- Foam board (20x30 inches)
- OLFA Utility Knife
- Replacement Blades
- Canon Photo Paper Plus, Matte, 8-1/2 x 11
- Epson EcoTank ET-3760 Printer with Scanner
- 65 lbs cardstock paper
- Bearly Art Craft Glue
- Scotch Scissors
- Surebonder Hot Glue Gun
Goody Bags:
Crown, Fair Wand and Elf Hat:
- Party Cone Hats
- Ribbon Headbands
- Bamboo Skewers for BBQ
- Blue Palette Cardstock Paper by Recollections
- Bazzill Cardstock - Classic Yellow
- Surebonder Hot Glue Gun
- Bearly Art Craft Glue
Characters cut outs:
- Foam board (20x30 inches)
- OLFA Utility Knife
- Hot Foam Cutter
- Printable Vinyl Sticker Paper
- Epson EcoTank ET-3760
Bucket Table Centerpiece:
Party Cookies from cookies_design_studio
Coloring Pages you can find here
My favorite craft supplies on Amazon
Full tutorial you can watch on my YouTube channel.