· cricut
How to Make Custom CapriSun Juice Labels
In this guide, you'll learn how to easily make your own Capri Sun juice labels using Canva. Whether you're planning a birthday party, classroom event, or special celebration, personalized labels can add a unique touch. With Canva's user-friendly design tools, you can create custom labels that perfectly match your theme and style. Let's get started and make your drinks look amazing!

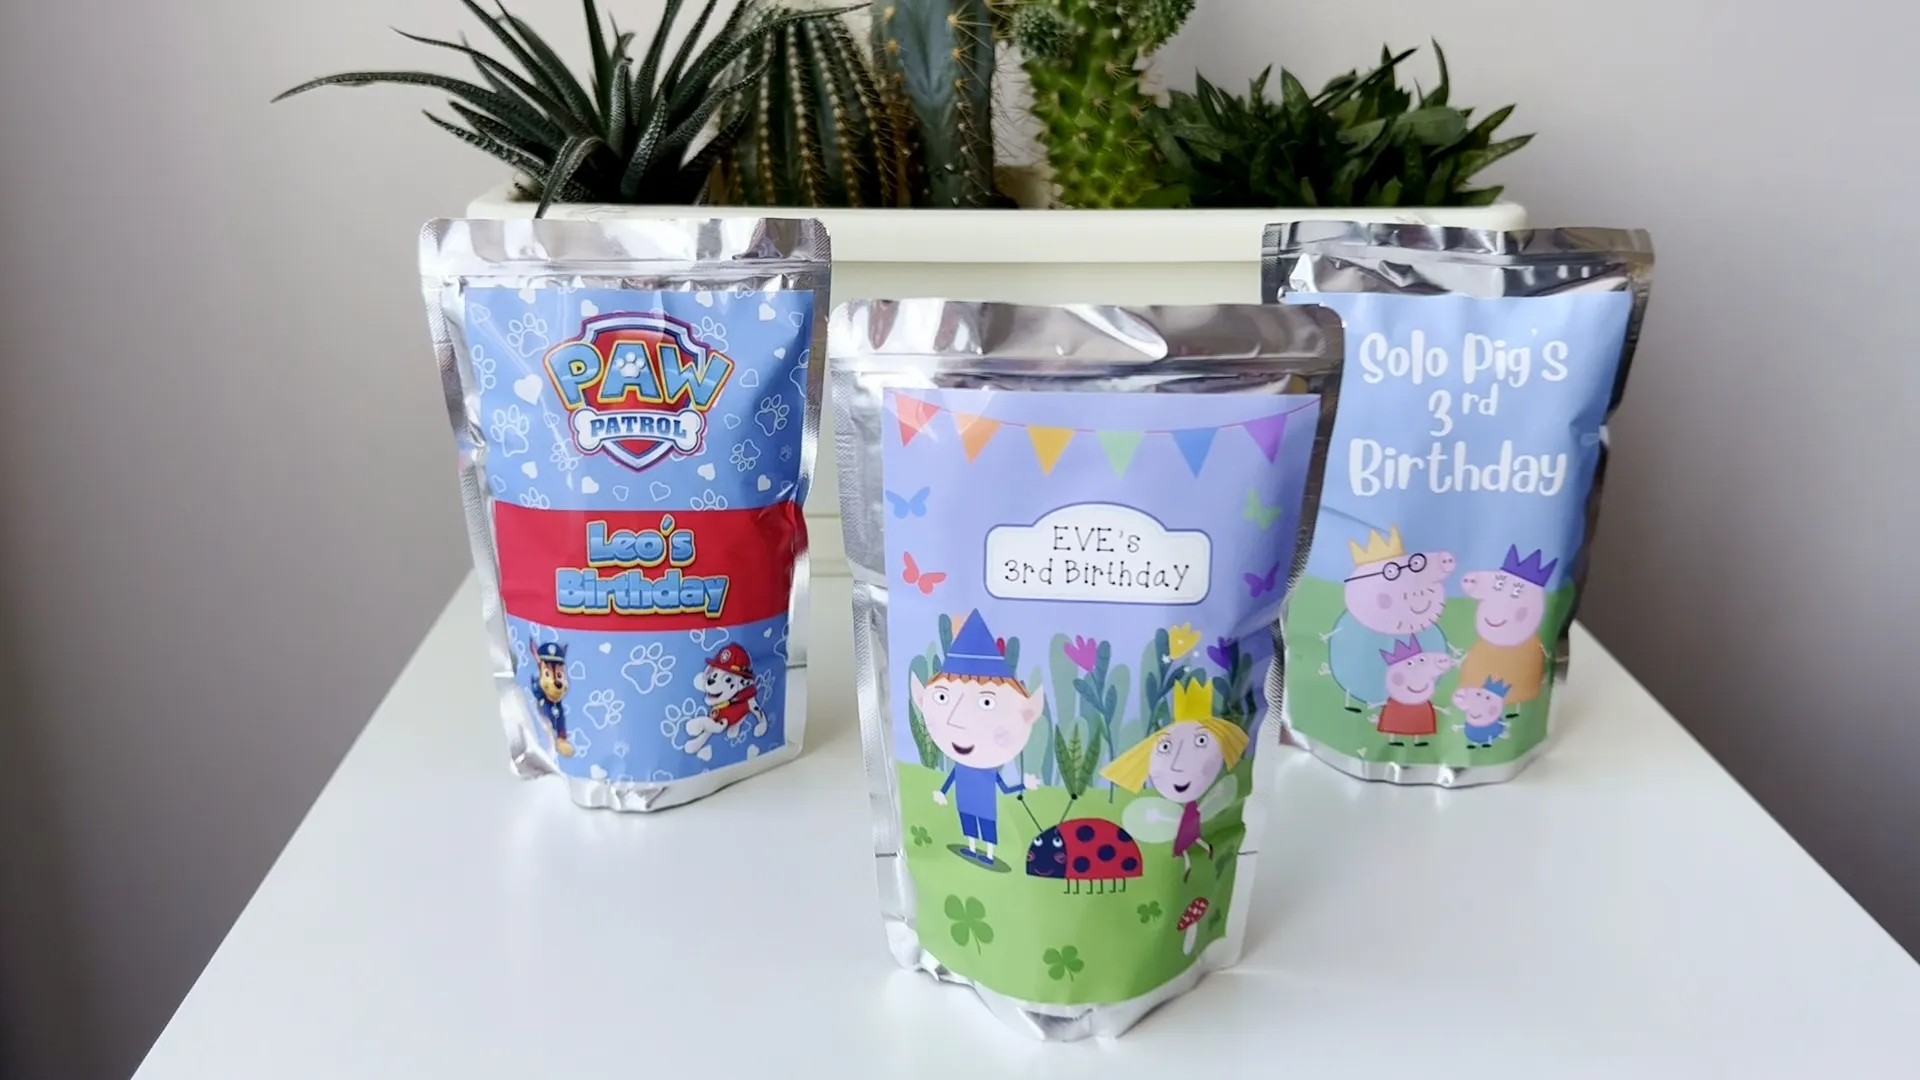
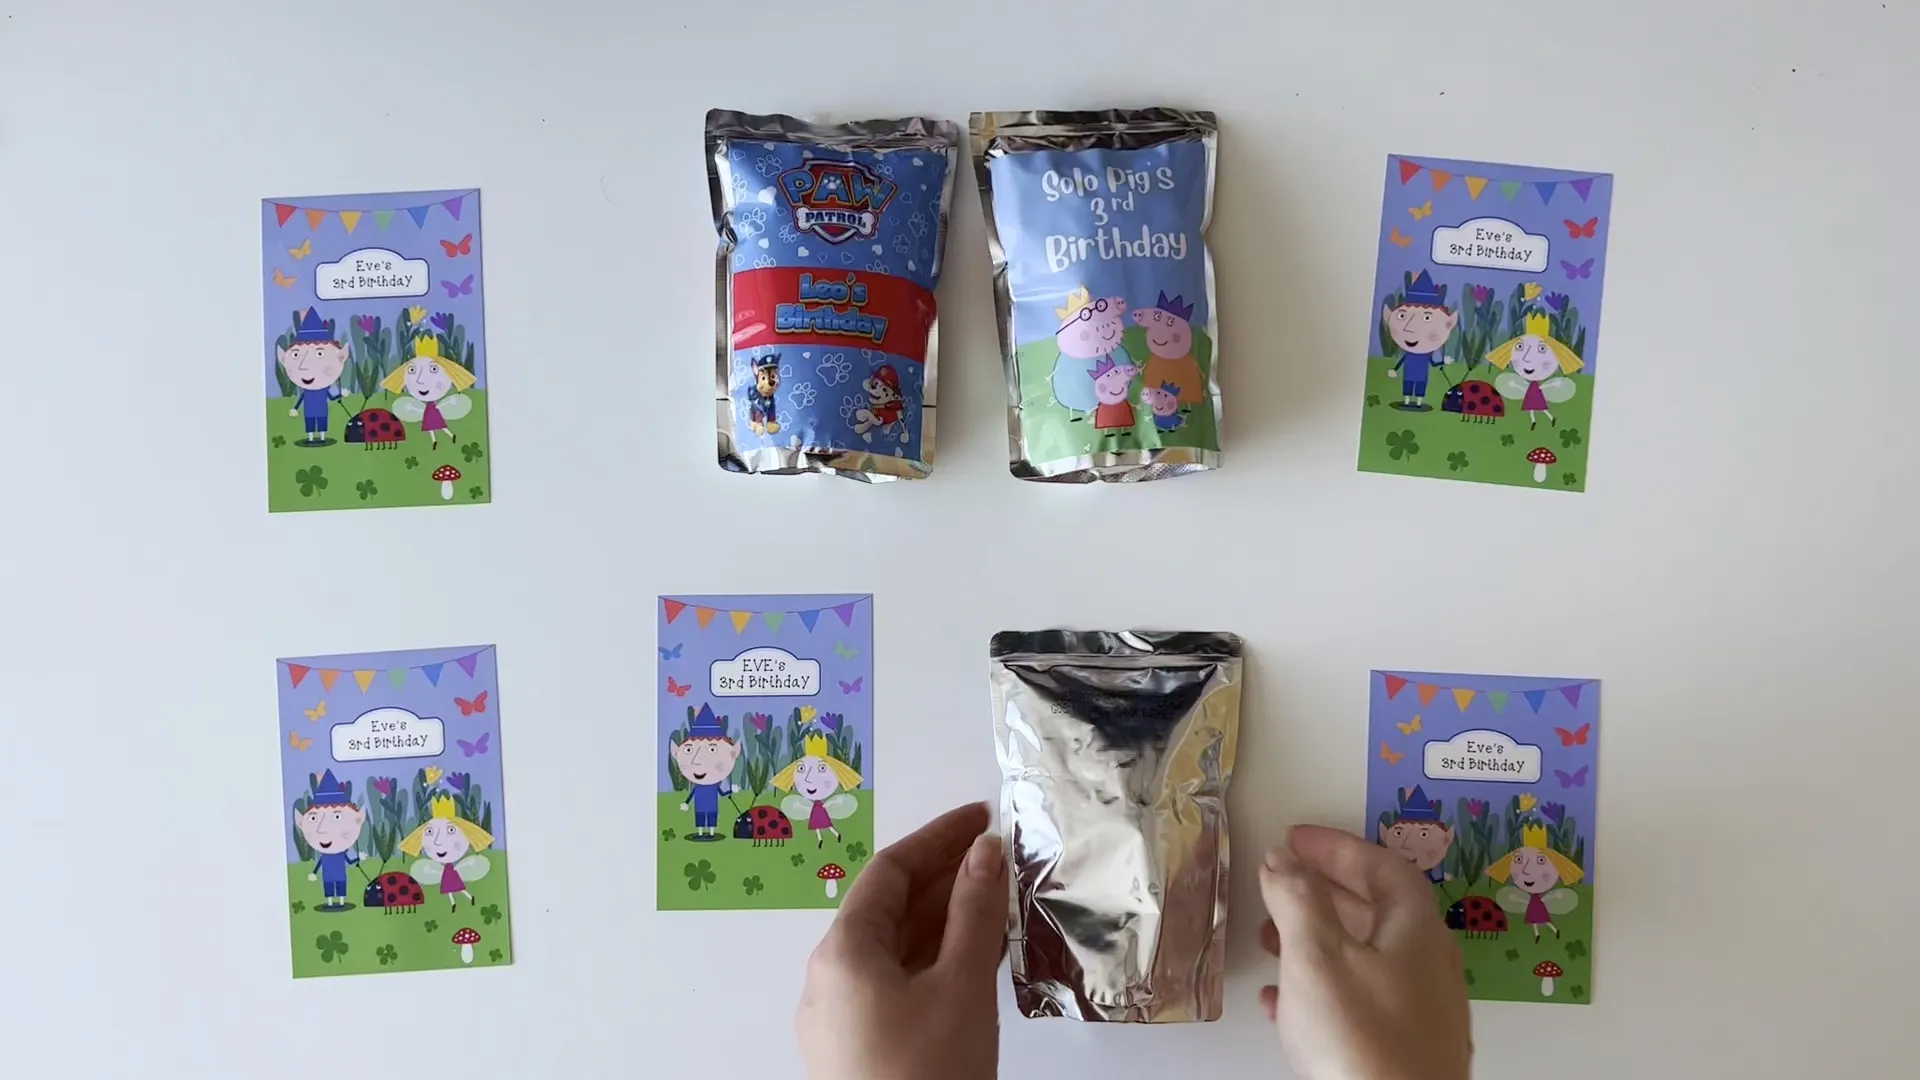
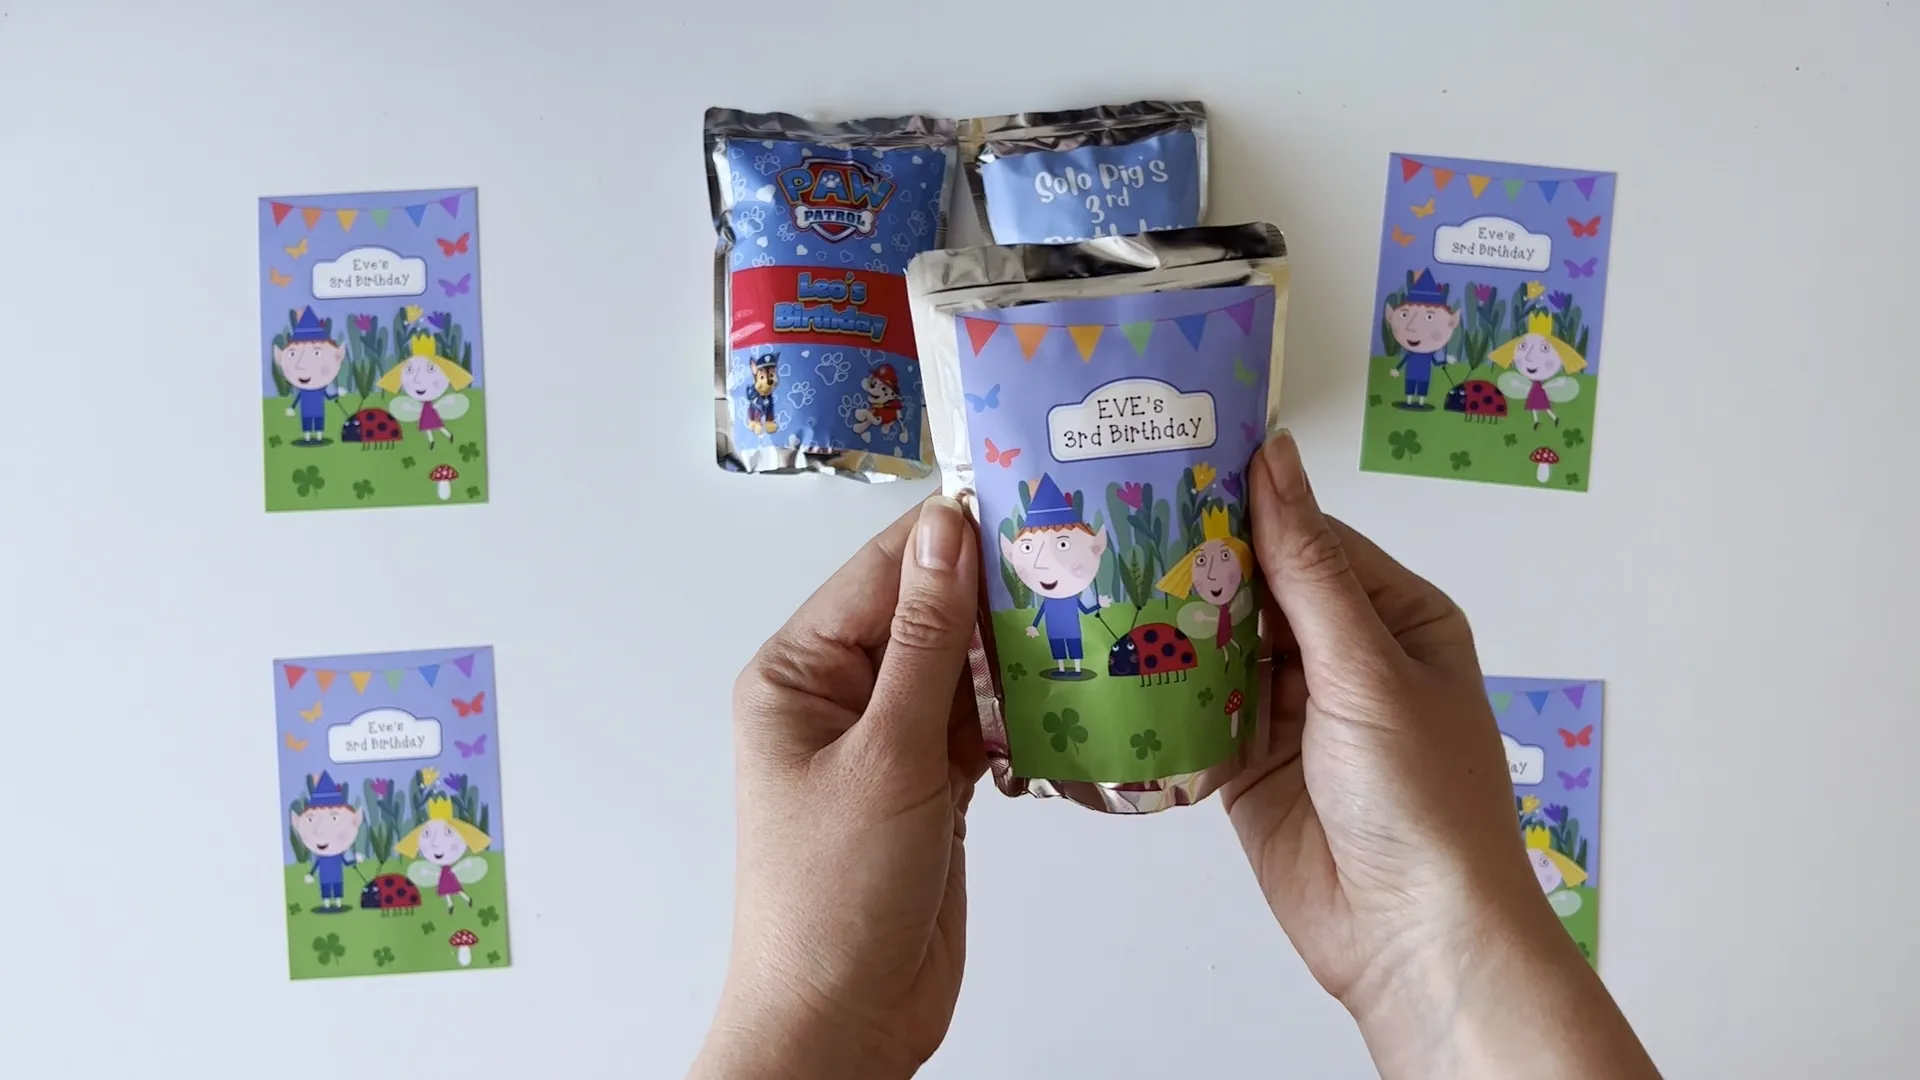
Here, you can see my three examples that I did earlier.
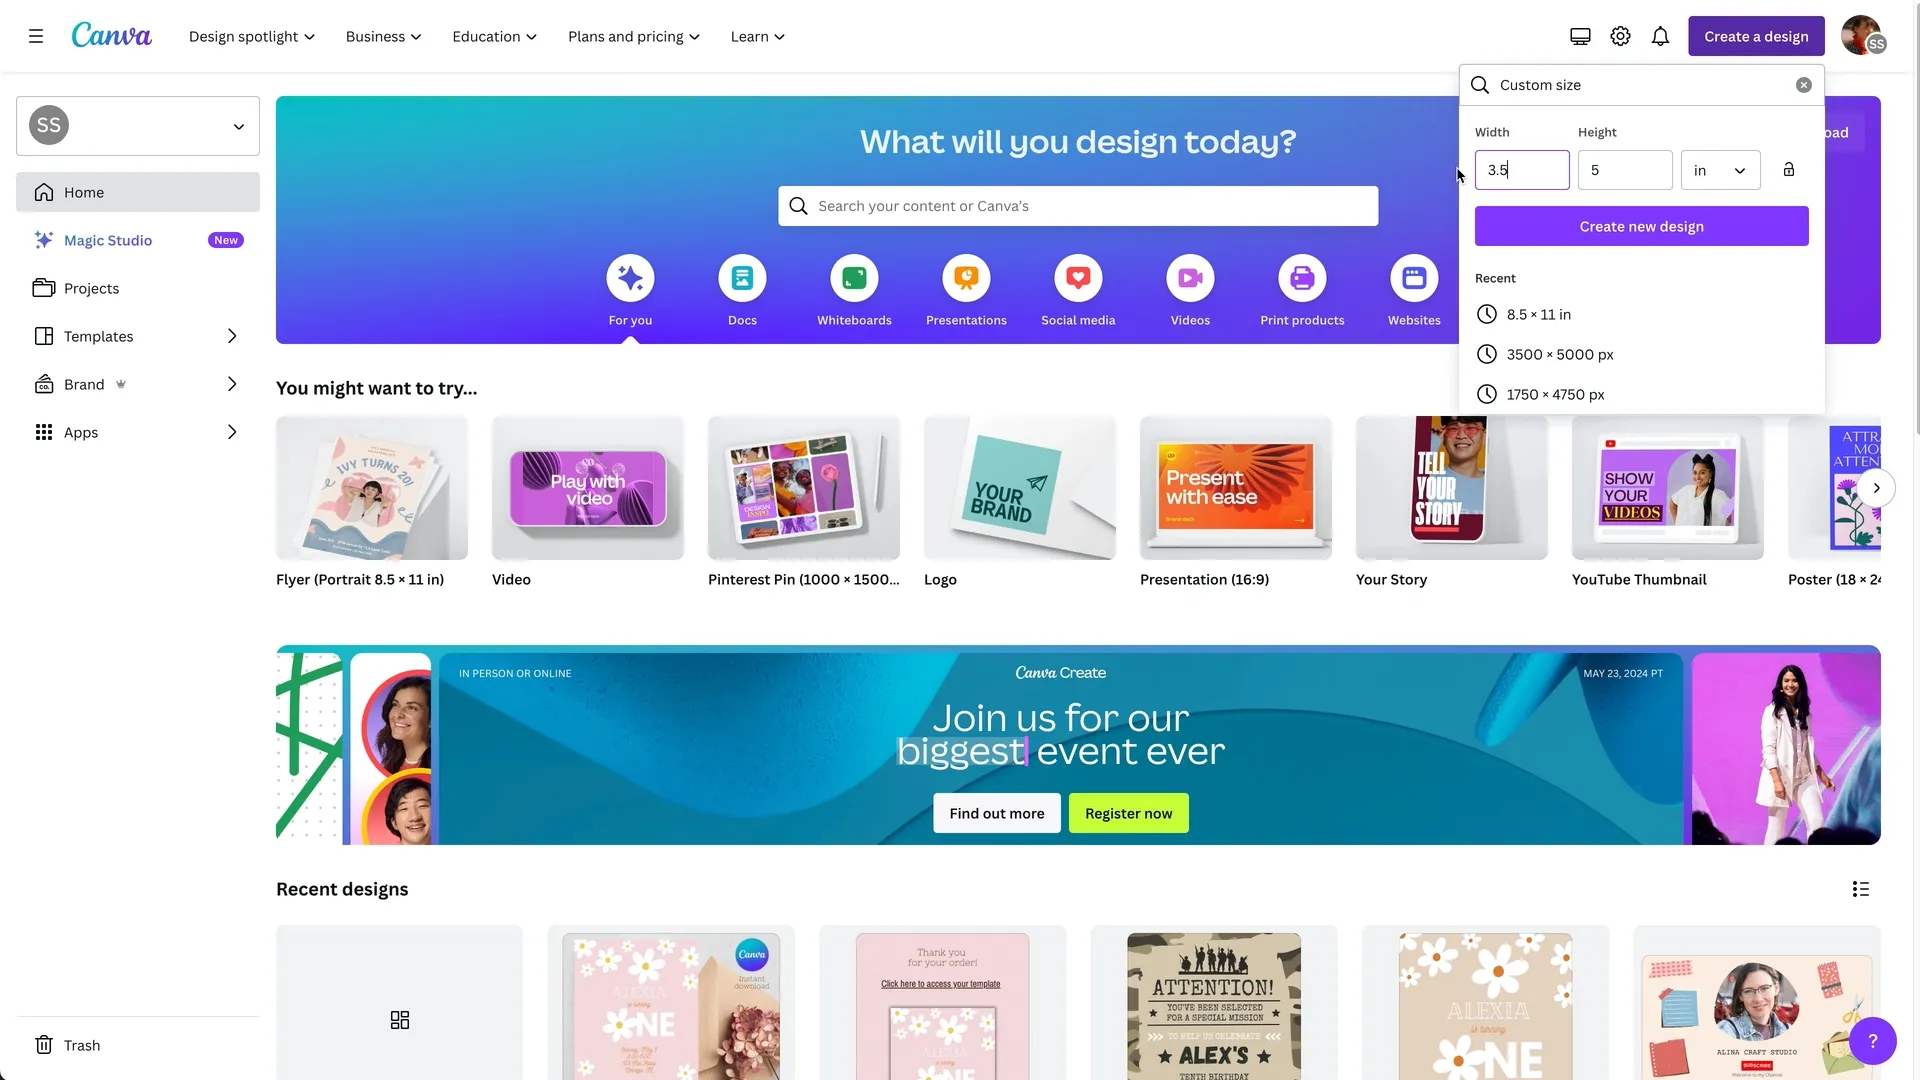
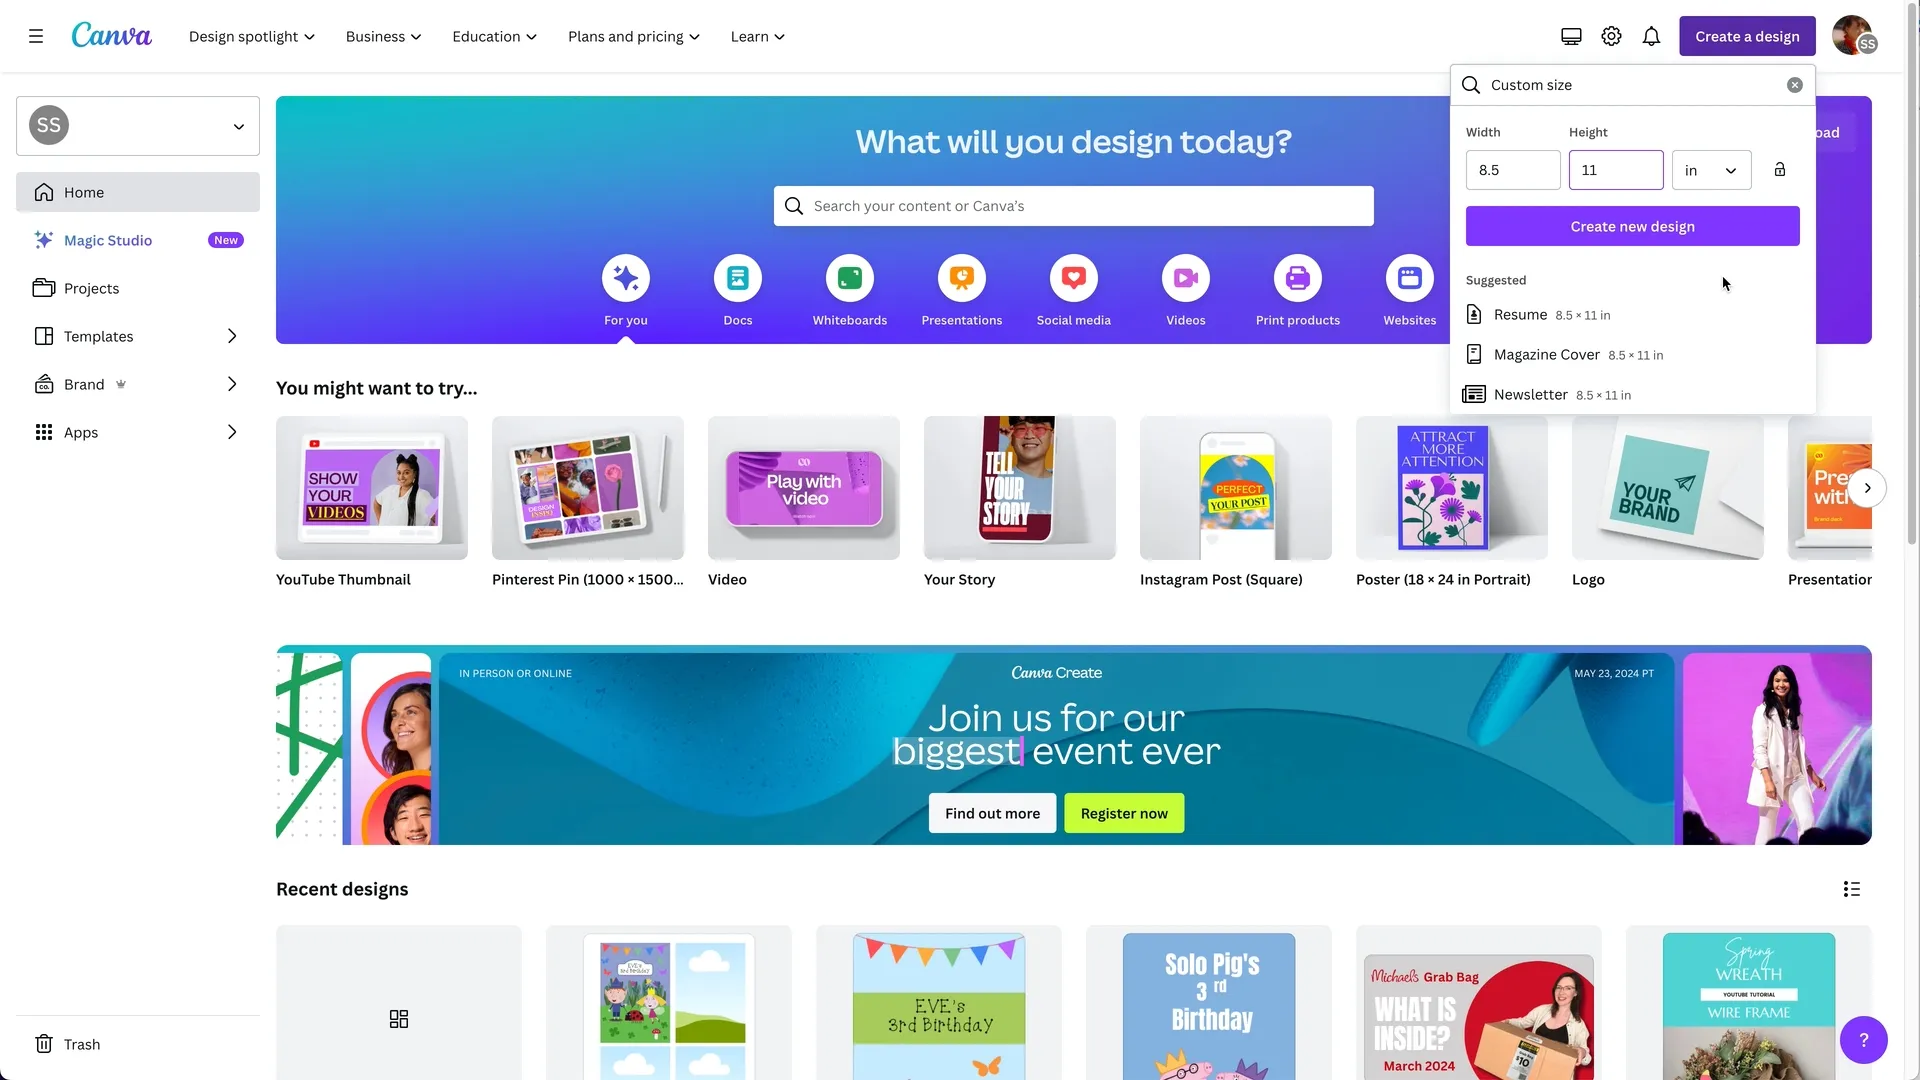
Create the label design on Canva: I use Canva a lot; it's perfect for creating a project like this. First, we have to create a new design. I will choose a custom size. I decided that the size of my label, 3 and 1/2 by 5 inches, is optimal for me.
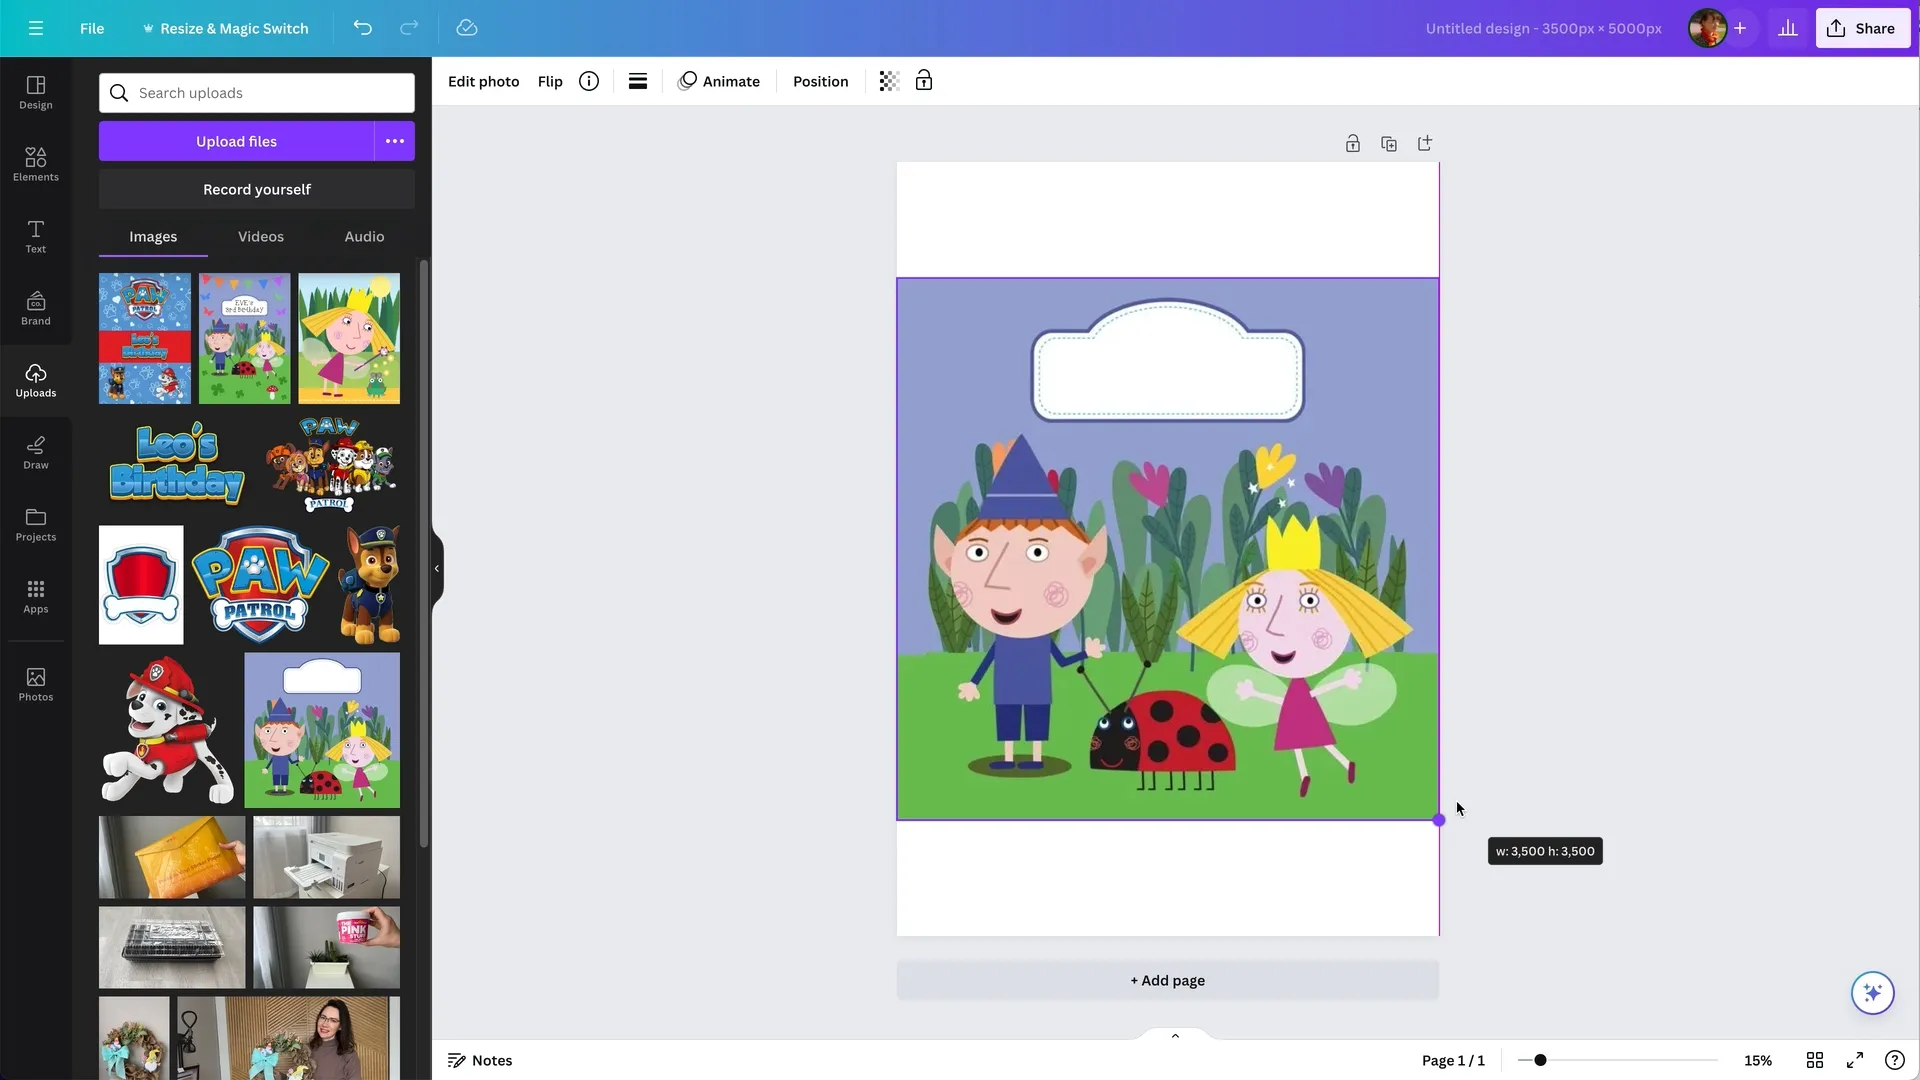
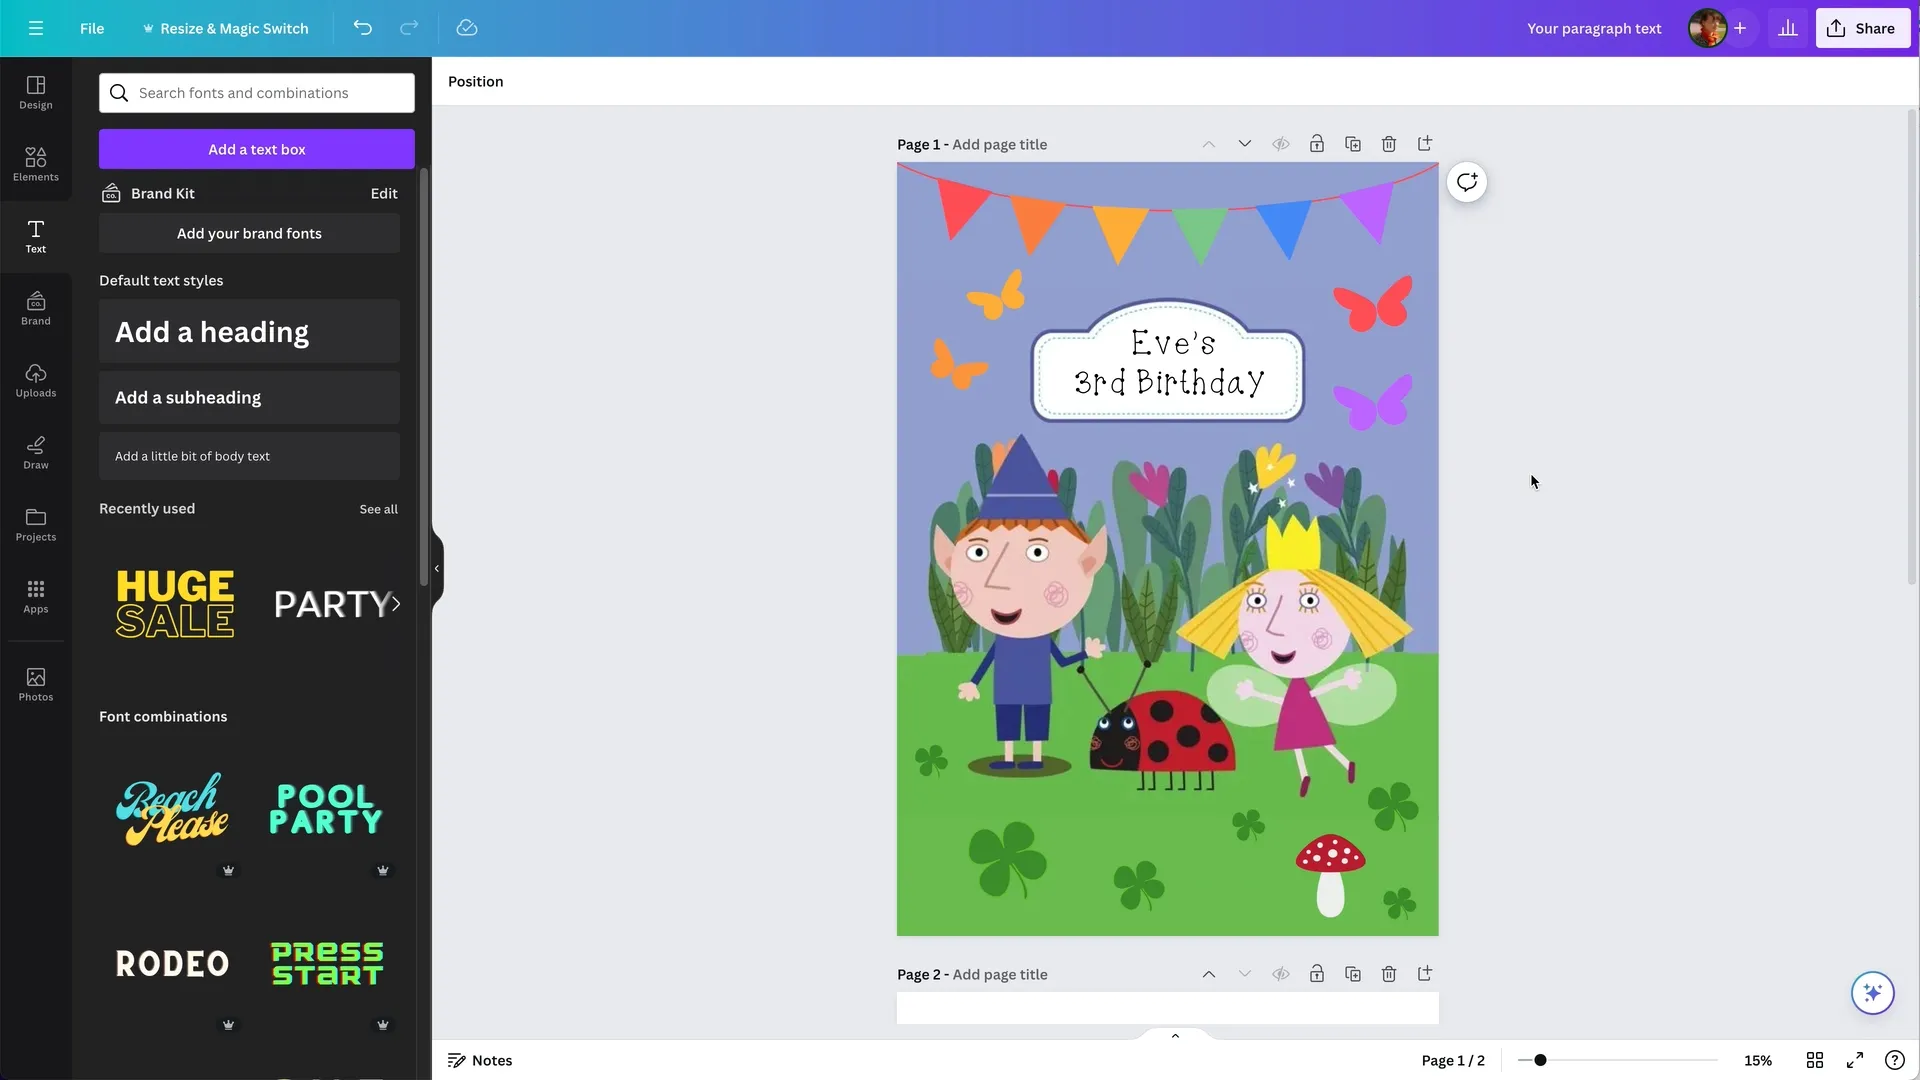
So, I created a new project with these sizes. I found a picture of characters on Pinterest; it will be the basis of my design. The rest we will design together with Canva.
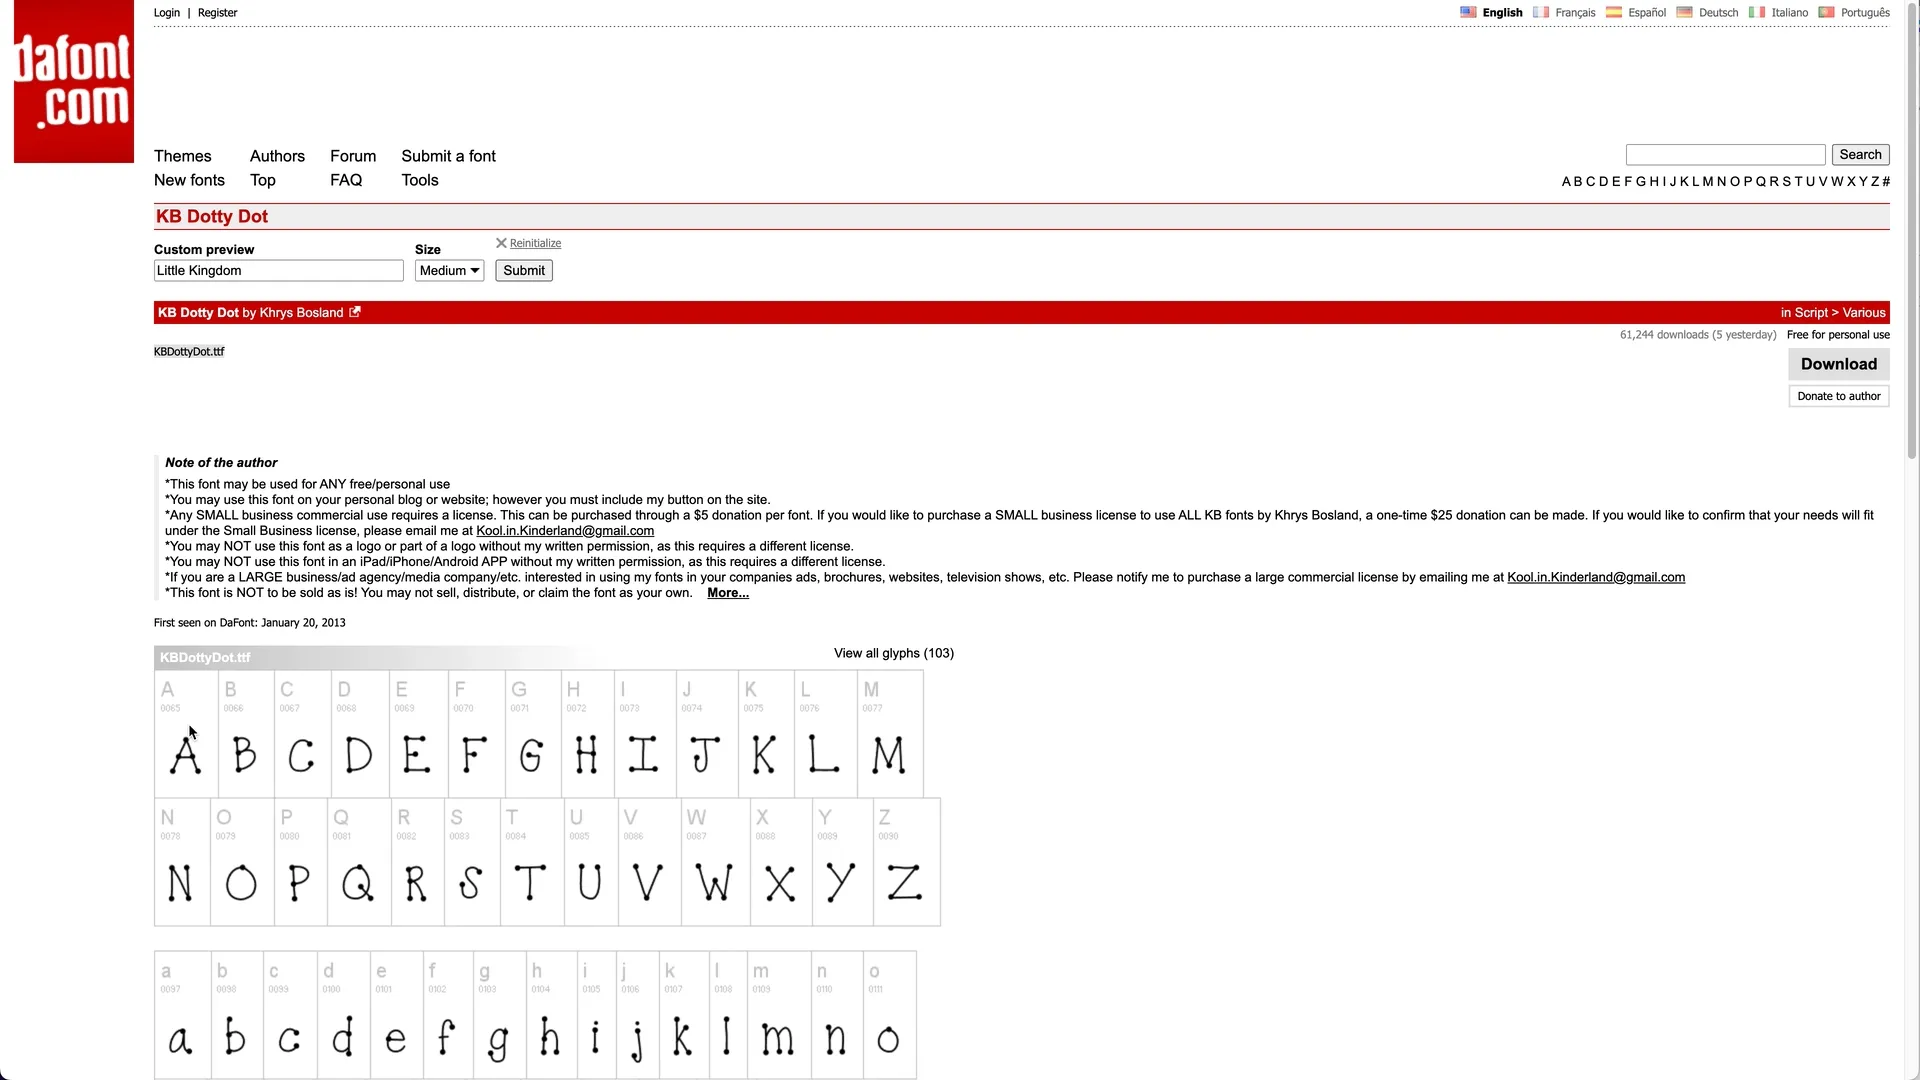
I found the font on Font.com, and it's free for personal use. I uploaded the font to Canva.
I add mushrooms and clover to the grass. After that, I think the design is complete.
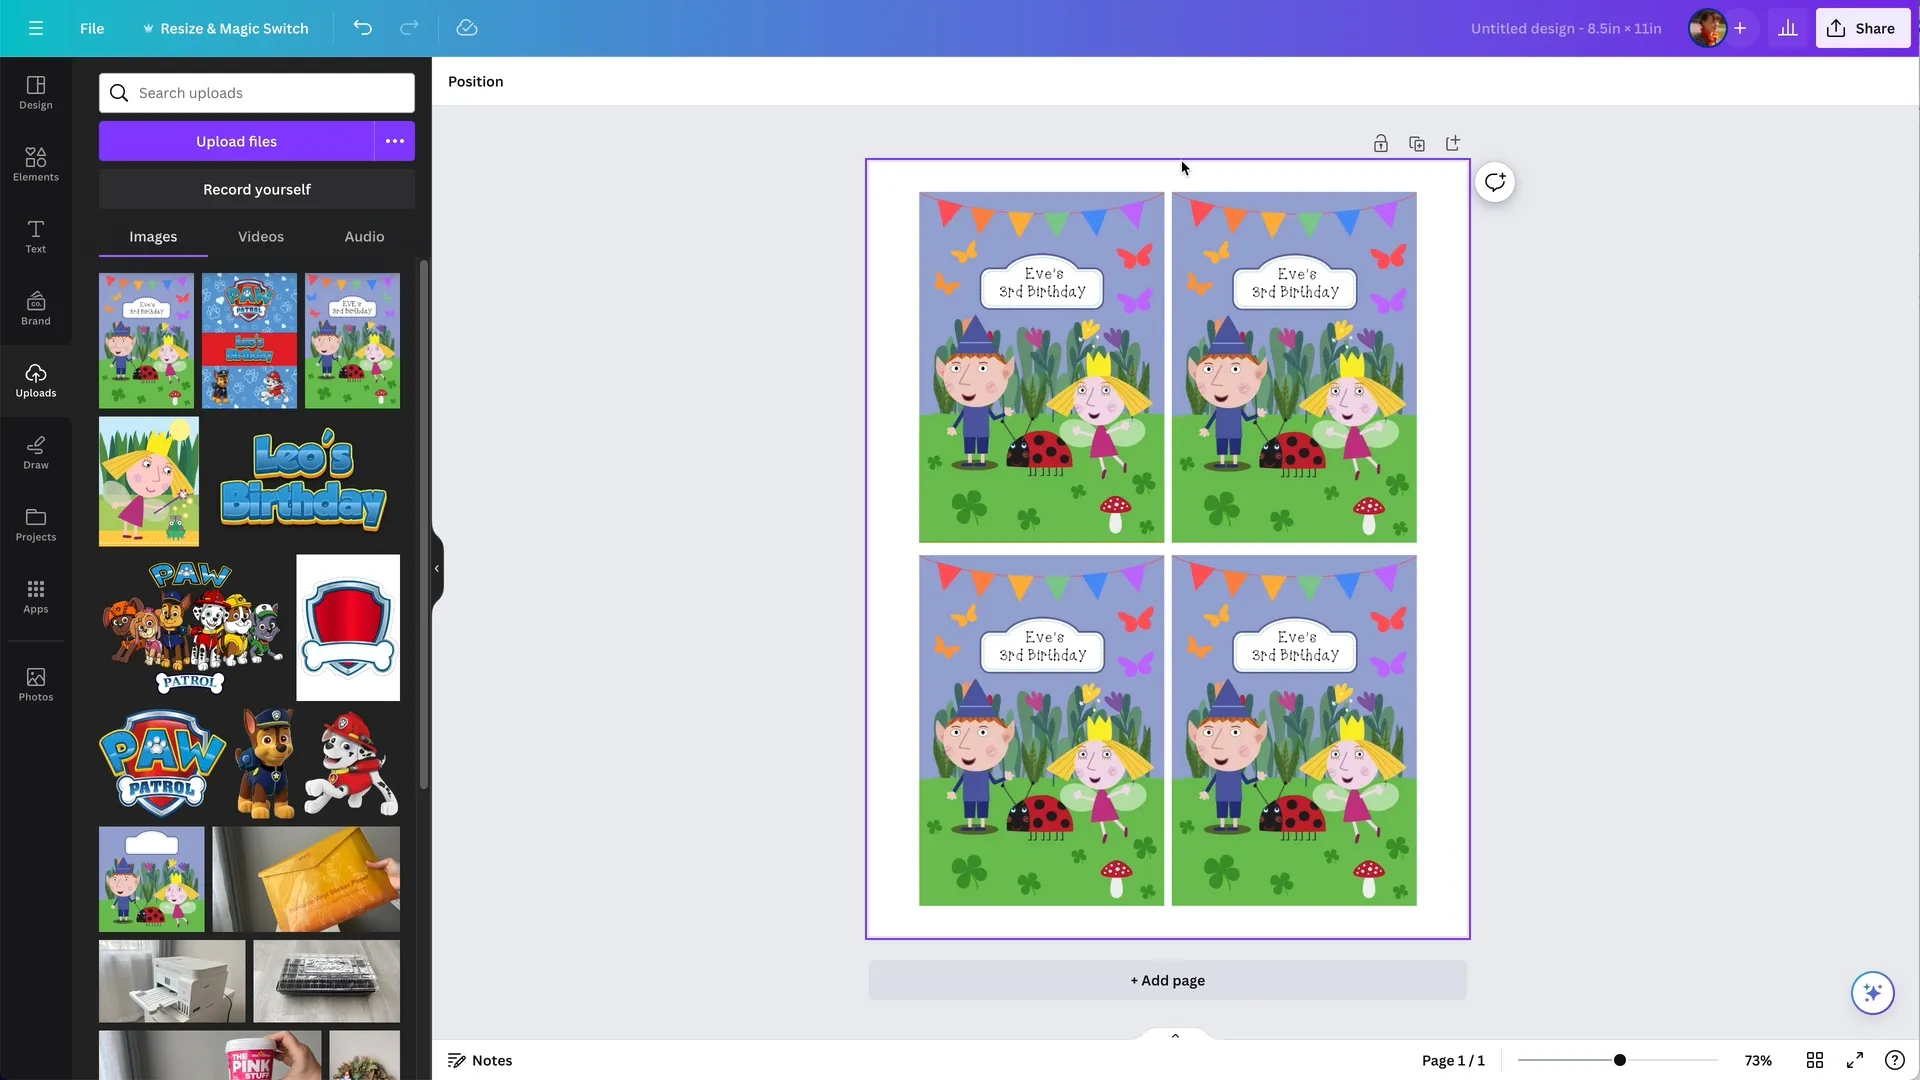
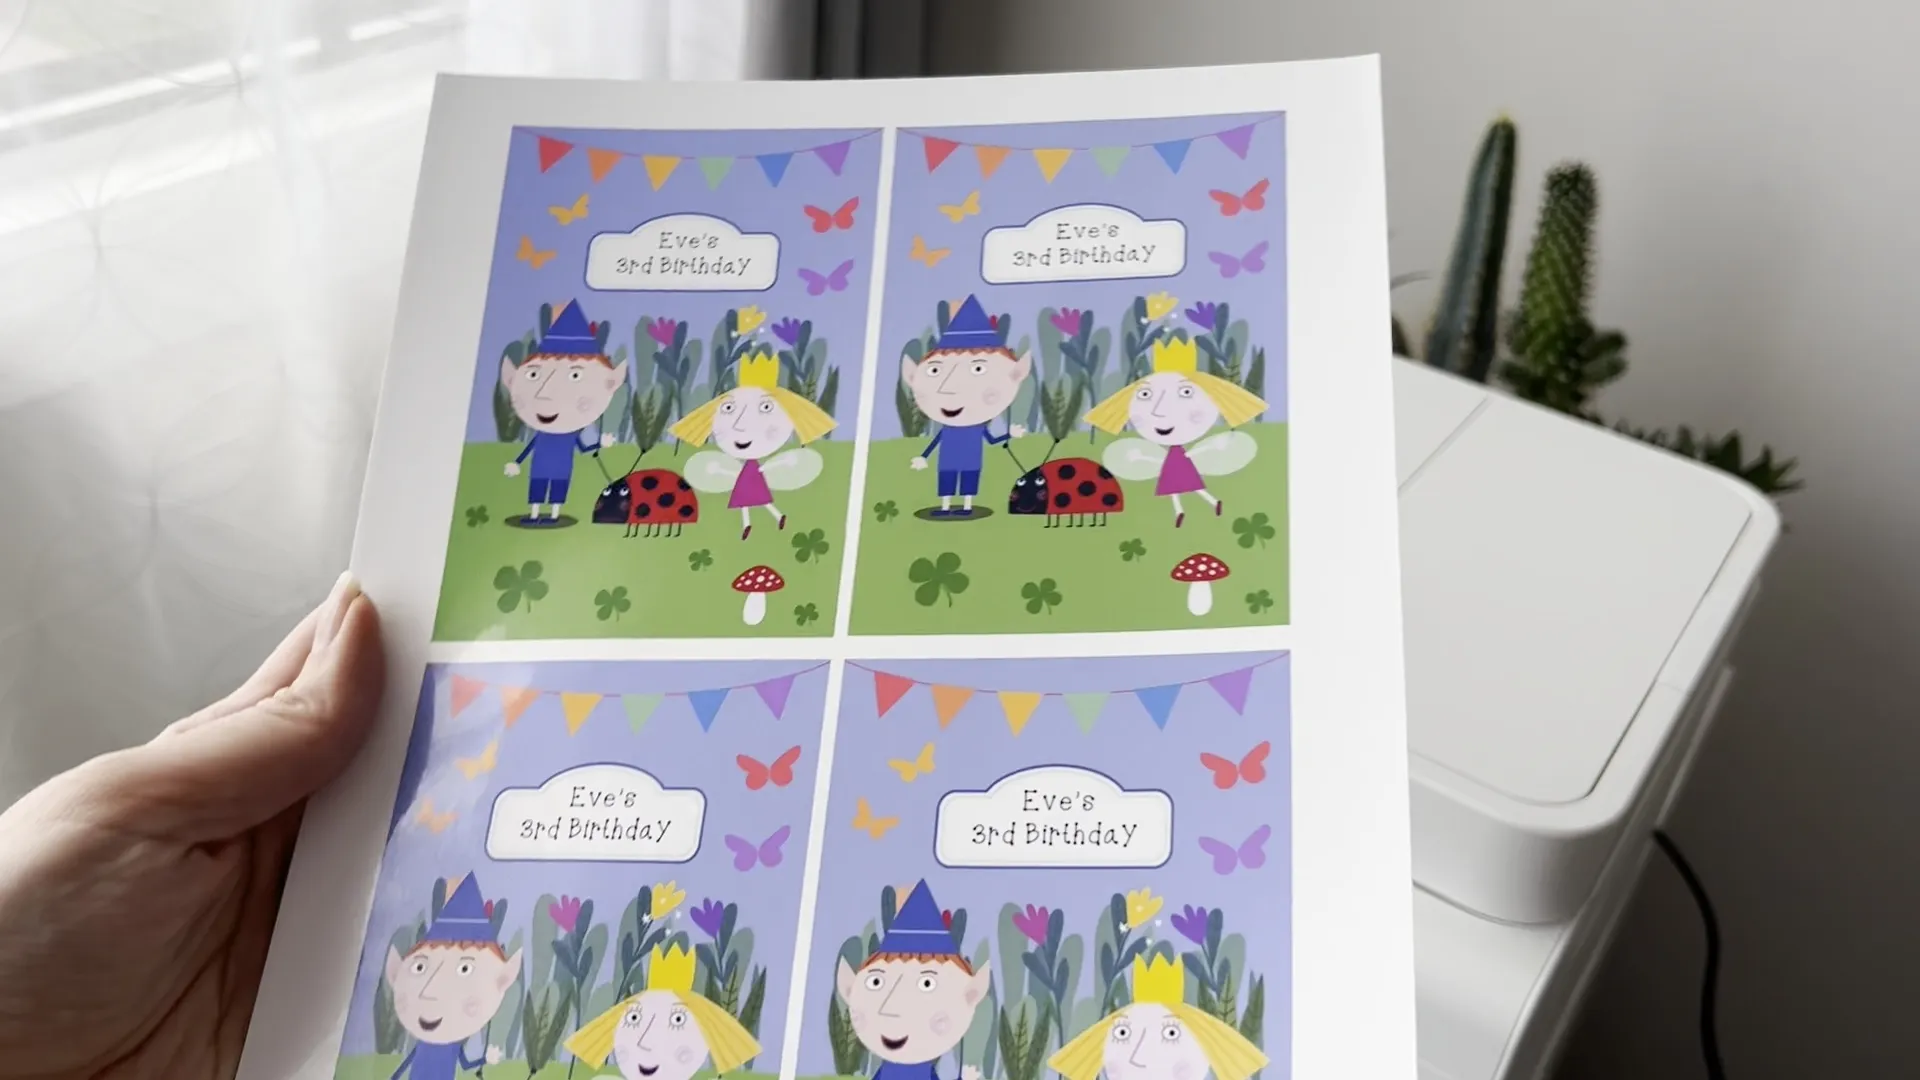
Create the print template: Now, we create a template for sticker paper. We go to the main menu and create a new project, 8.5 by 11 inches, which is the standard size for a sheet of sticker paper.
I add a picture frame and change it to the size of my label. We can fit four labels on one sheet. Then, we go back to our label design, download it, upload it to Canva, and add it to the image frames. Now, our four label designs on one sheet of sticker paper are ready.
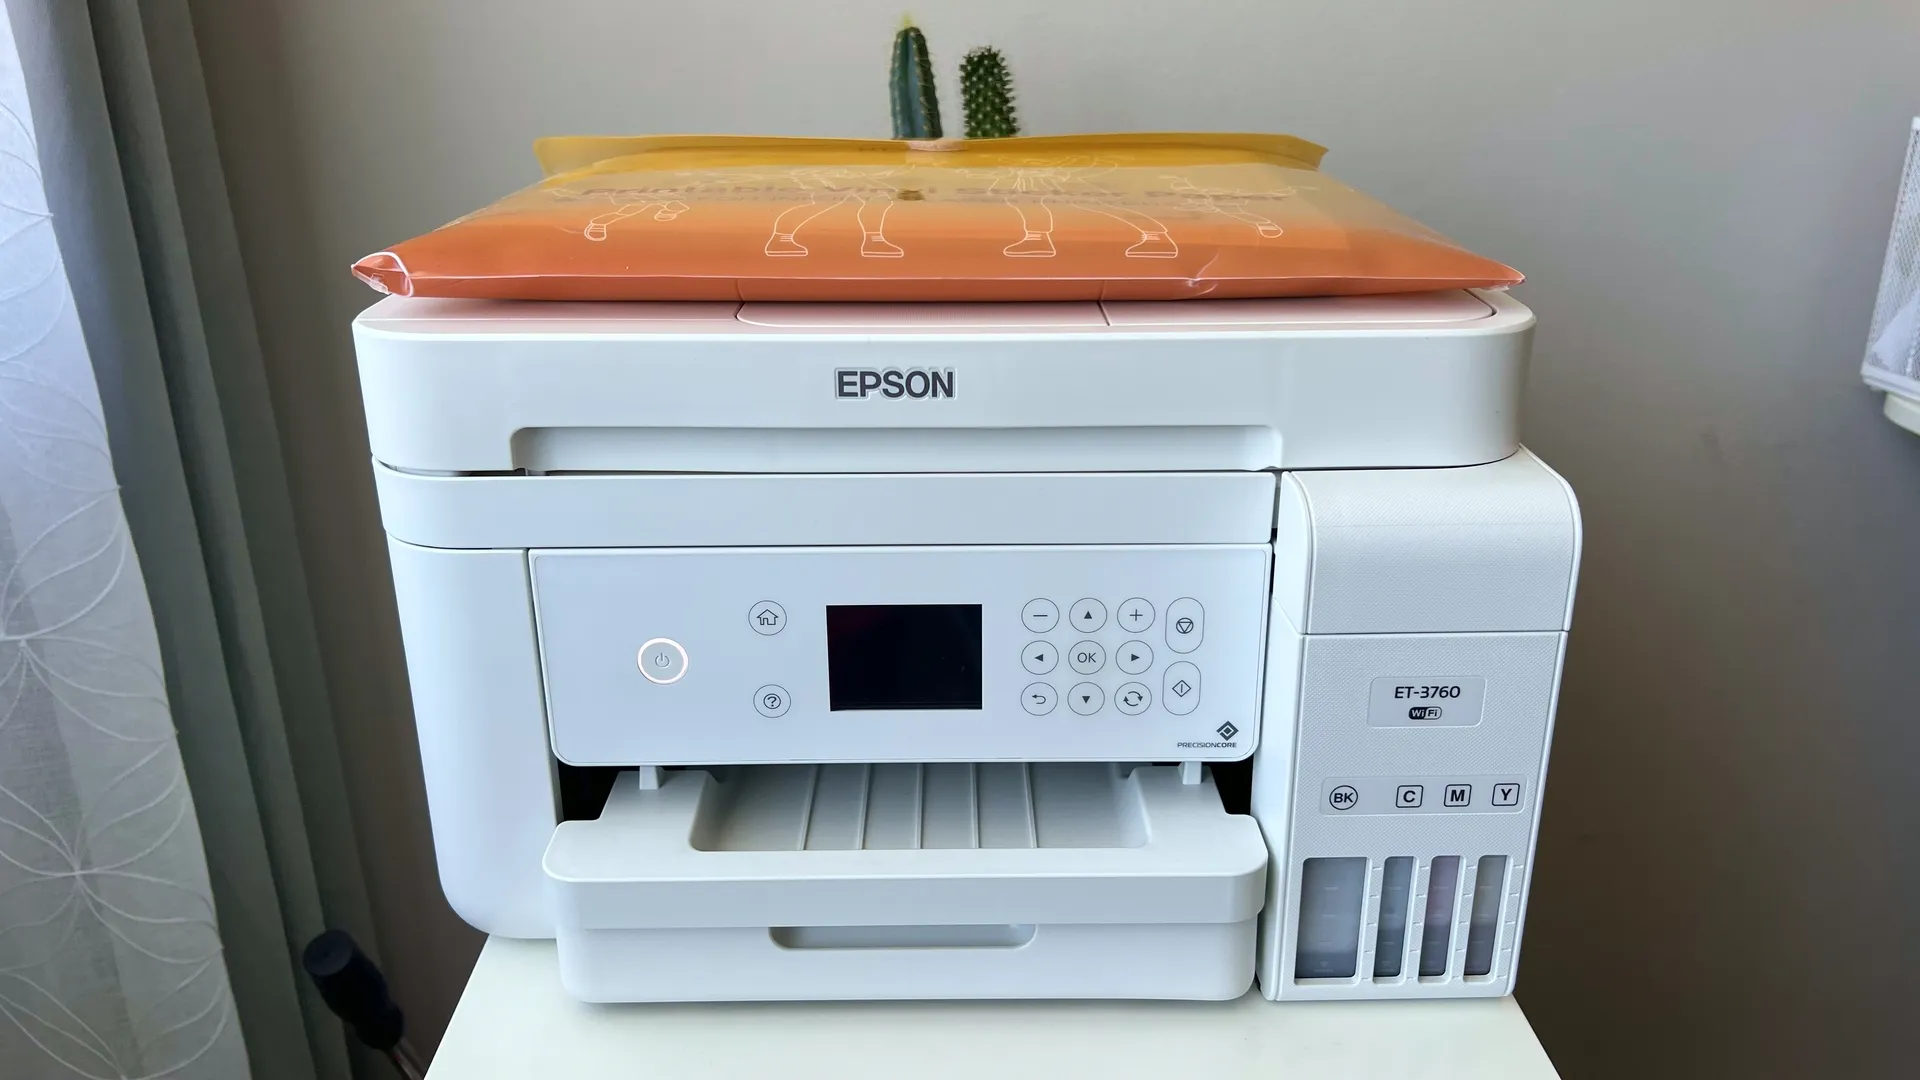
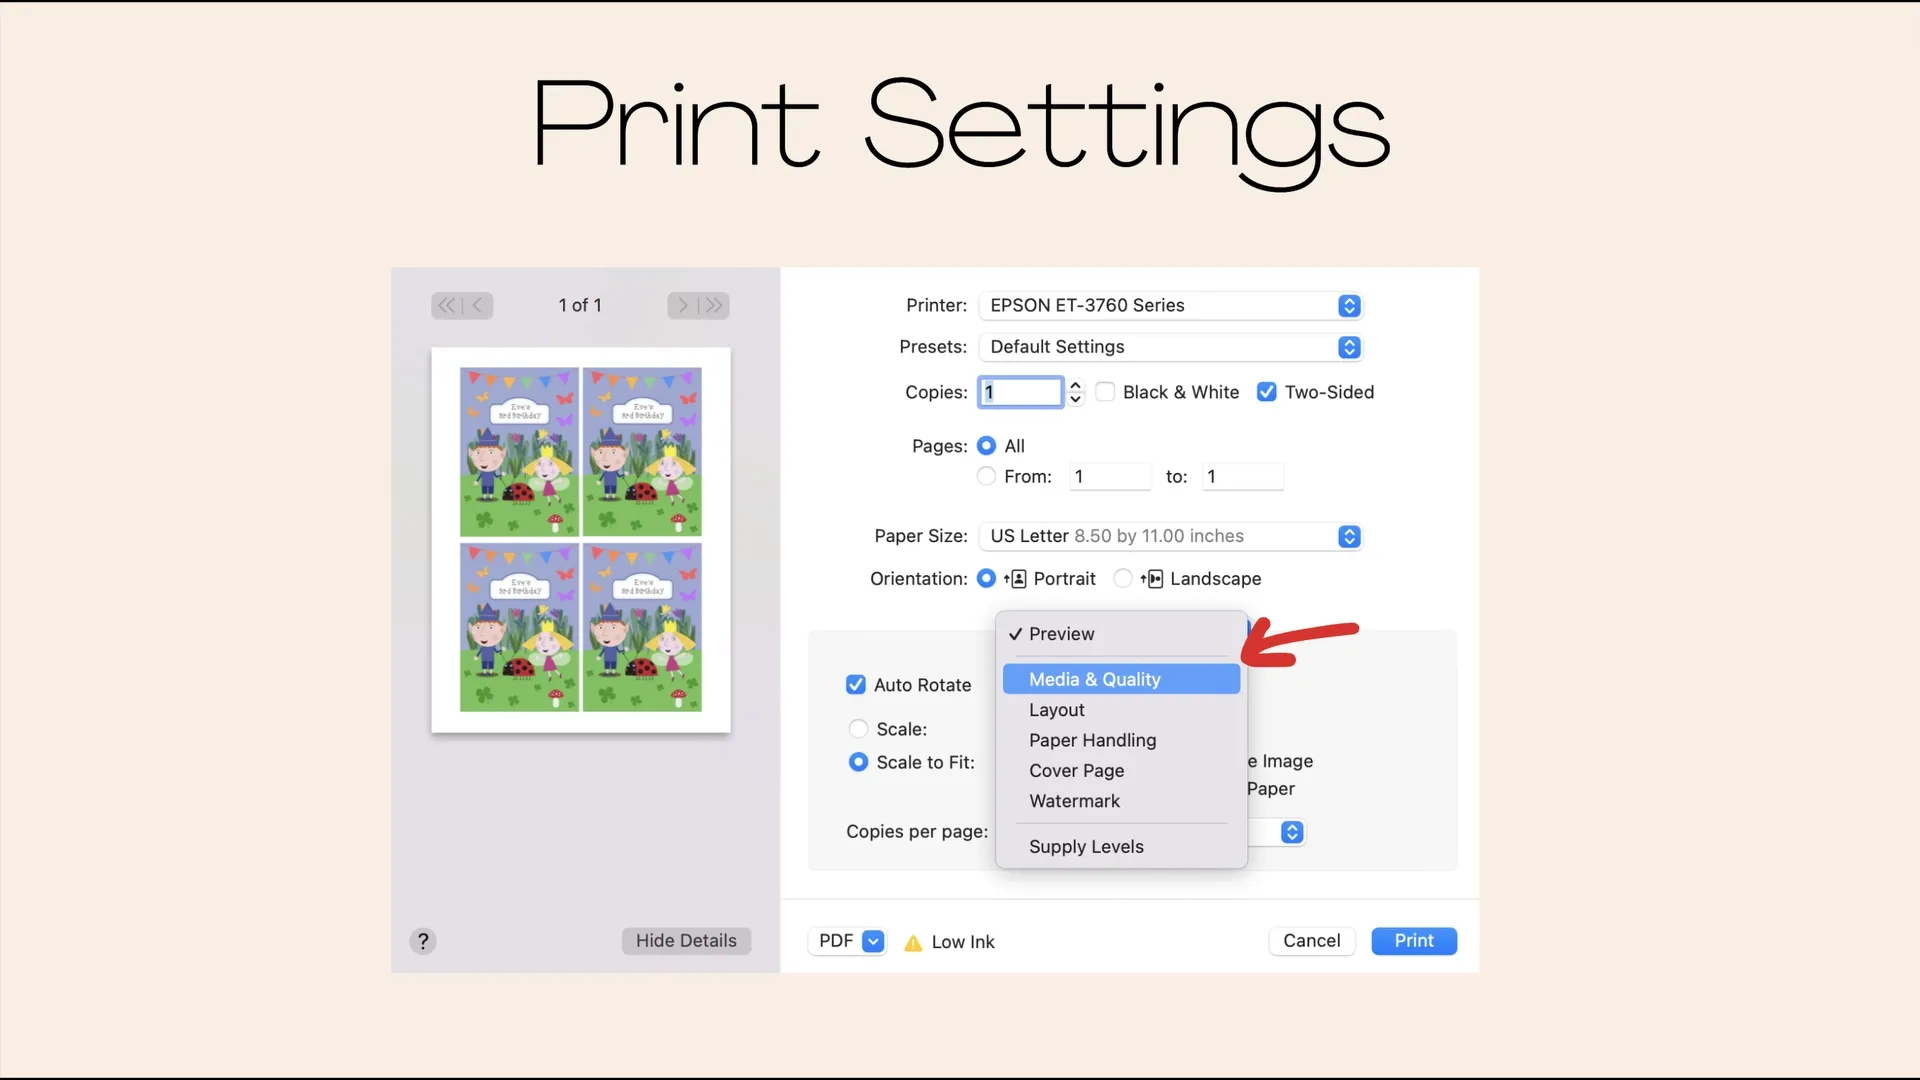
Print settings: I print all my images on an Epson EcoTank 376 printer. I love my printer and its printing image quality.
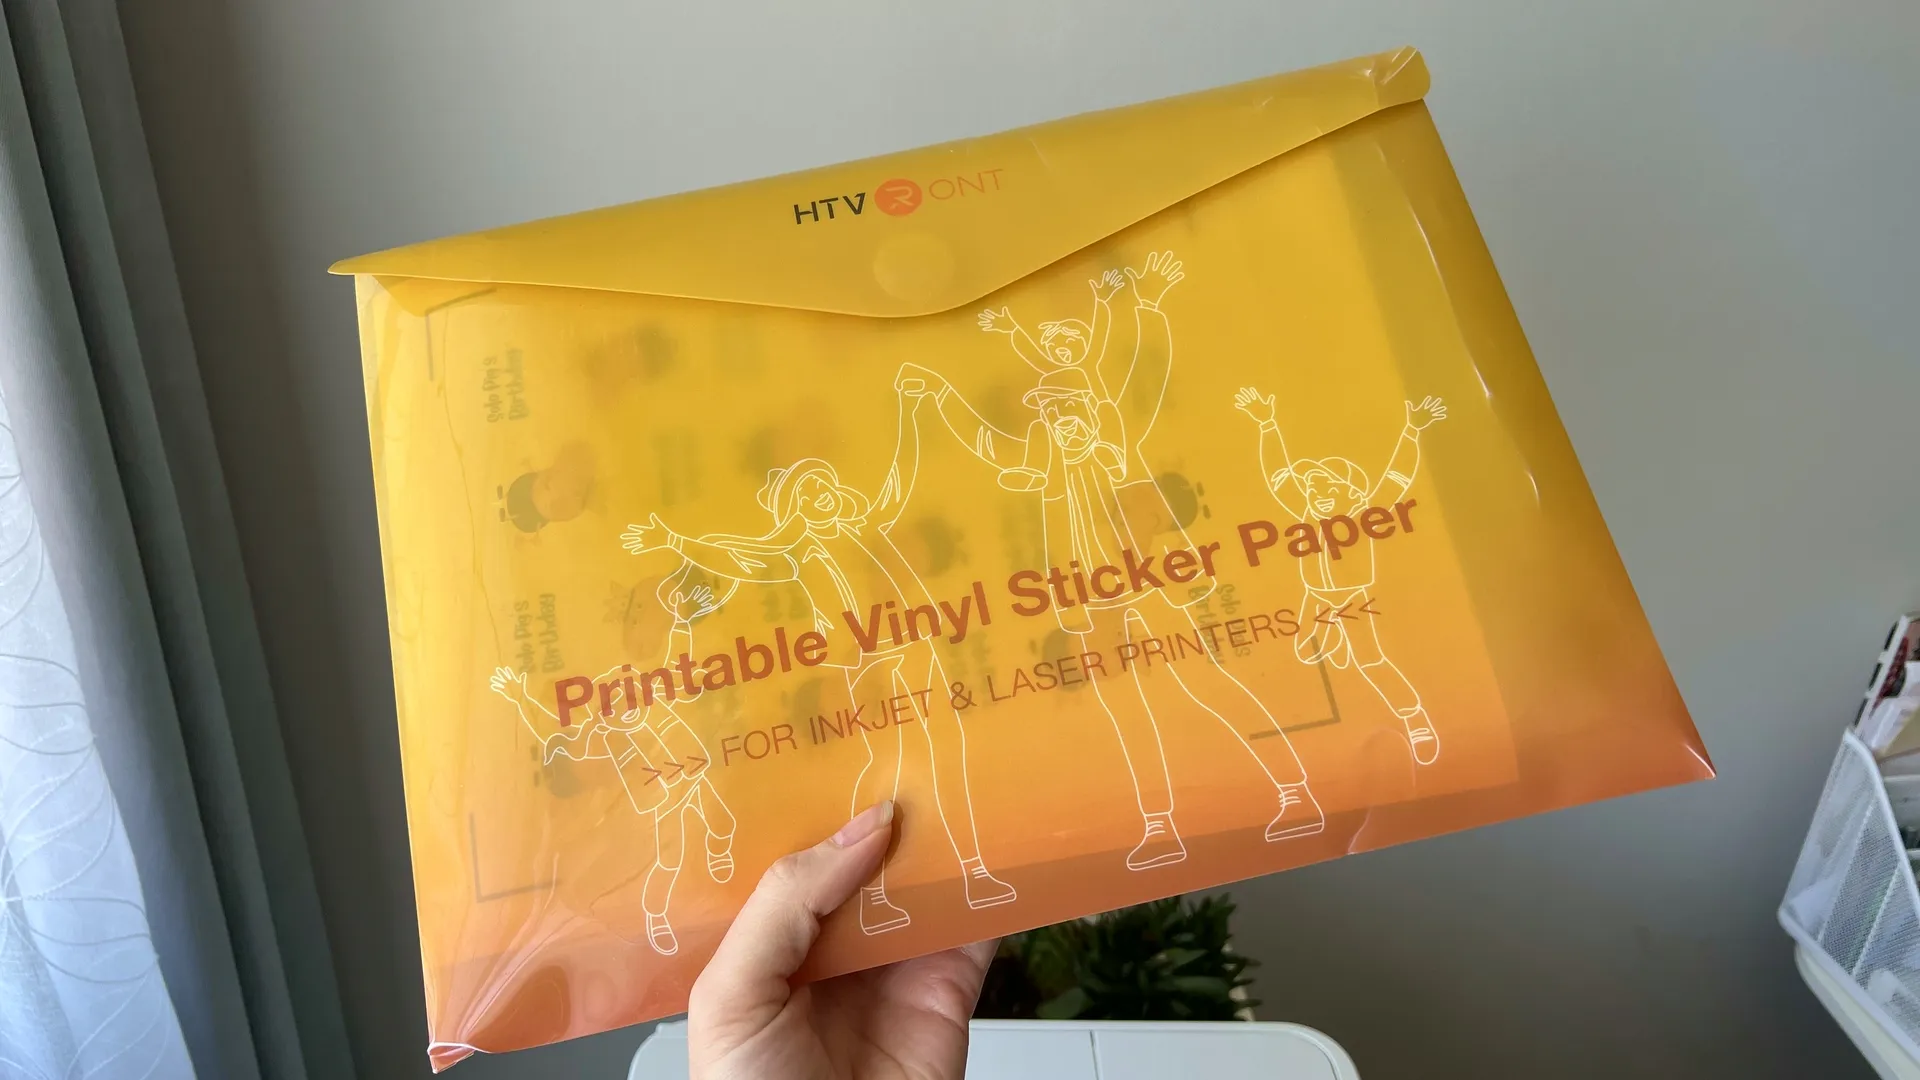
I use sticker paper from HTVRont, and you can find the link in my description.
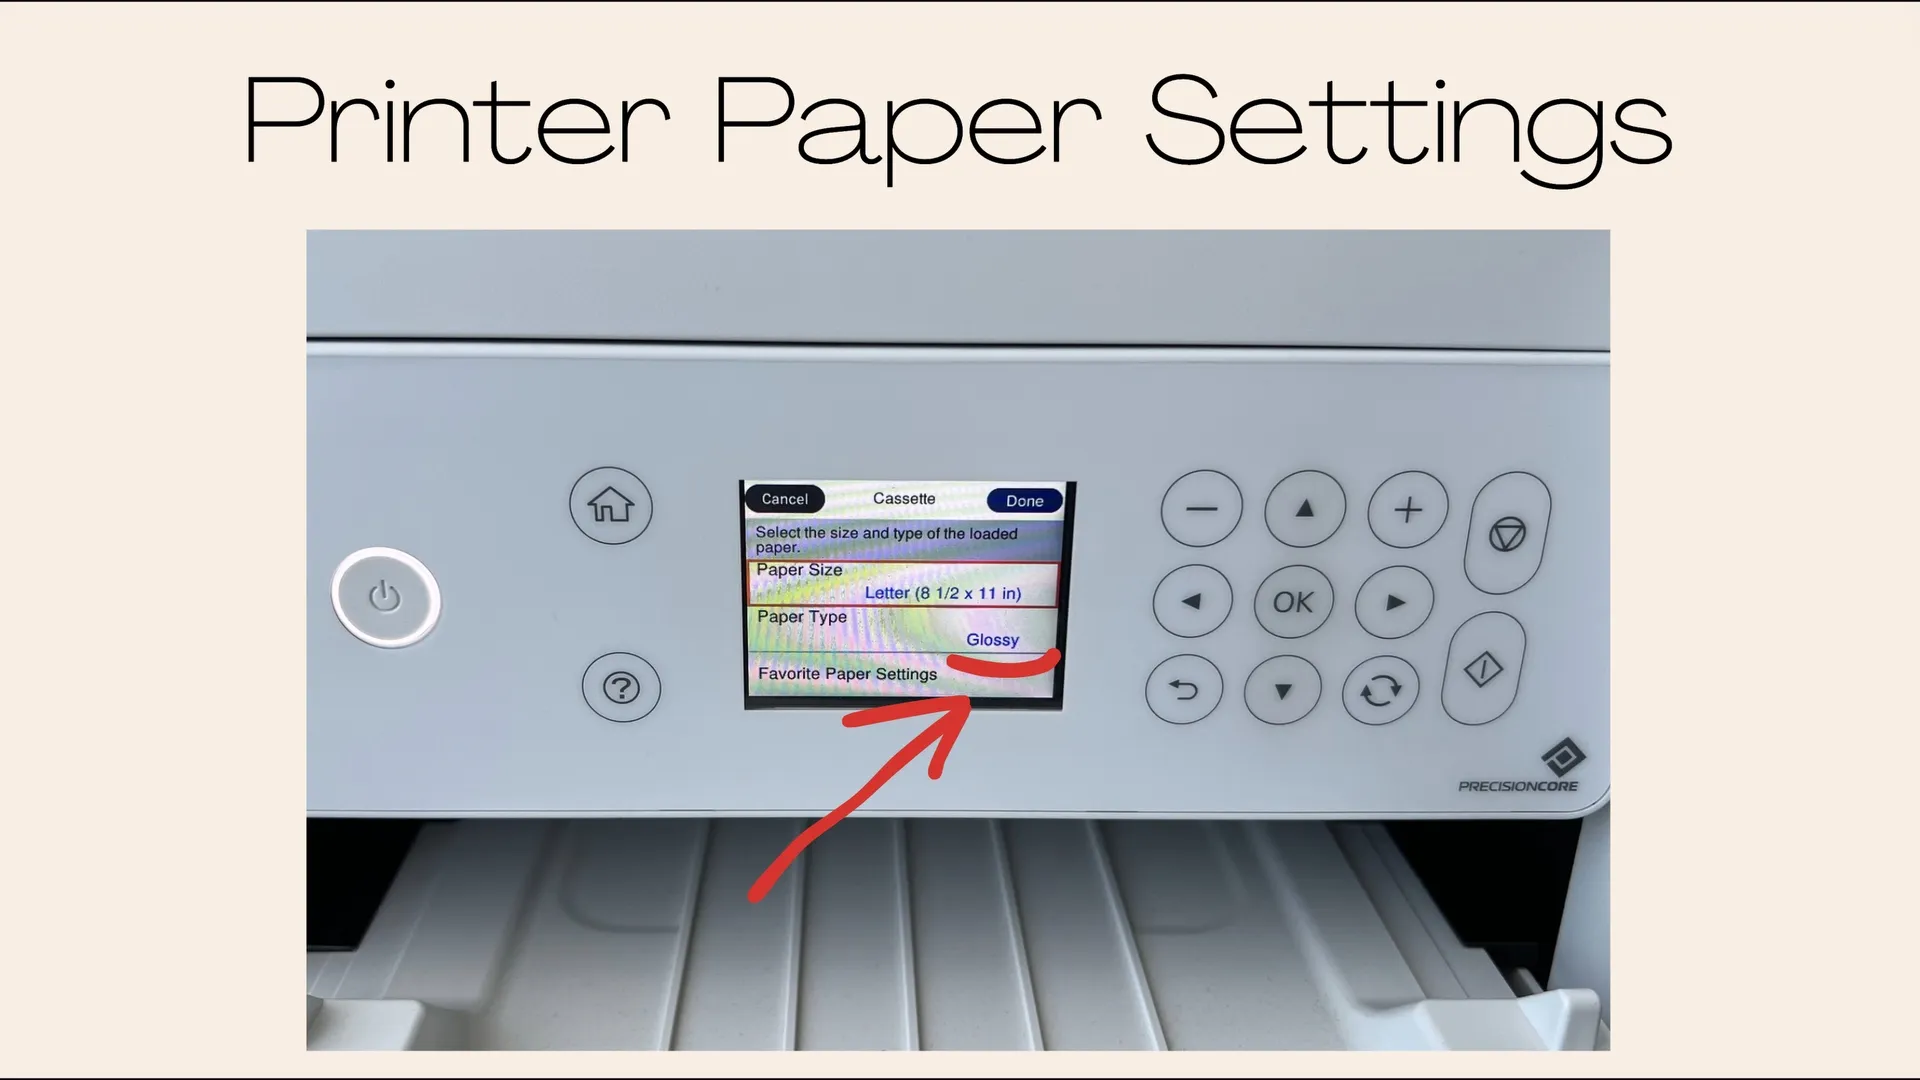
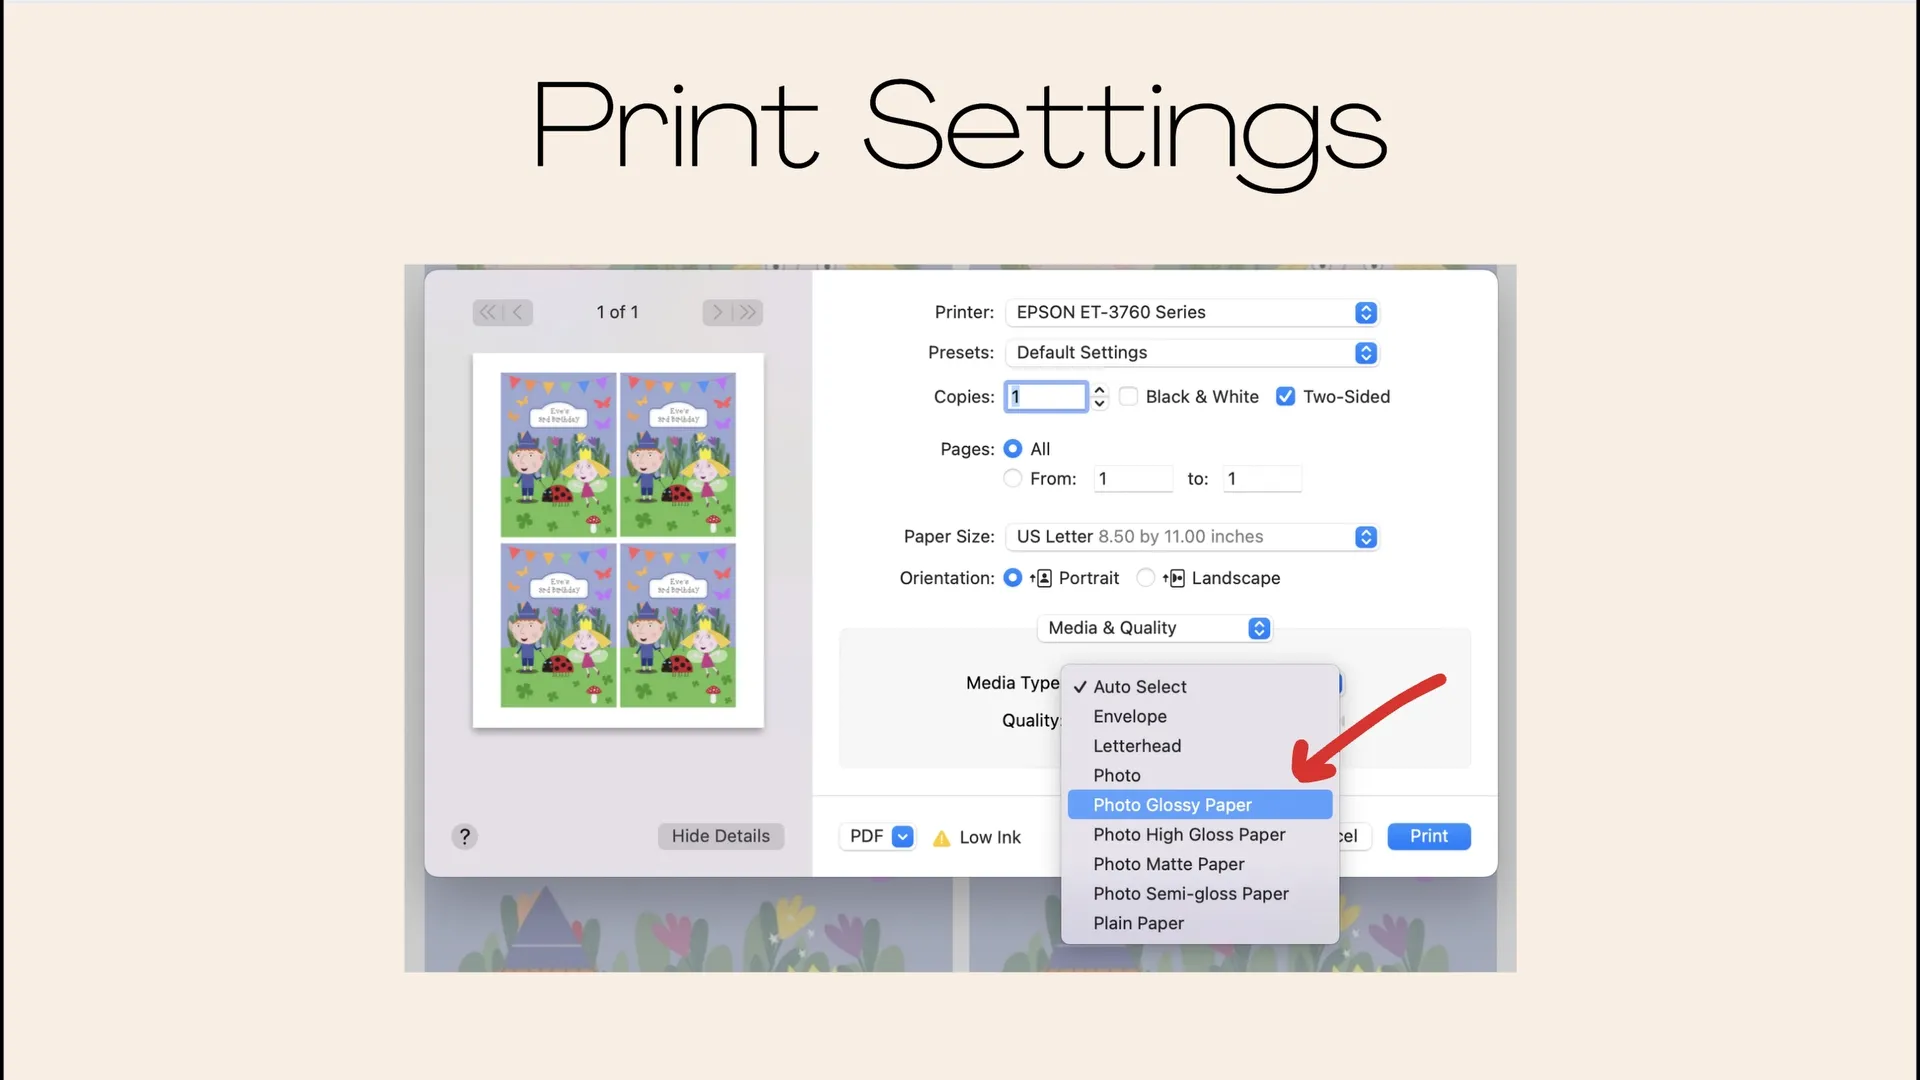
I select glossy paper when printing, and for glossy paper, I adjust the settings to get bright and high-quality pictures. This setting works great for me.
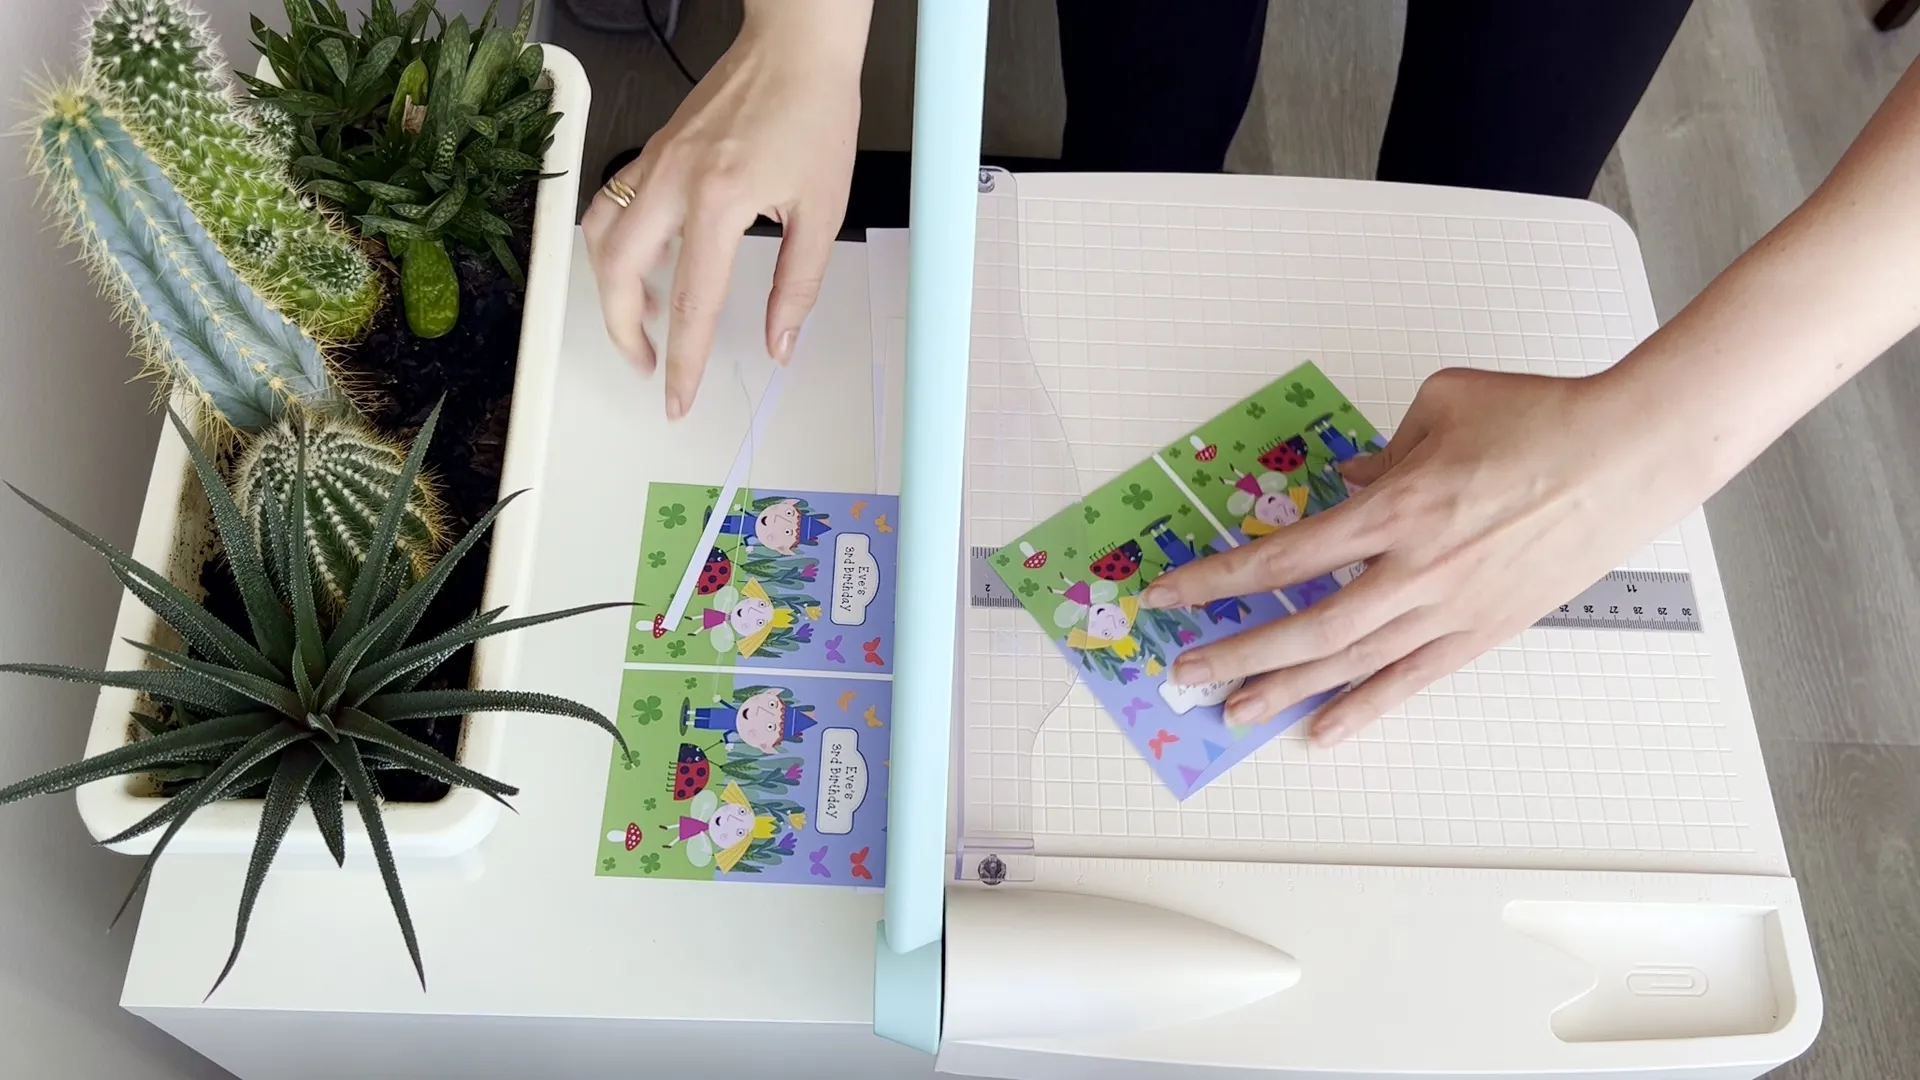
Cut the labels: When I printed labels, I cut them on my paper trimmer. It helps me get a perfect straight line. If you don't have a paper trimmer, you can use regular scissors.
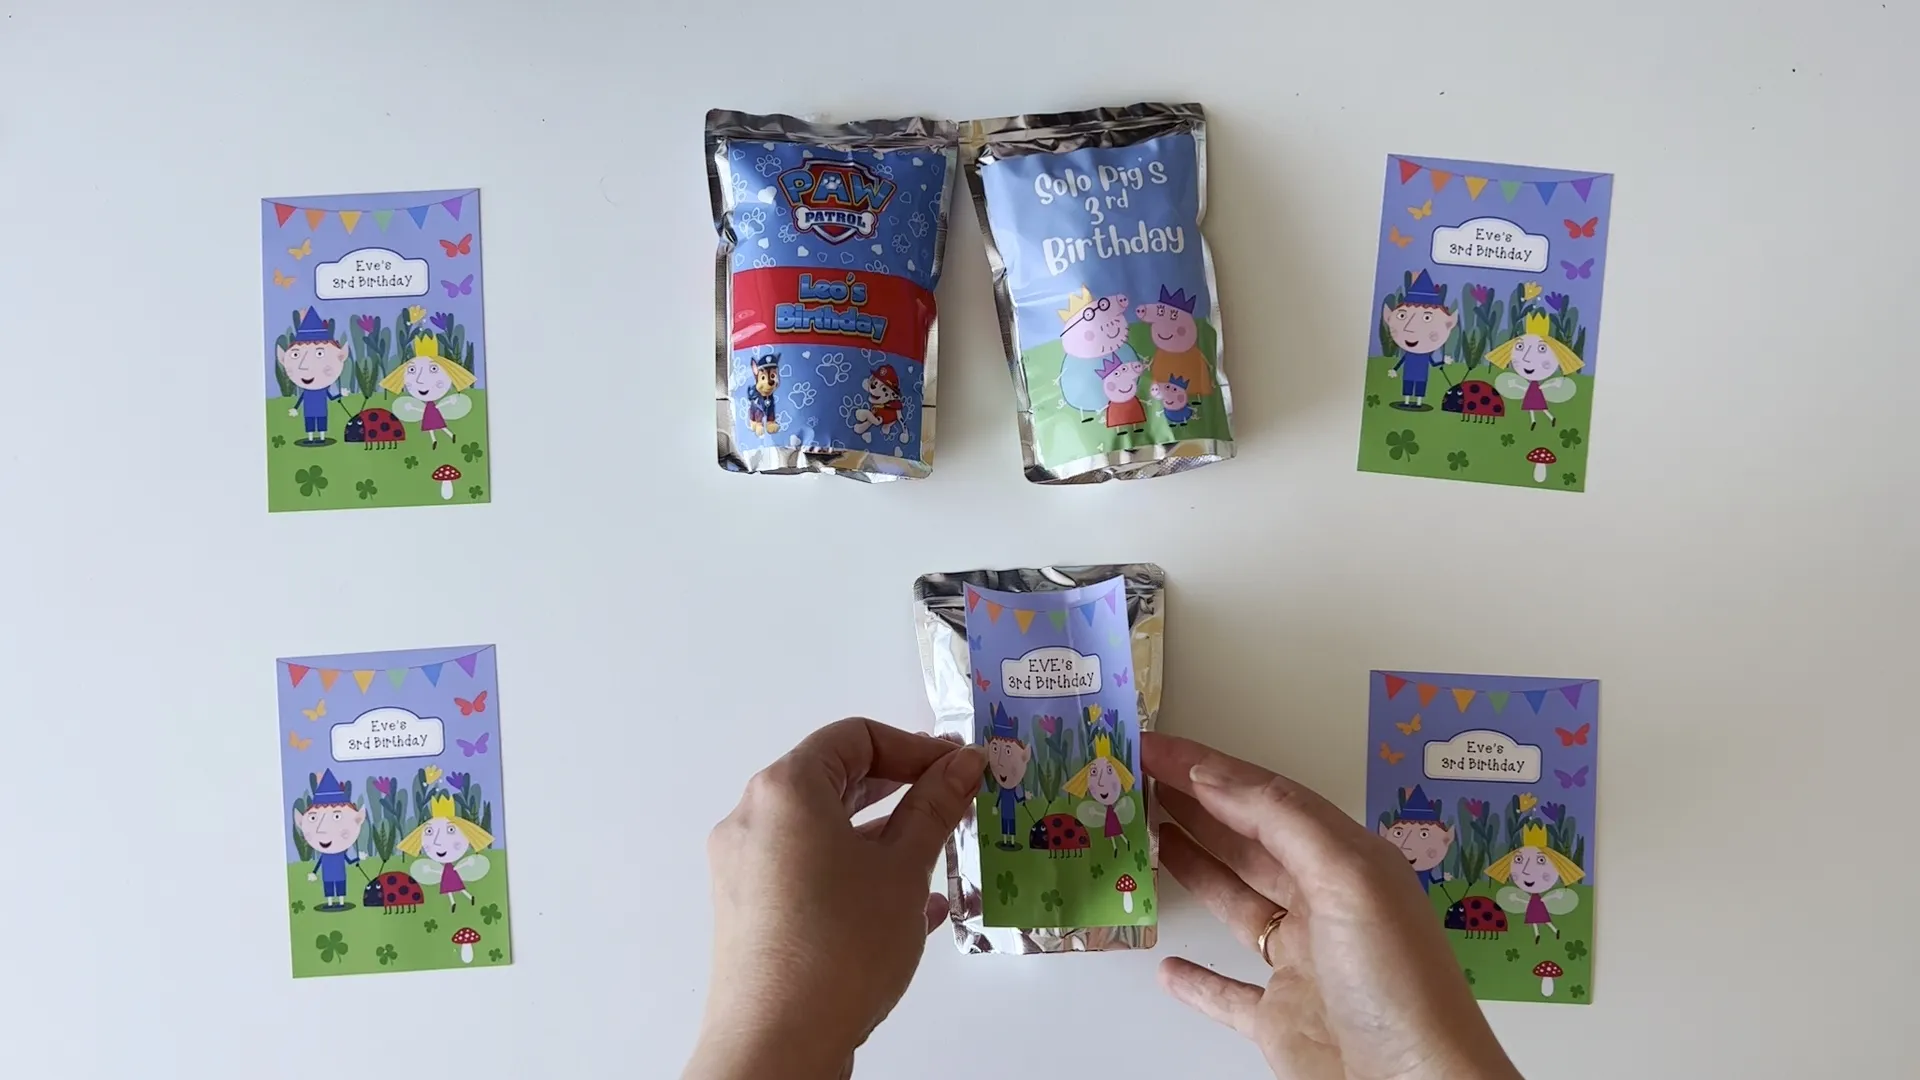
Apply the labels: I apply the labels straight on the juice package where it folds and glue the label along the central line. I fold the corner a little bit and remove the backside of the sticker paper. I don't cover the front side of the juice, as I want to give kids the opportunity to see and choose the juice flavor. It also makes it much easier to apply the sticker. I slightly bend the label and start gluing from the center, carefully smoothing the label. Then, I turn it over, roll first one side, and then the other. This ensures there are no wrinkles.
Full tutorial you can watch on my YouTube channel.