· cricut
How to Make the Graduation Card with Cricut for Beginners
Graduation season is upon us, and what better way to celebrate the achievements of your loved ones than with a personalized handmade card? With the help of Cricut, the possibilities for creativity are endless. In this tutorial, I will walk you through how to create a stunning graduation card using Cricut Design Space, perfect for beginners and seasoned crafters alike.
Why Choose Cricut?
Cricut is a revolutionary cutting machine that has transformed the world of crafting. With its precise cutting capabilities and intuitive design software, Cricut makes it easy to bring your creative ideas to life. Whether you’re a novice or an experienced crafter, Cricut offers endless possibilities for personalized projects.
Getting Started
Before diving into our graduation card project, make sure you have the following materials:
- Cricut cutting machine
- Cardstock in various colors
- Adhesive
- Cricut Design Space account
Step 1: Accessing the Project
First, log in to your Cricut Design Space account. Navigate to the Cricut project library and search for “graduation card” or use this link. 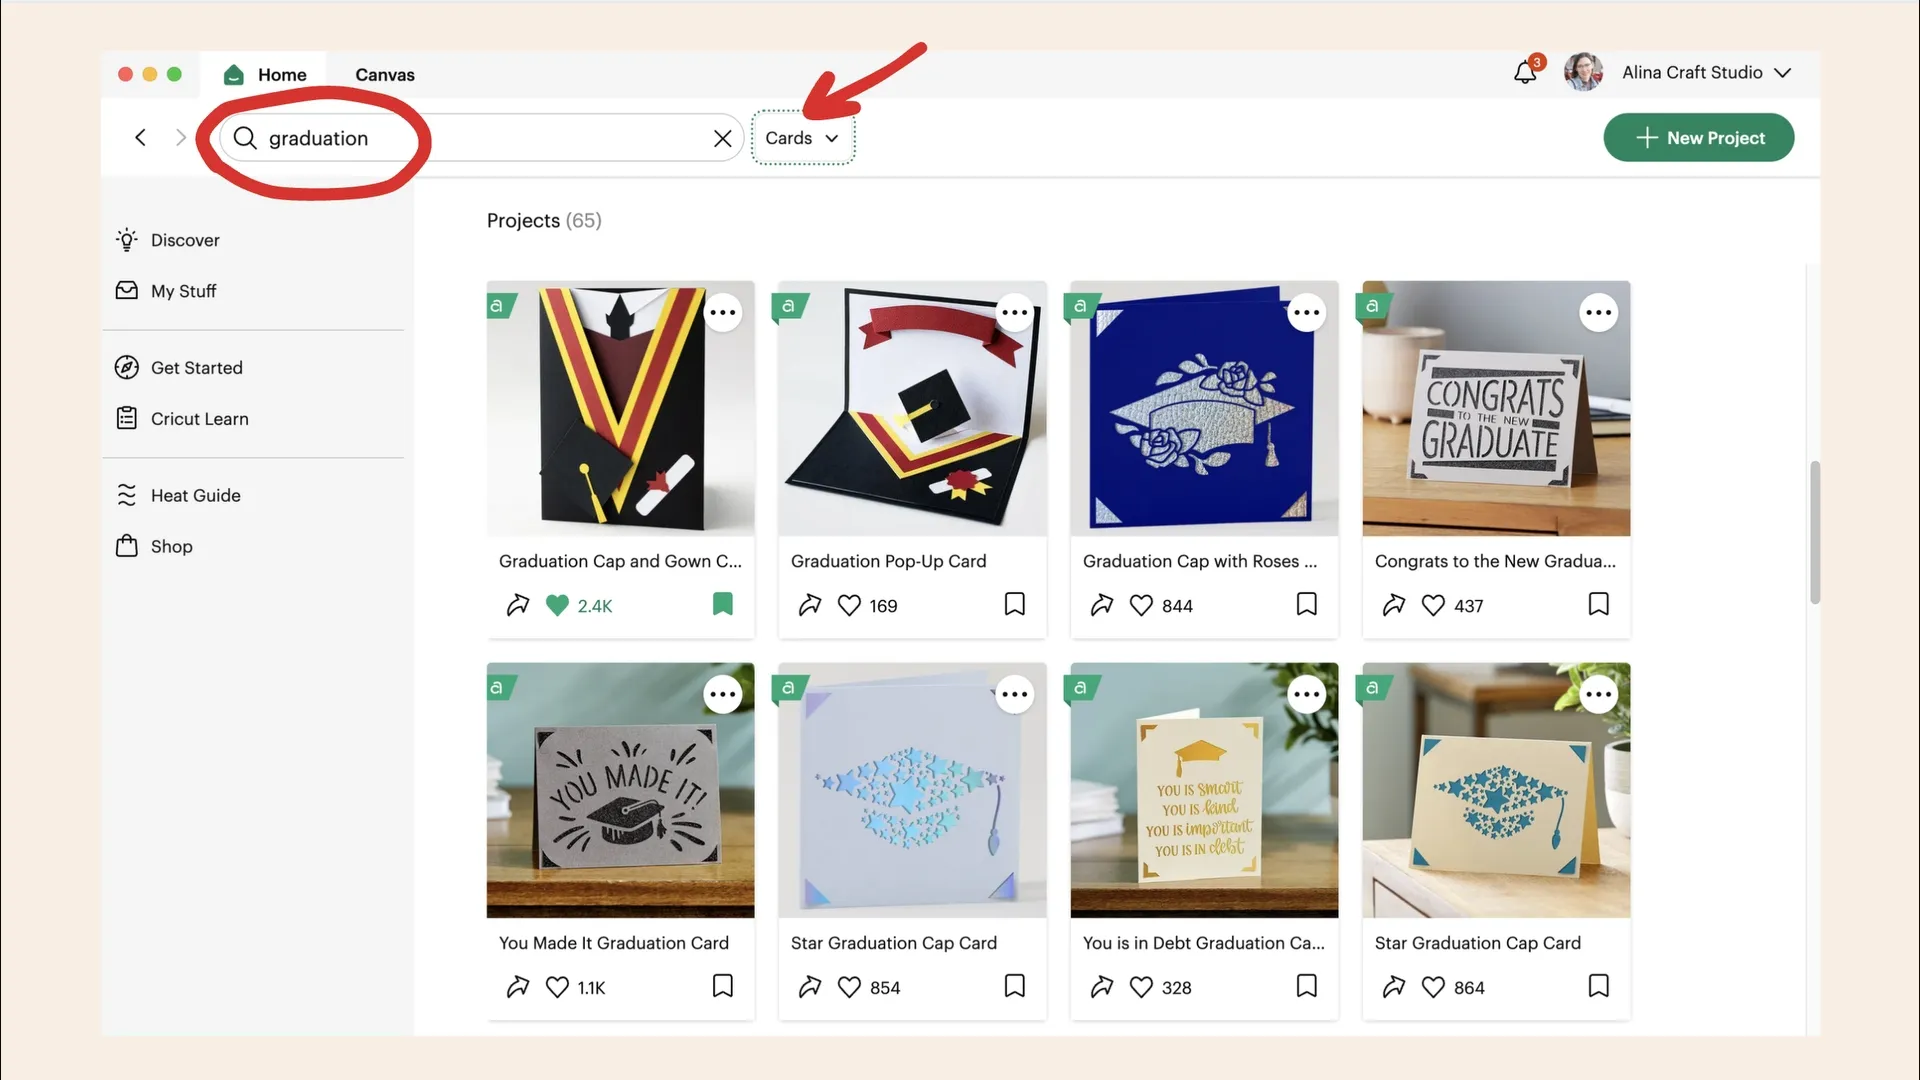 The card project already has instructions and an exact description of what you may need.
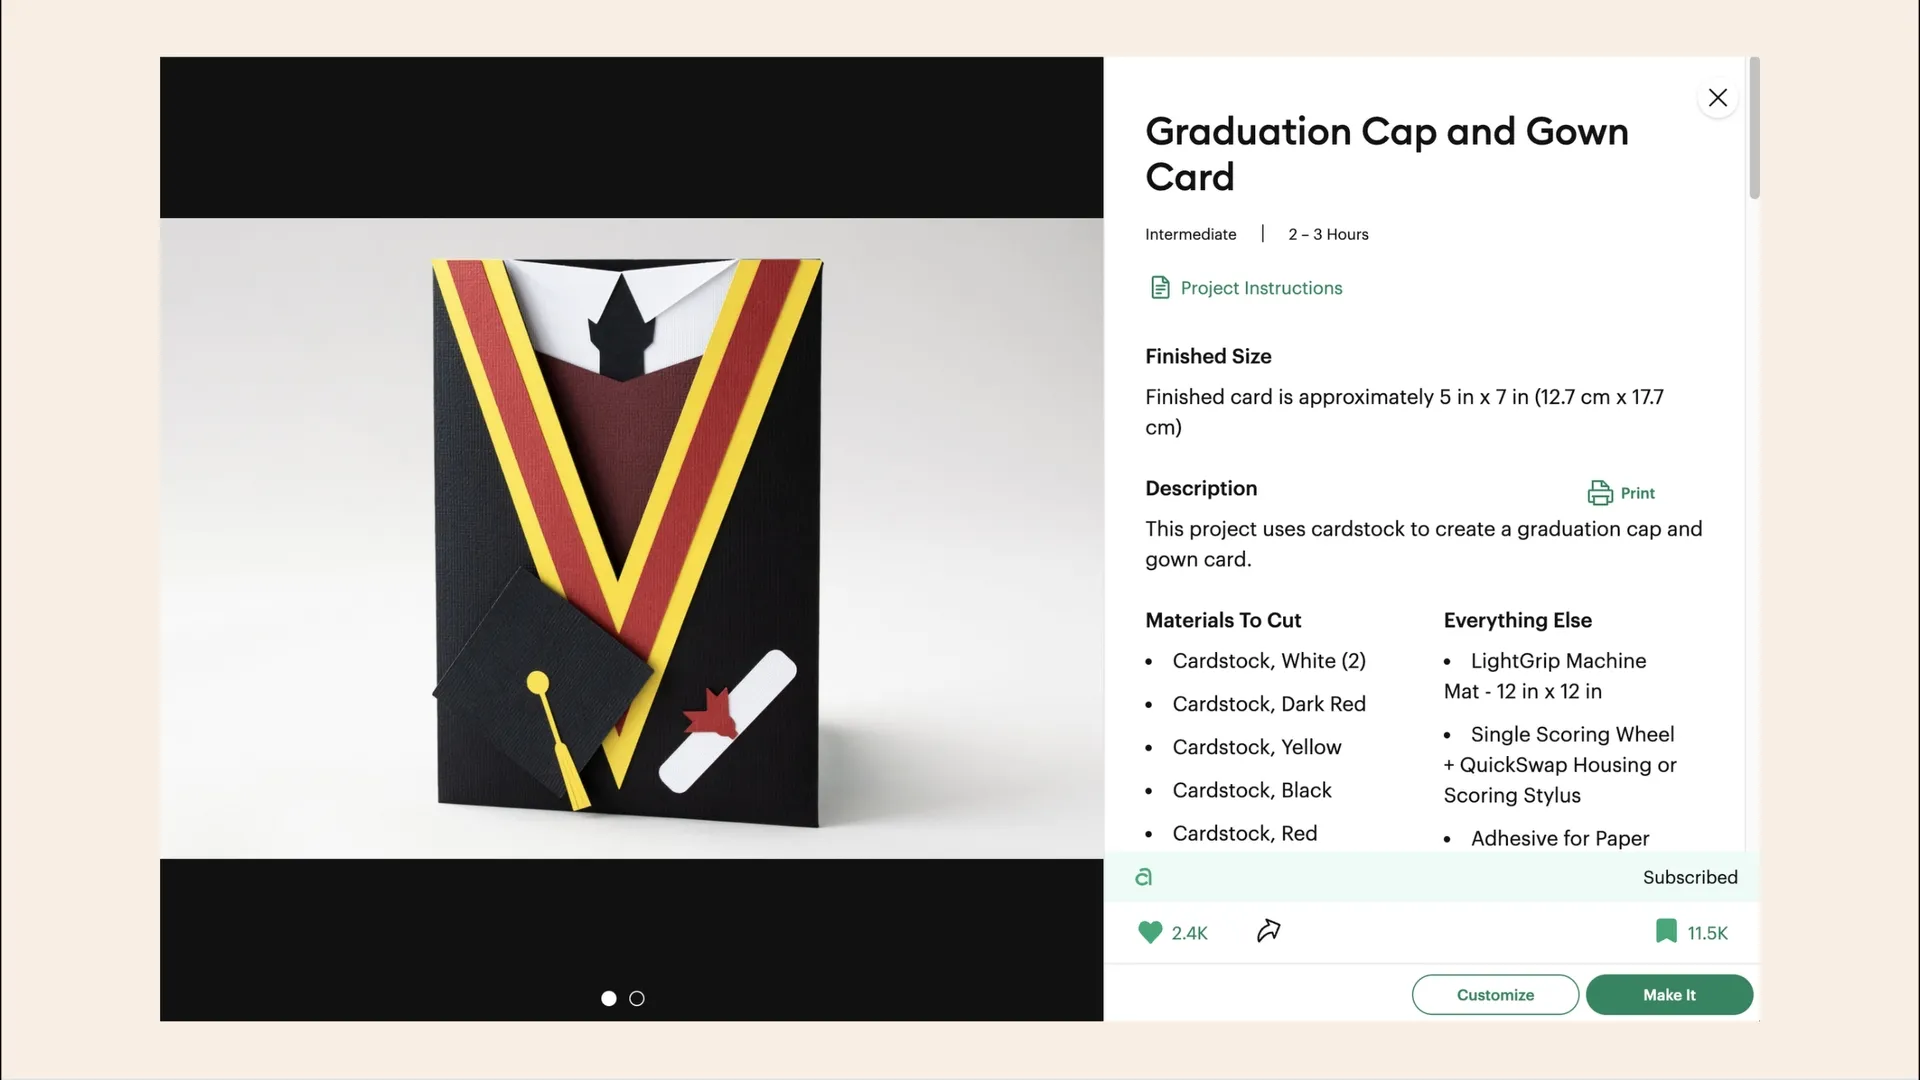
Step 2: Customize Your Design
Once you’ve selected the design, you can customize it to your liking. Choose your desired colors for the cardstock and adjust any elements to suit your preferences. Cricut Design Space makes it easy to resize, rotate, and move objects, so feel free to get creative with your design. 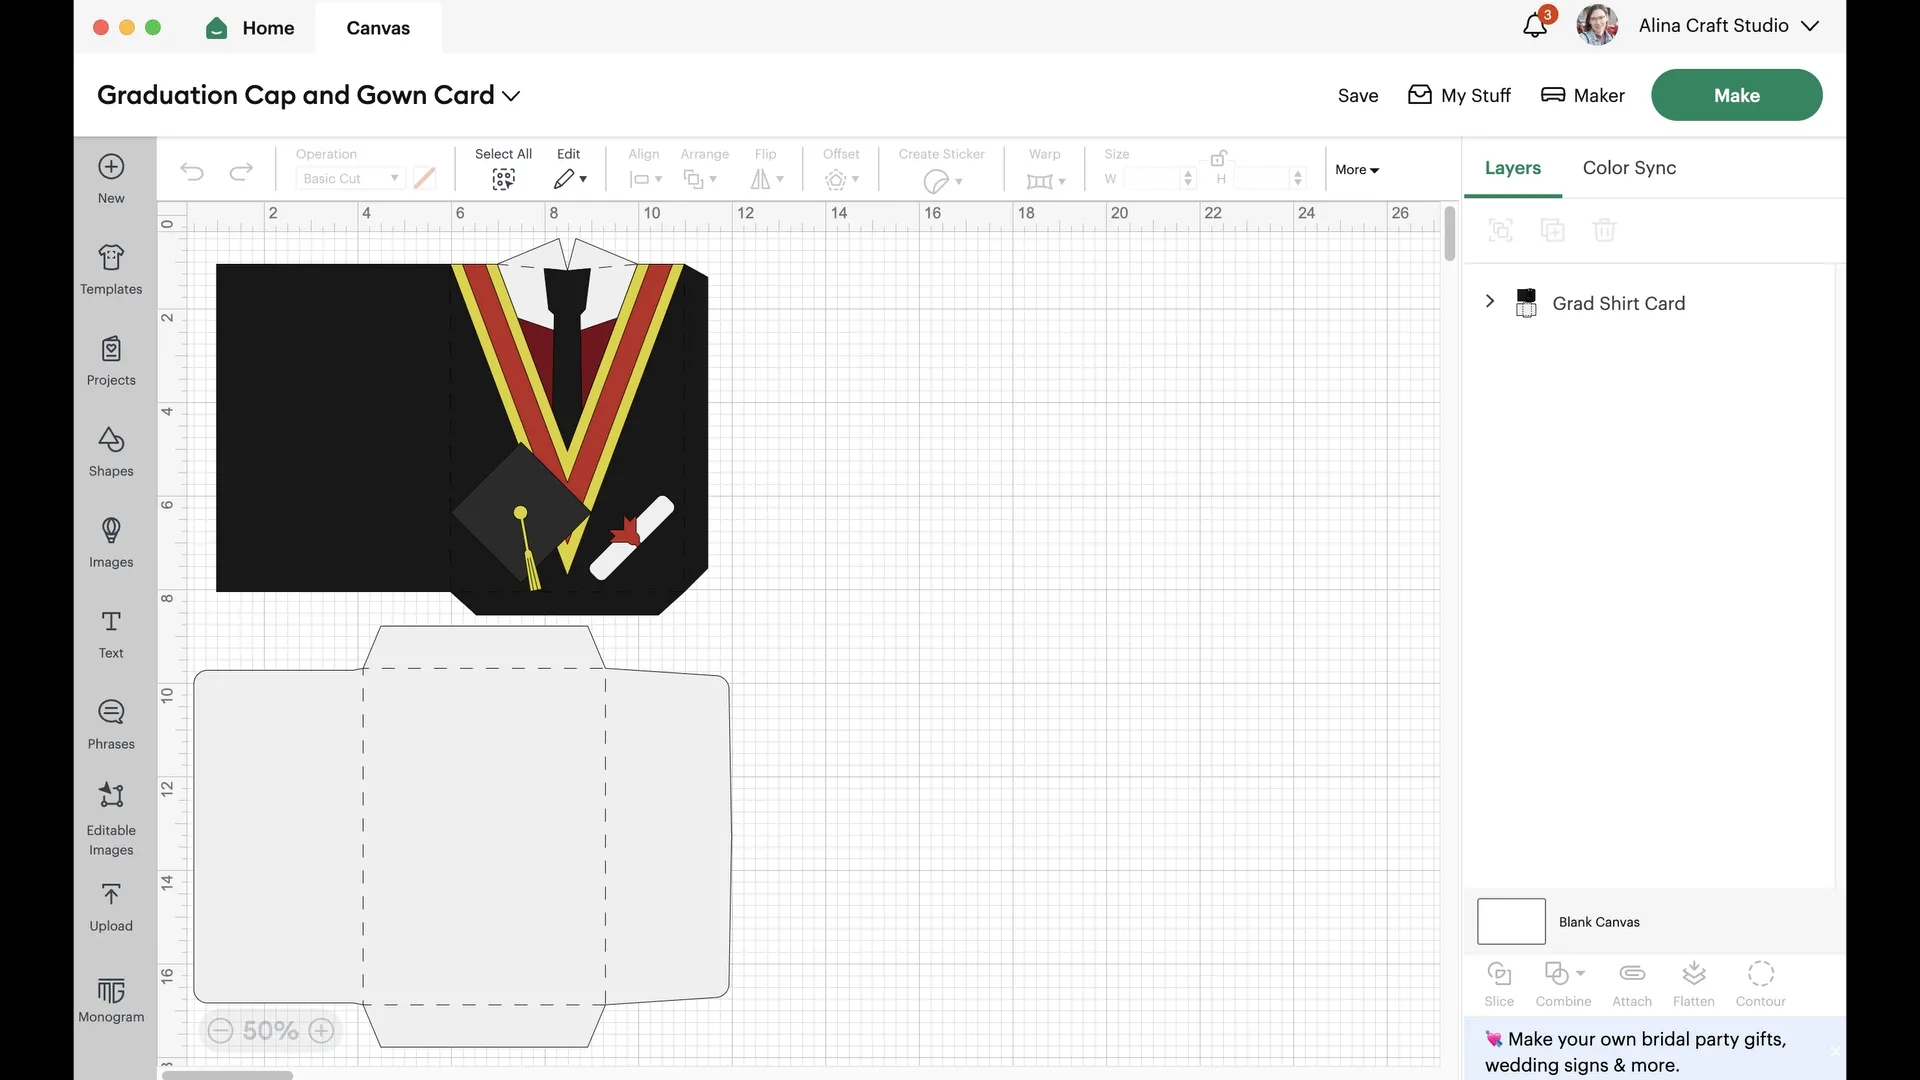
Step 3: Prepare Your Materials
Before you begin cutting, make sure your Cricut machine is set up and ready to go. Load your chosen cardstock onto the cutting mat, making sure it’s securely in place. Then, follow the prompts in Cricut Design Space to select your material and load the mat into the machine. 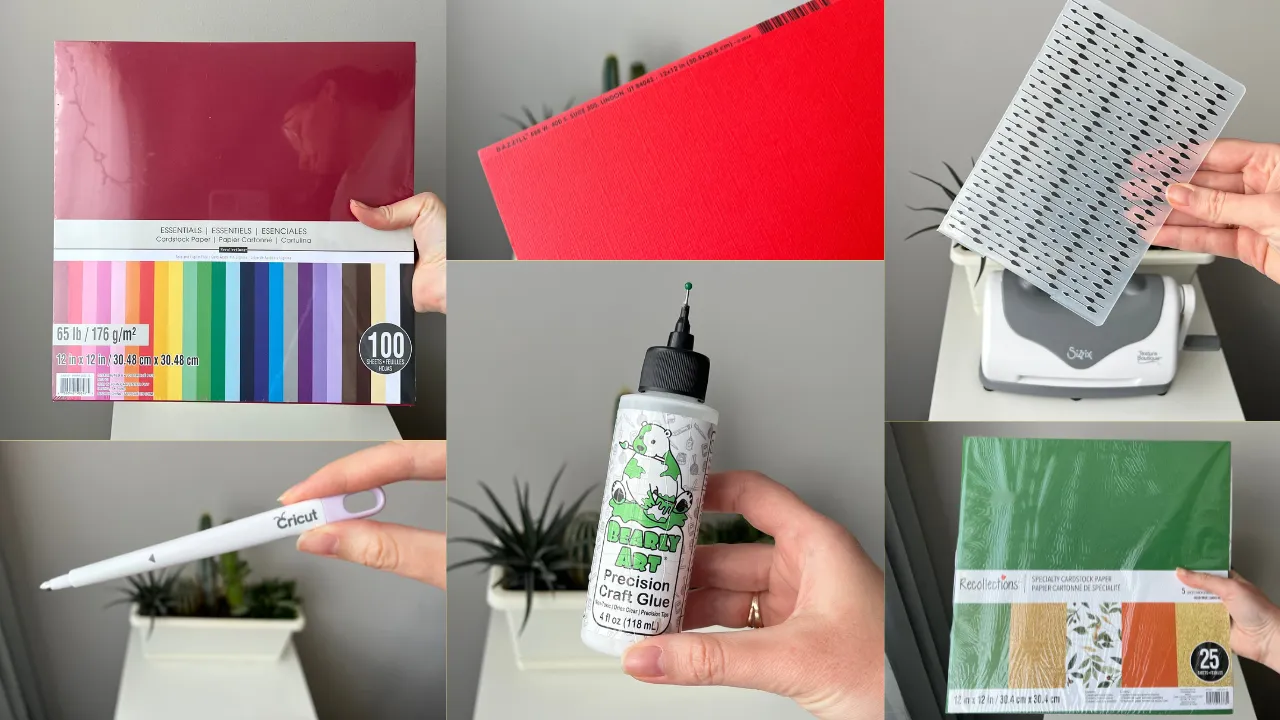
Step 4: Assemble Your Card
Once all the pieces have been cut, it’s time to assemble your card. Use adhesive to attach the various elements to your card base, following the design you created in Cricut Design Space. Feel free to use Bazzill shimmer cardstock to add embellishments check the link. 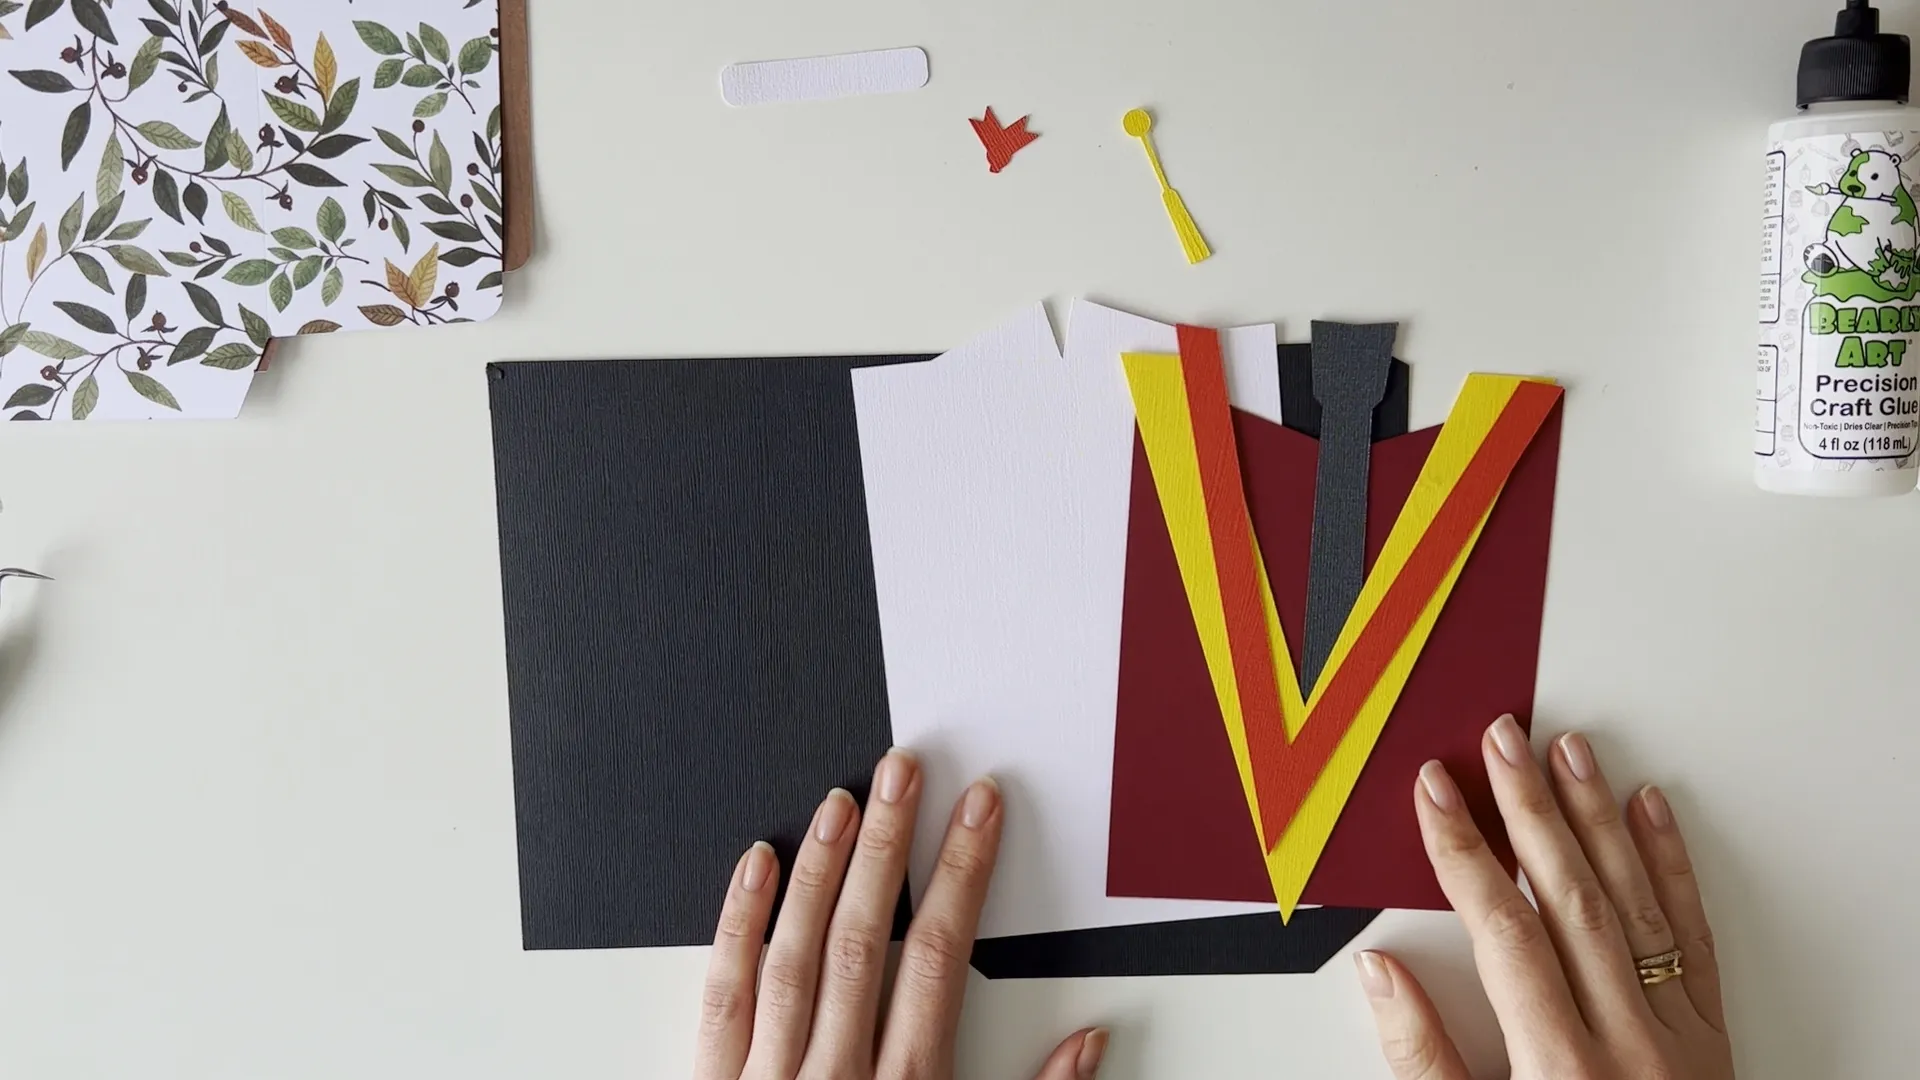


Step 5: Add a Personal Touch
Finally, add a heartfelt message to the inside of your card to congratulate the graduate on their achievement. Whether it’s a simple “Congratulations!” or a more personalized note, your words will surely be appreciated. 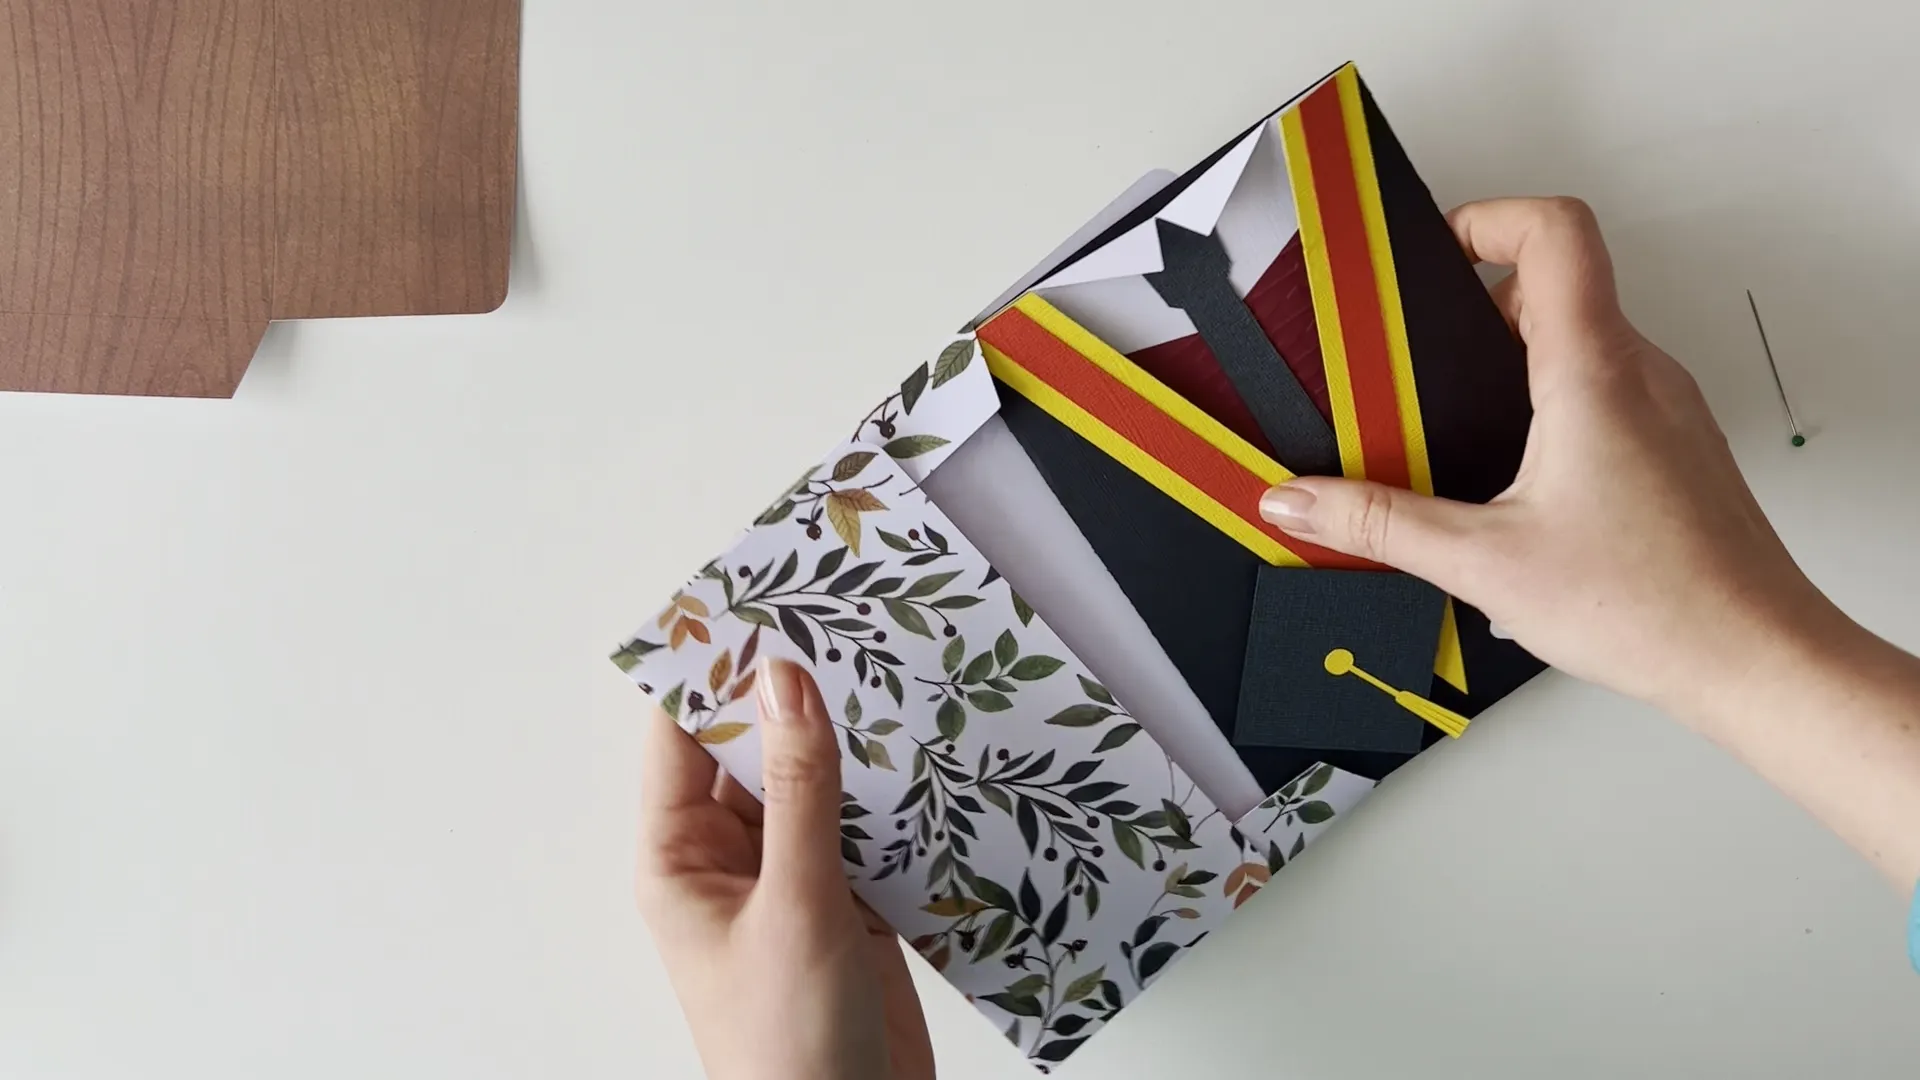 Creating a graduation card with Cricut is not only a fun and rewarding craft project but also a meaningful way to celebrate the accomplishments of the graduate in your life. With its user-friendly interface and precise cutting capabilities, Cricut makes it easy for beginners to create professional-looking cards that are sure to impress. So, gather your materials, fire up your Cricut machine, and get ready to make memories that will last a lifetime. Happy crafting!