· reviews
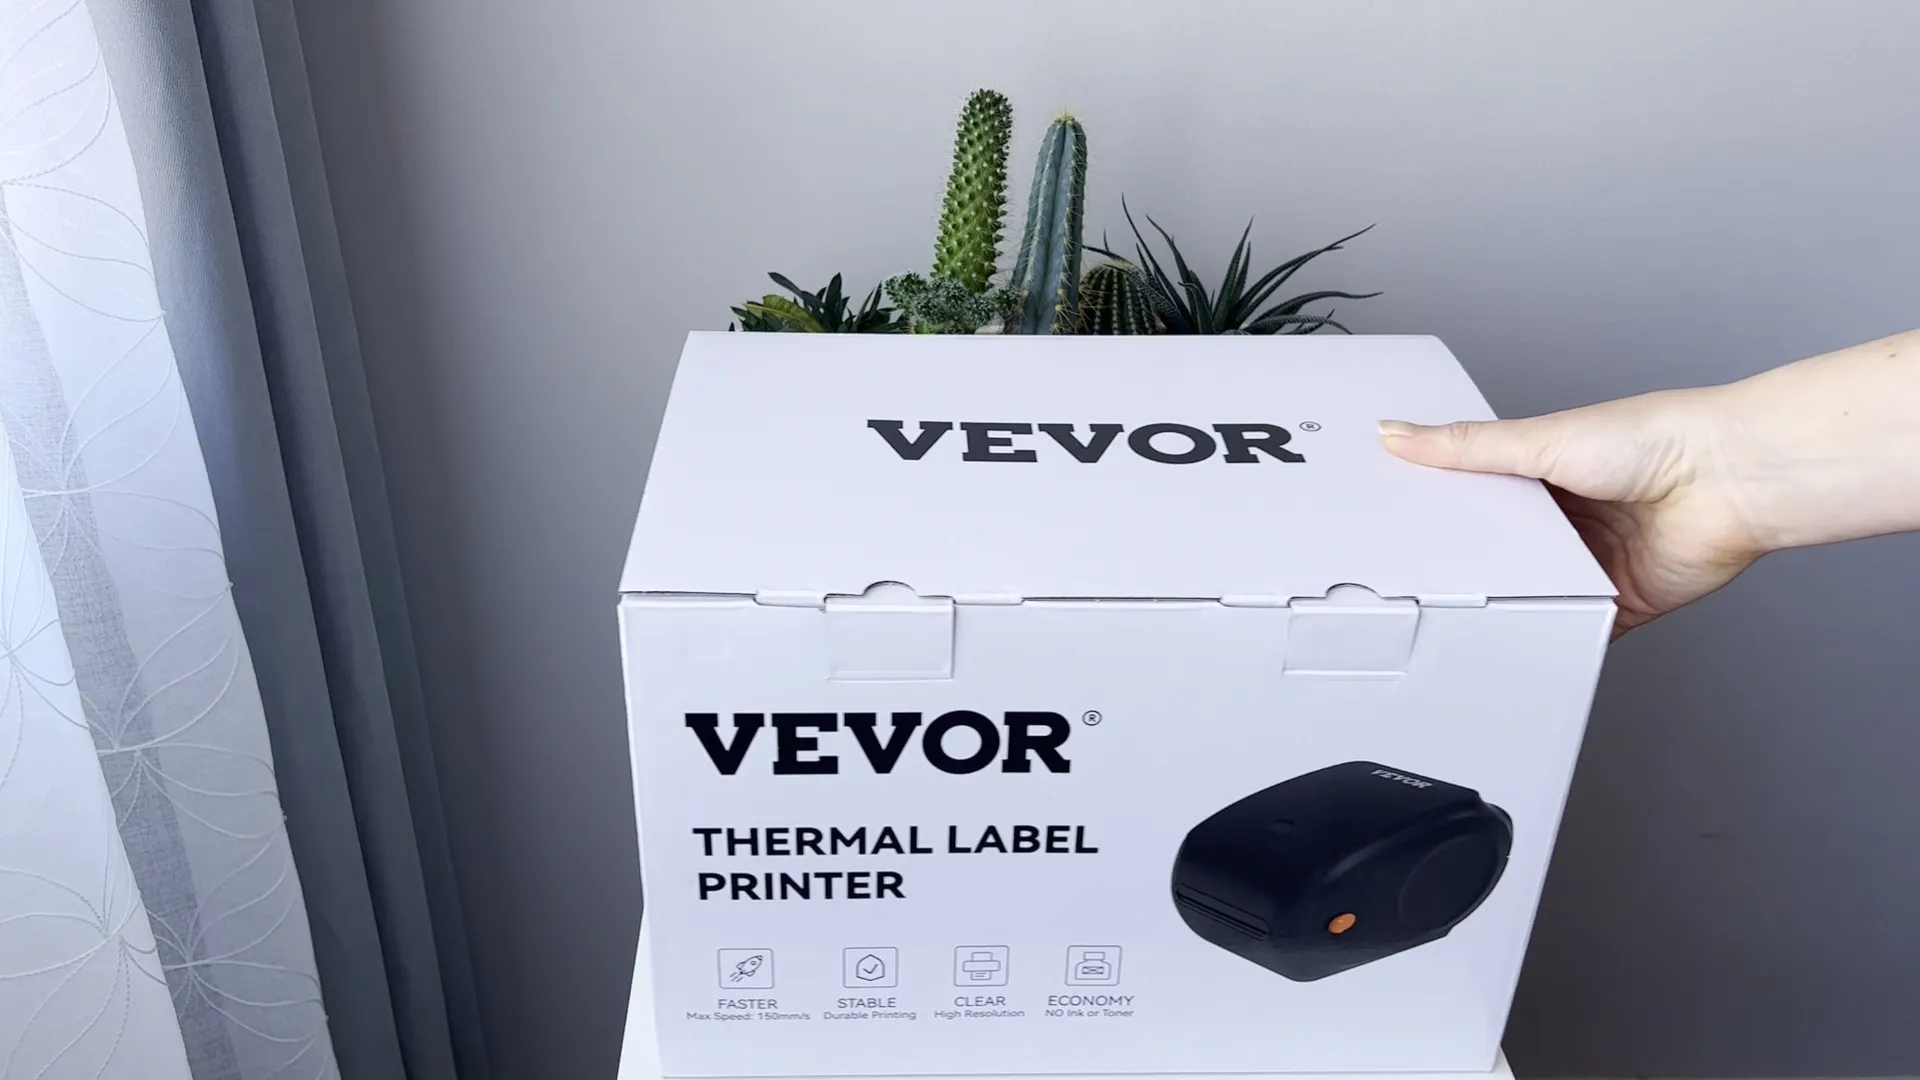
Vevor Y468BT - Thermal Label Printer Review and Setup
We use affiliate links. If you buy something through the links on this page, we may earn a commission at no cost to you.
Today I want to share information about the Vevor thermal printer and why I chose this device.
I needed to update my label printing process. Last two years I've been printing all my shipping labels on my regular printer Epson Eco Tank 3760. I took shipping sticker paper Half Sheet Shipping Labels and put it inside the printer every time when I needed to print the shipping label. It worked for me good, but at that moment my Etsy business has grown and now it's time to optimize all this process.
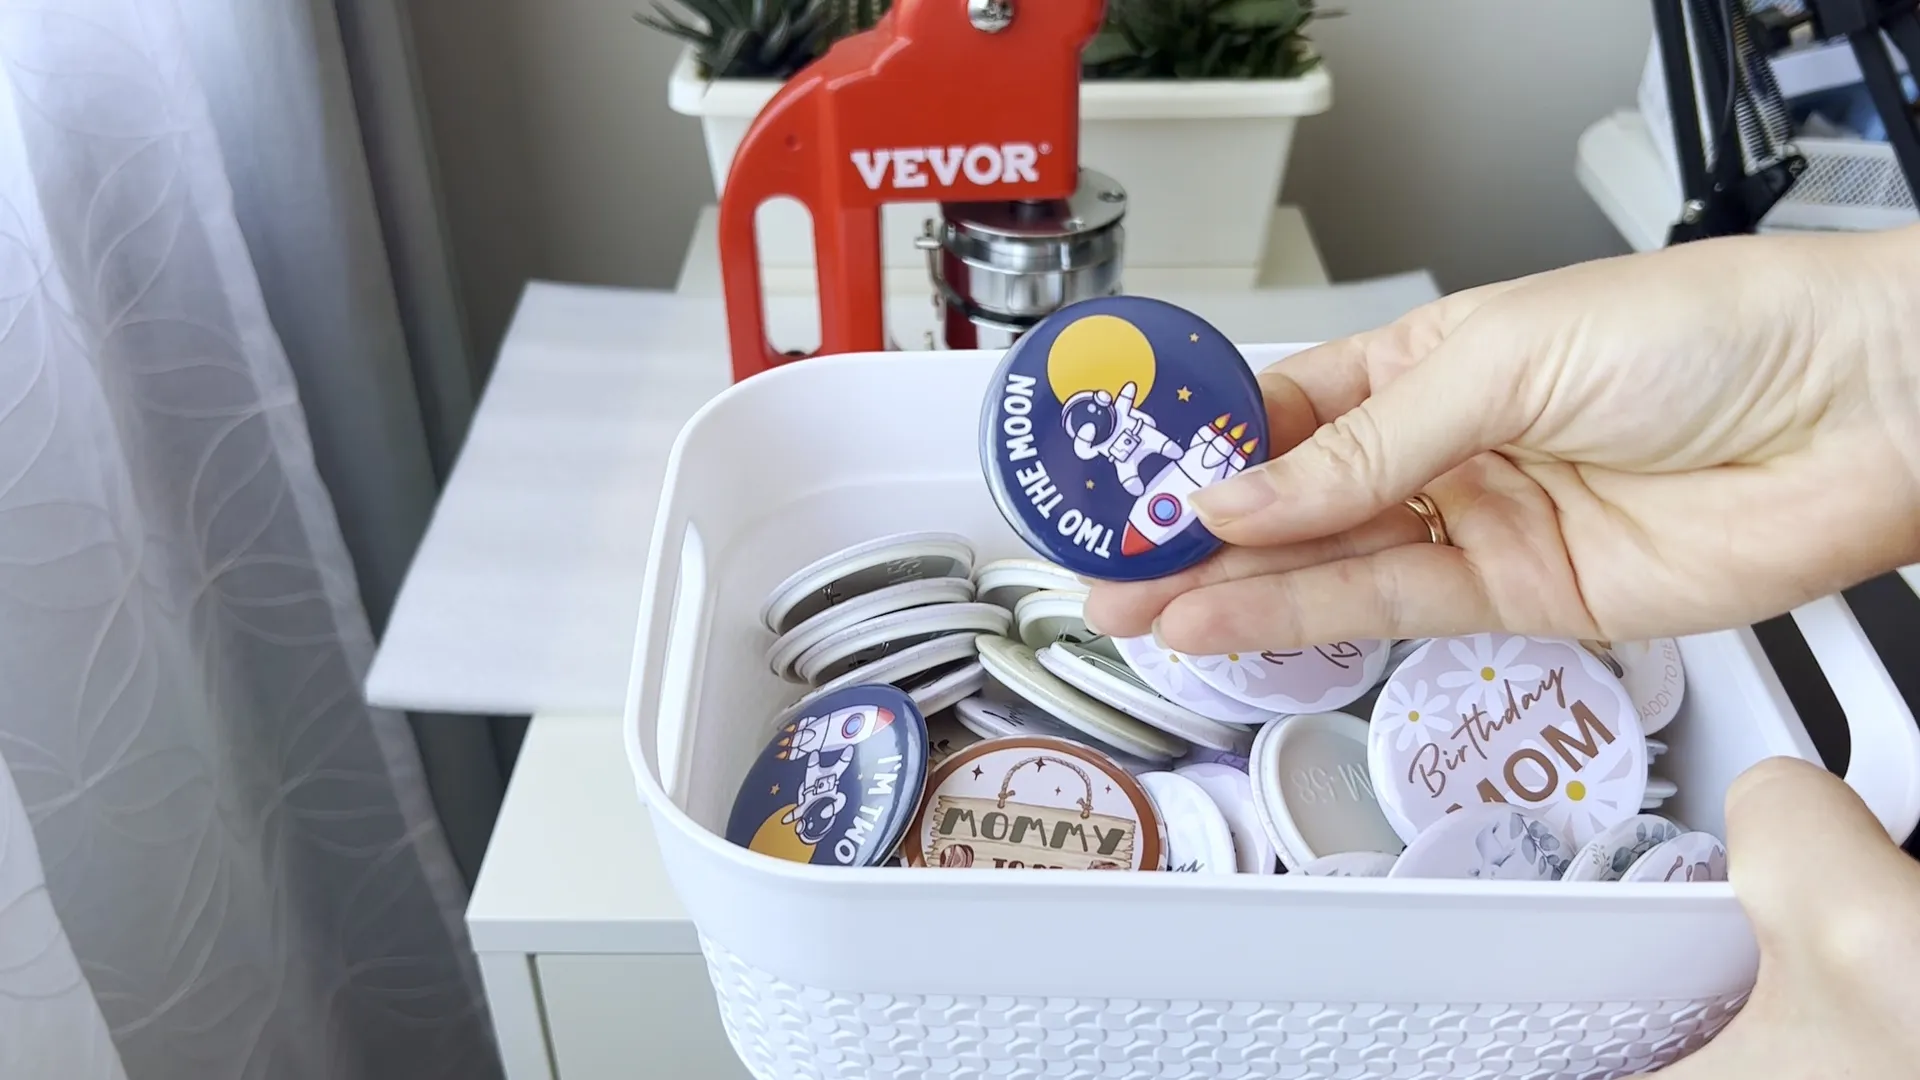
I chose the Vevor printer because it has a very reasonable price. Also I already have a pin machine from Vevor, so I was loyal to this brand and which one I'm very satisfied with. You can see a full tutorial on how I make my pins on my YouTube channel. 
The second reason I like that the printer paper is stored inside the printer compared with other models. And you don't need to buy a storage stand for paper. 
Thermal printers use heat to print text or images so you don't need ink for your printer. The description for the paper says this thermal printer works in a high resolution without any white dots, and printing will always remain steady on label images.
In addition to the shipping label I plan to print stickers with my name and decorate my orders with. So when my customers see their envelope on their porches or mailboxes they can immediately understand where it comes from.
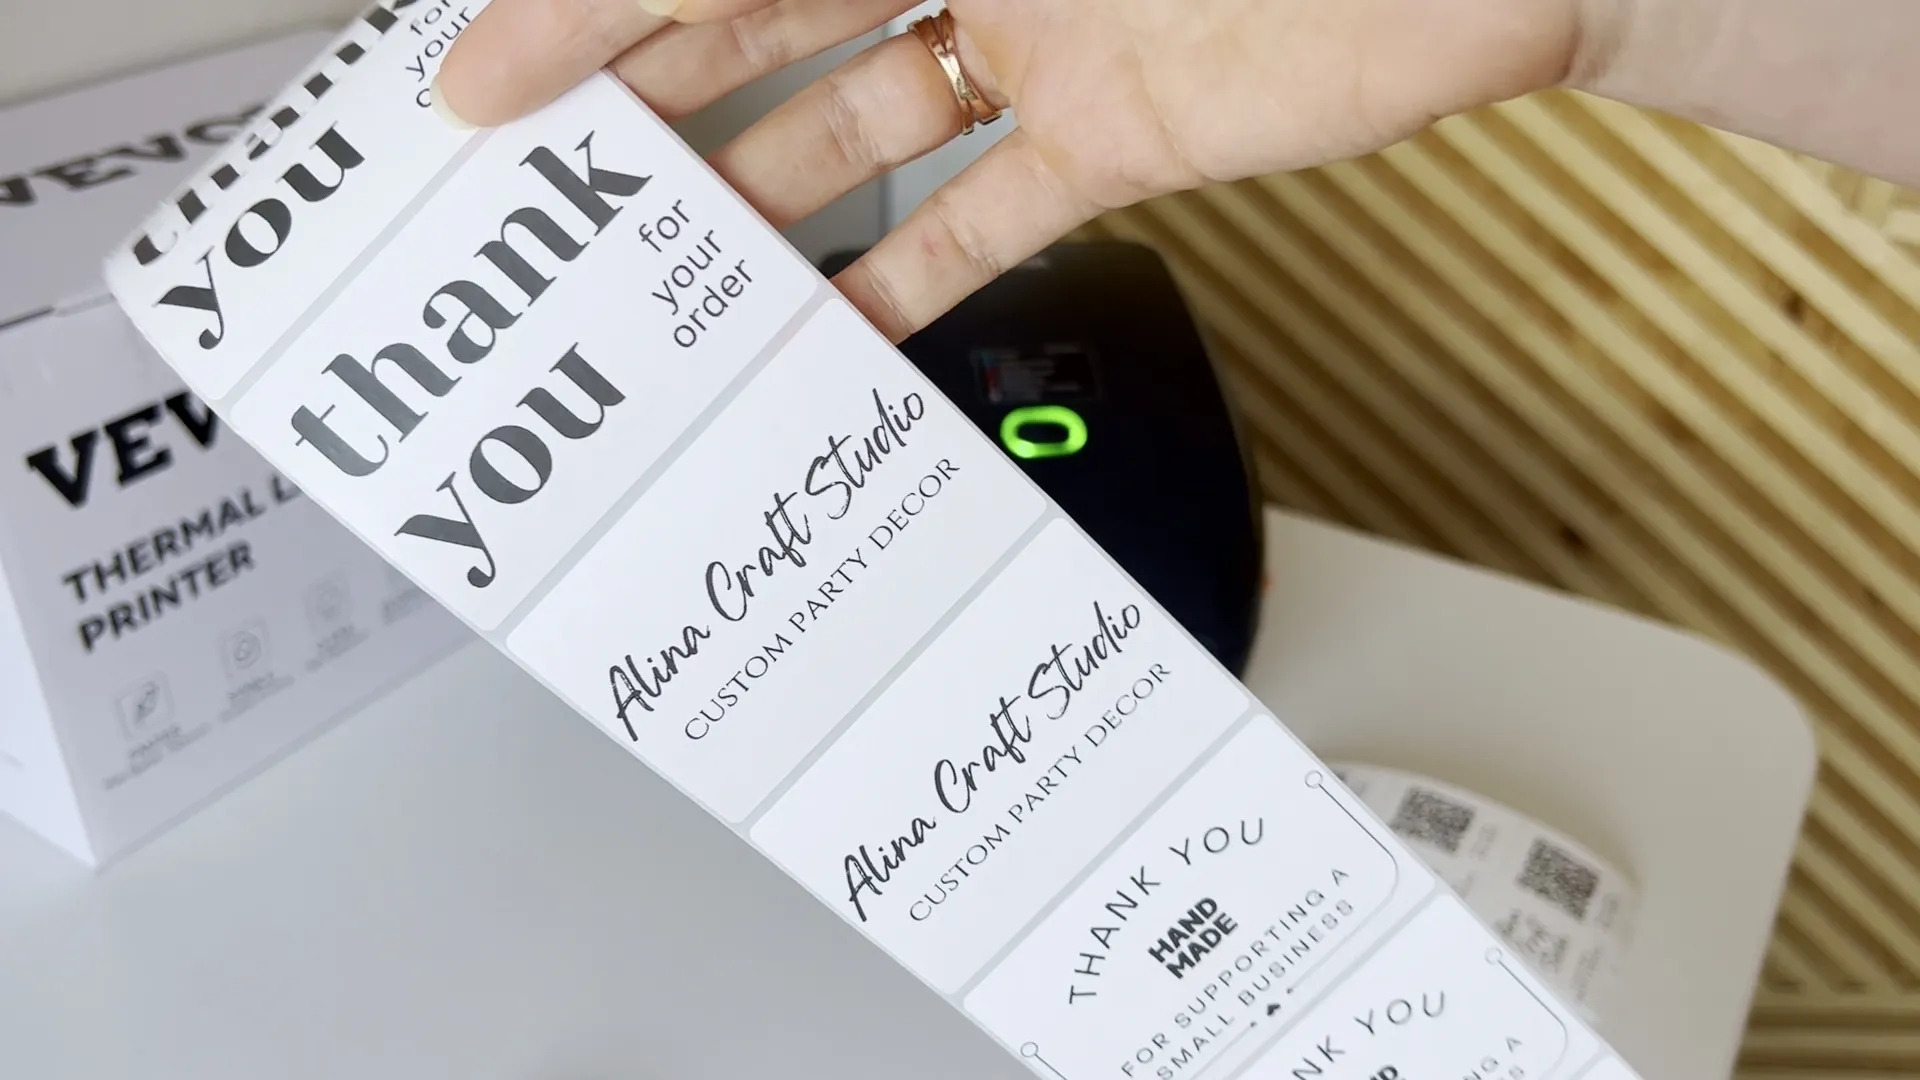
These are the test sticker designs I made. I really like how they turn out. I can definitely recommend this thermal label printer. 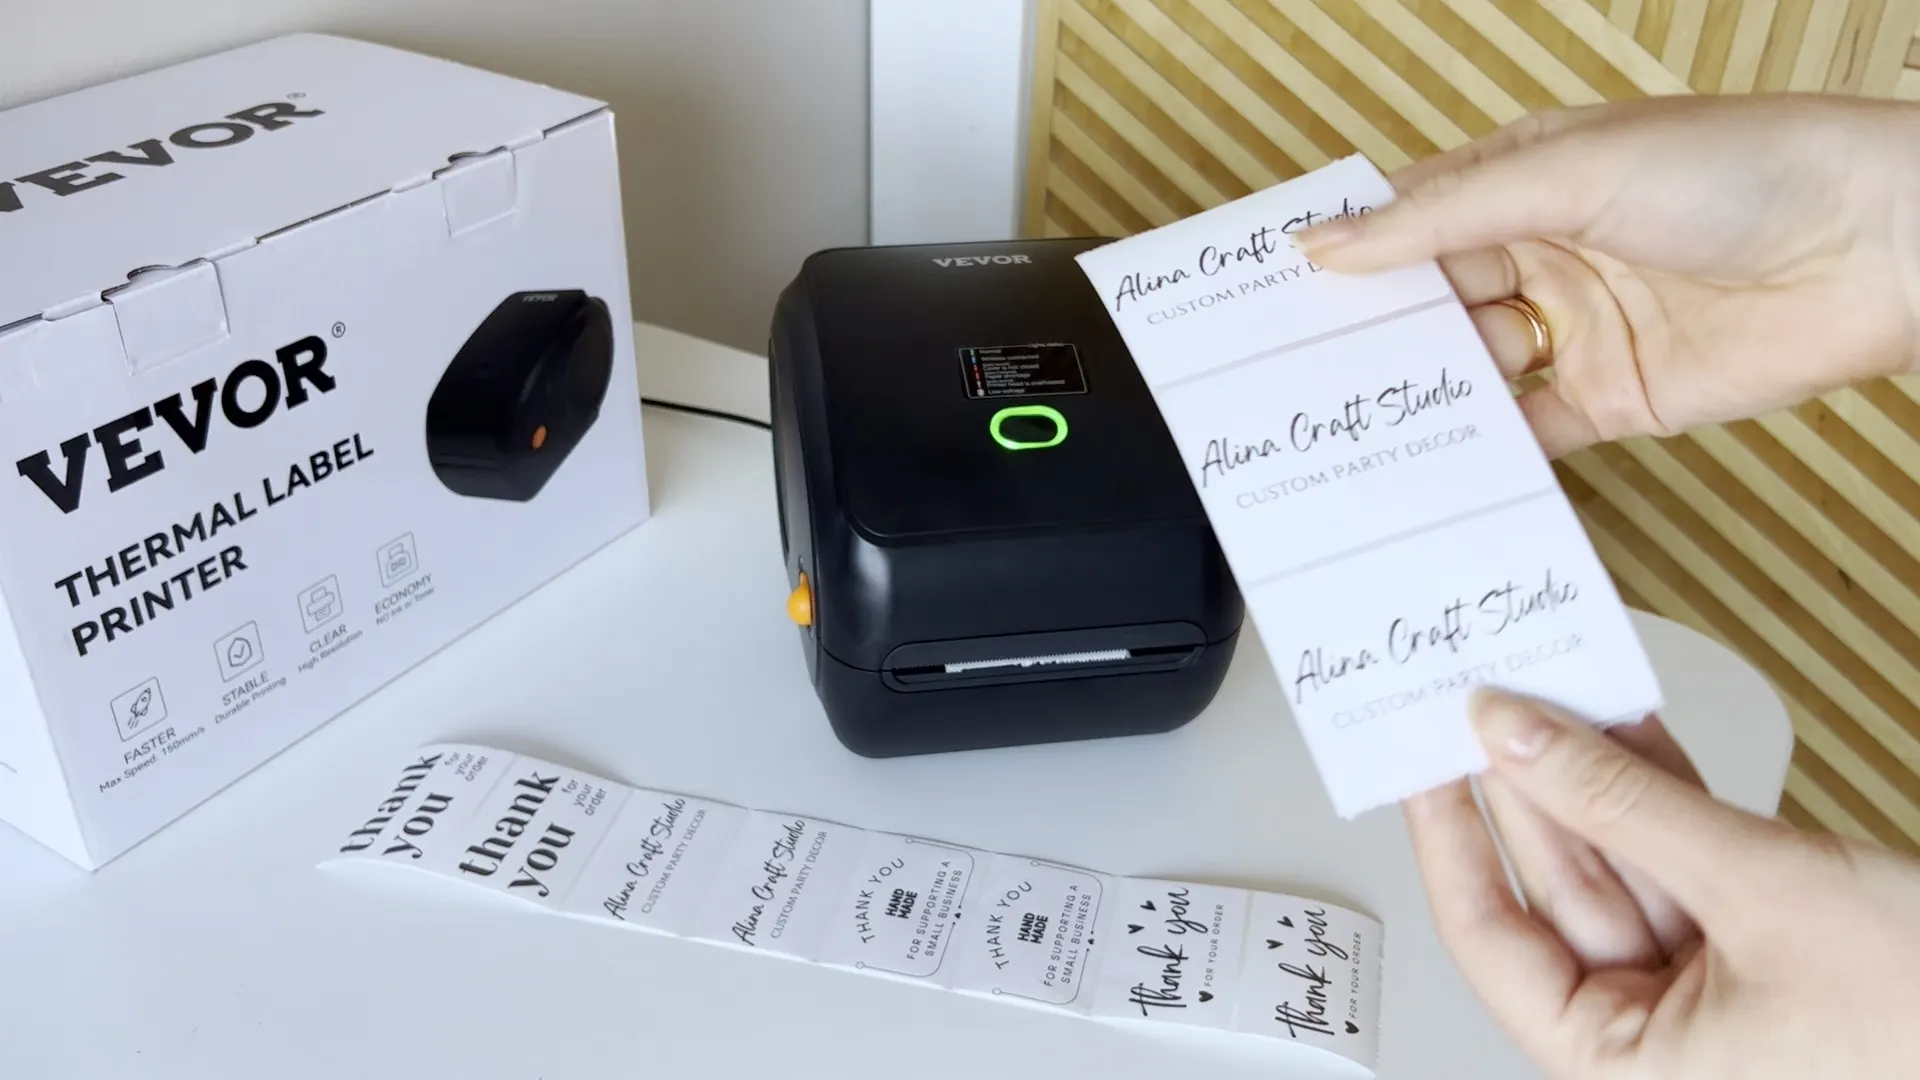
What’s in the box?
Now let's talk about how to set up the printer and what is inside the box. 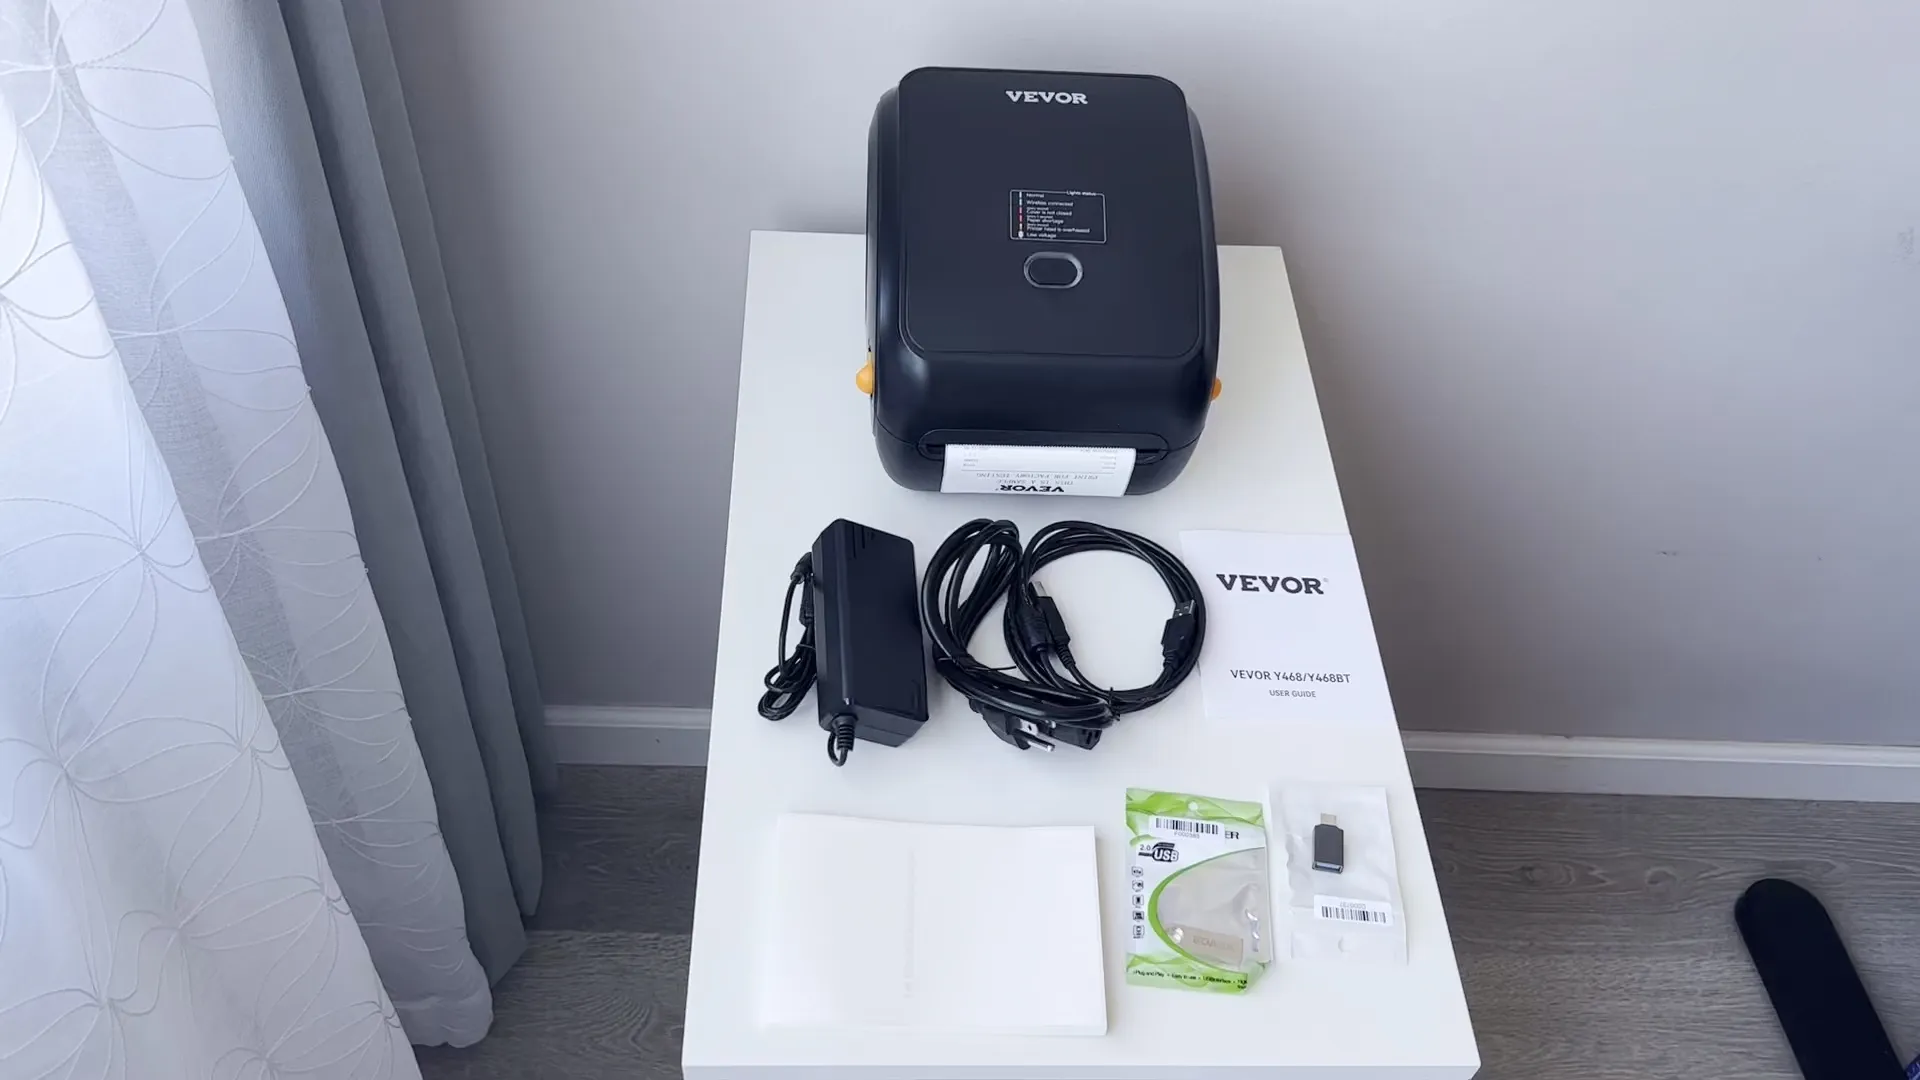
Here you can see all parts of the printer that came in the box by default: three types of cords, shipping label paper, the small packages include a USB disc with driver to setup machine and USB adapter. 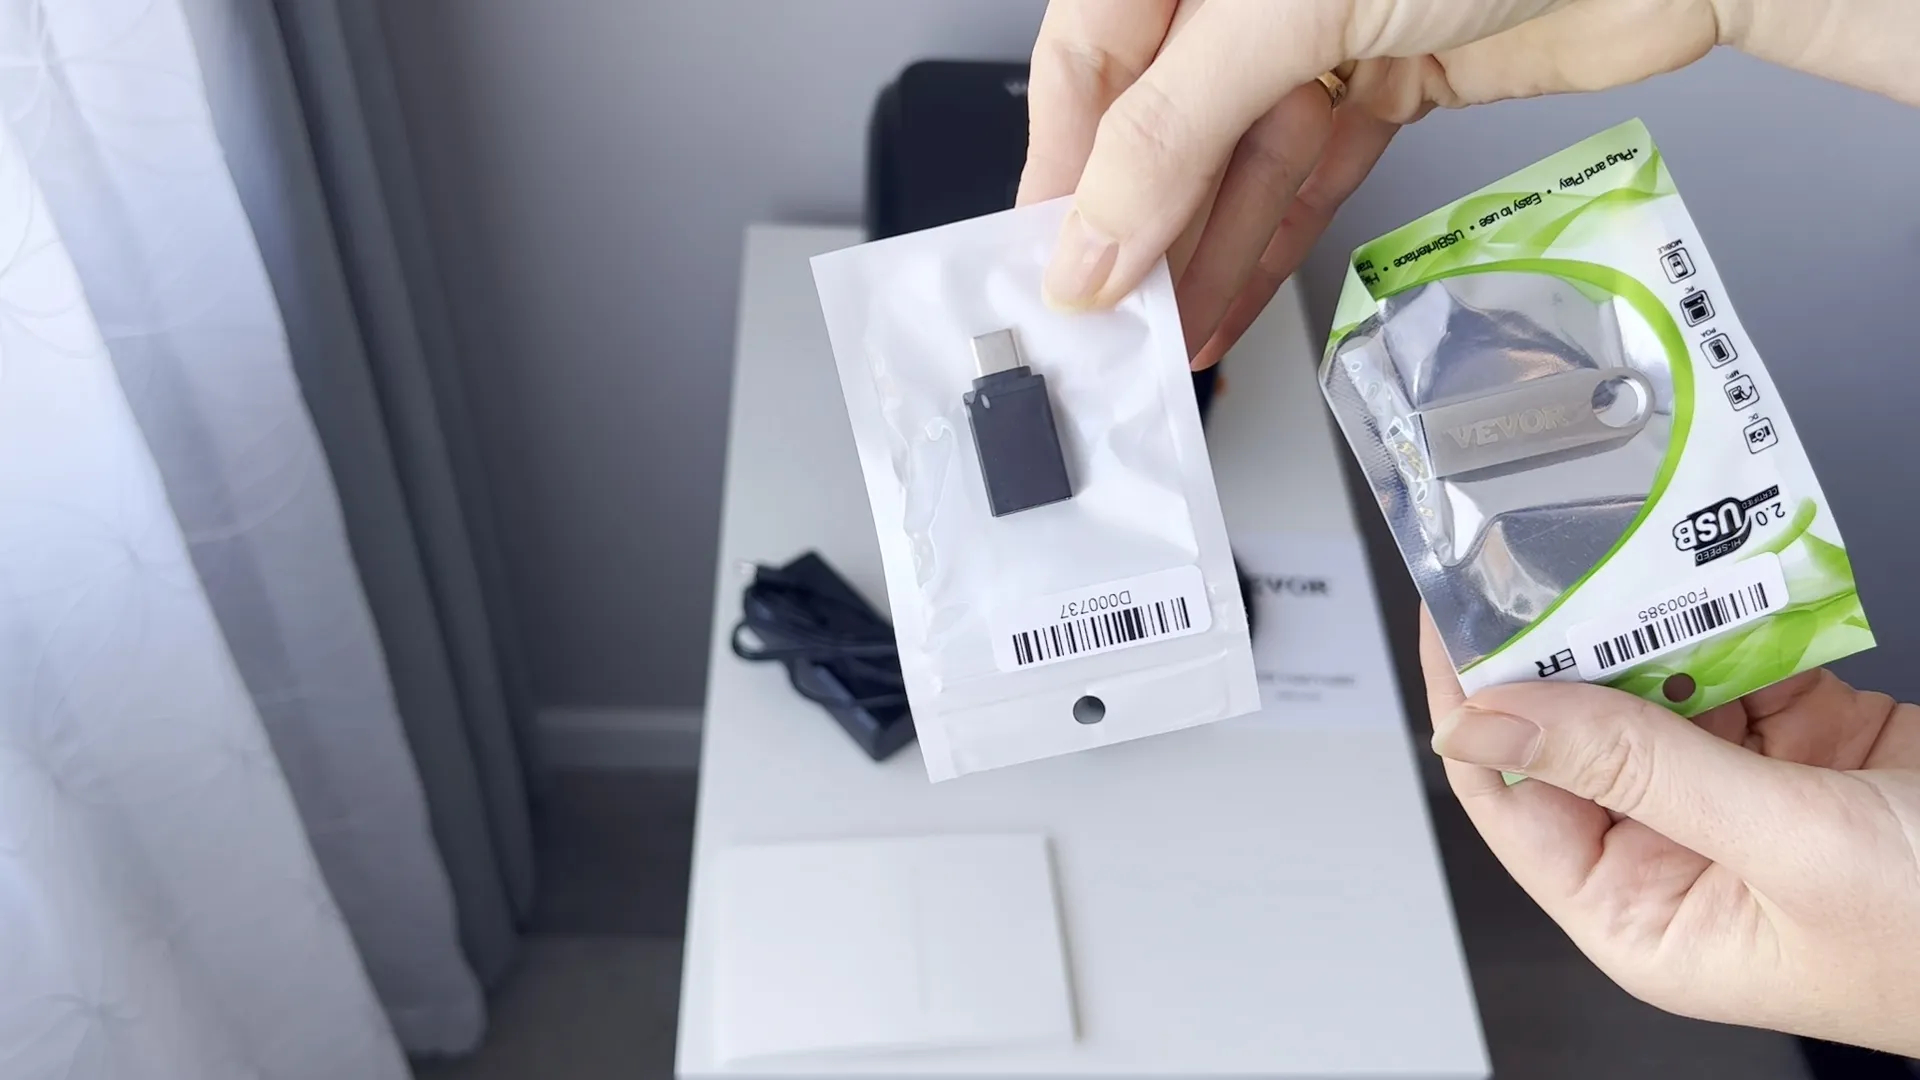
So you can read the instruction manual and it will tell you exactly all your steps you need to do. On the back here are all our power buttons and where you are going to be placing all of your cords. 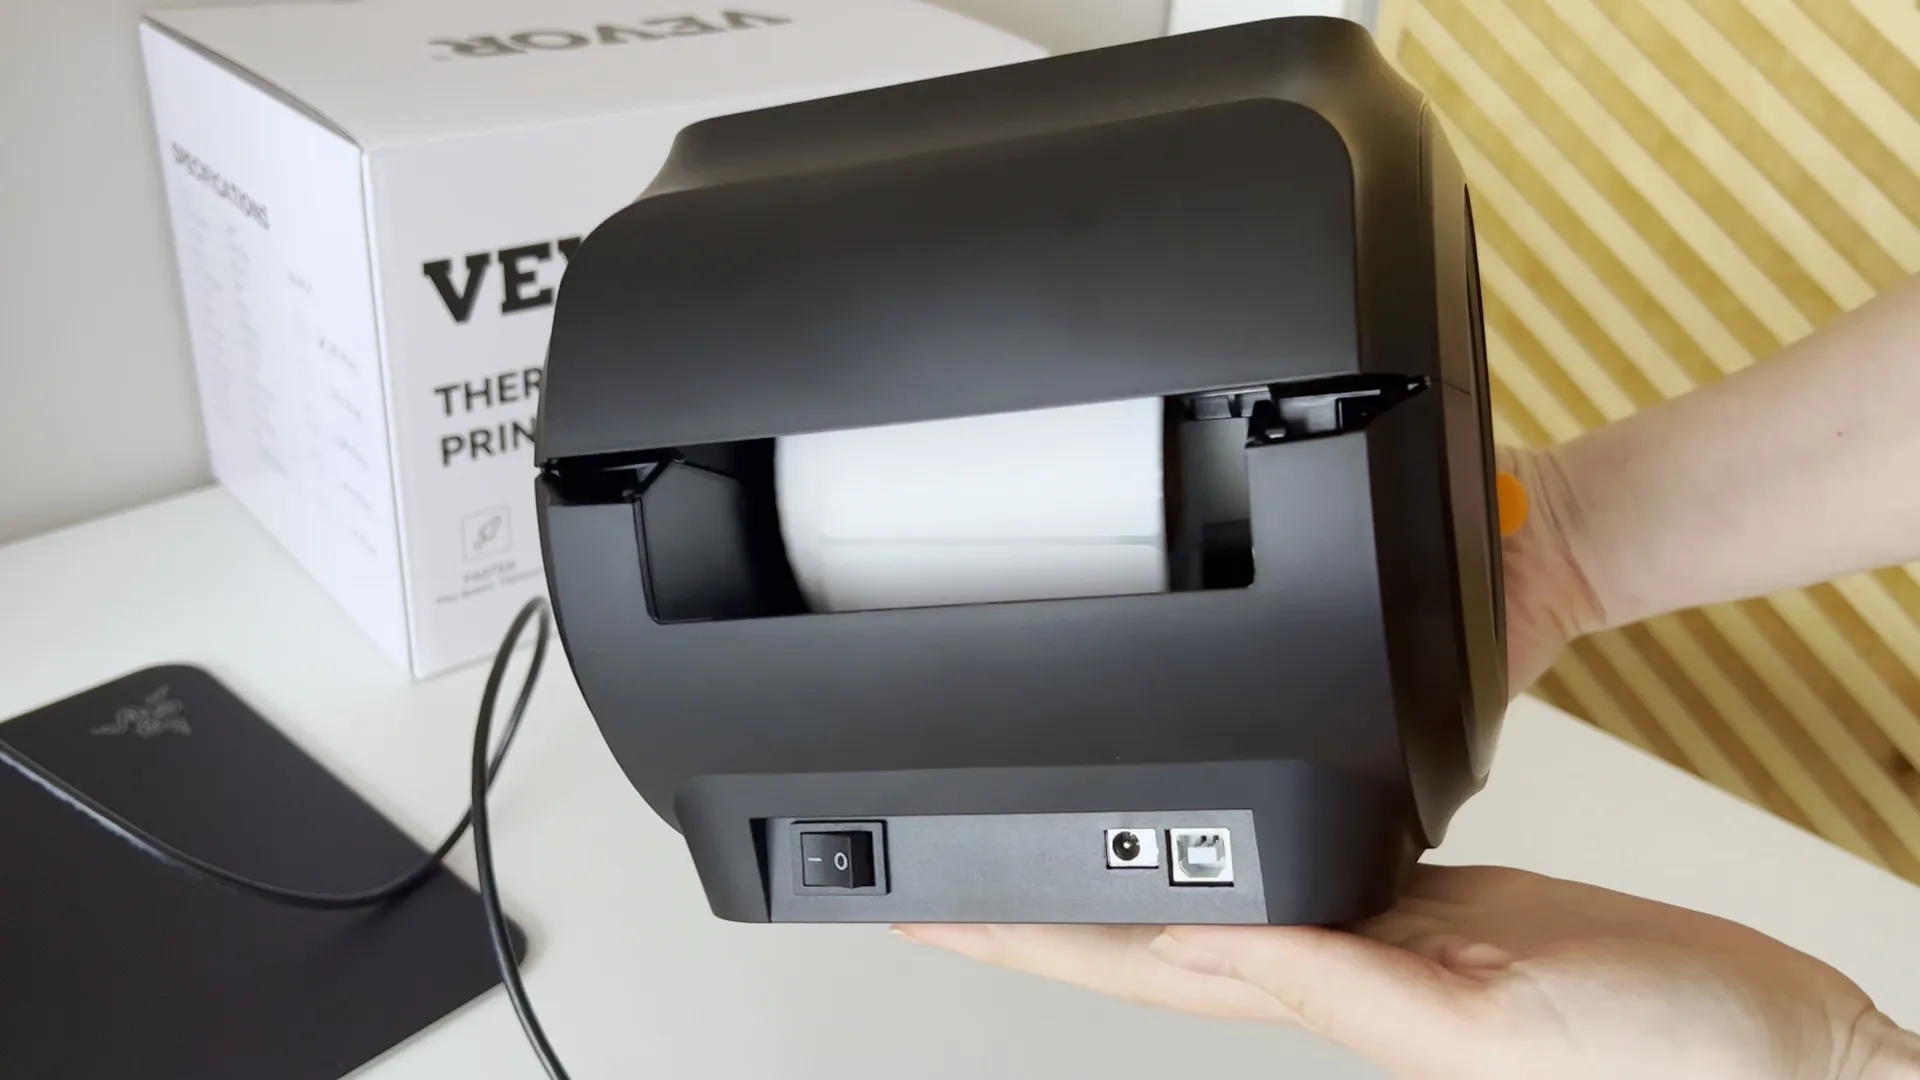
First I'm going to connect the unplugged machine to my computer. Then I connect the power cord which is actually in two separate parts. You have to plug the first part into the back of your printer. The second part you plug into a wall outlet. Green light like here will show you that you did everything right. 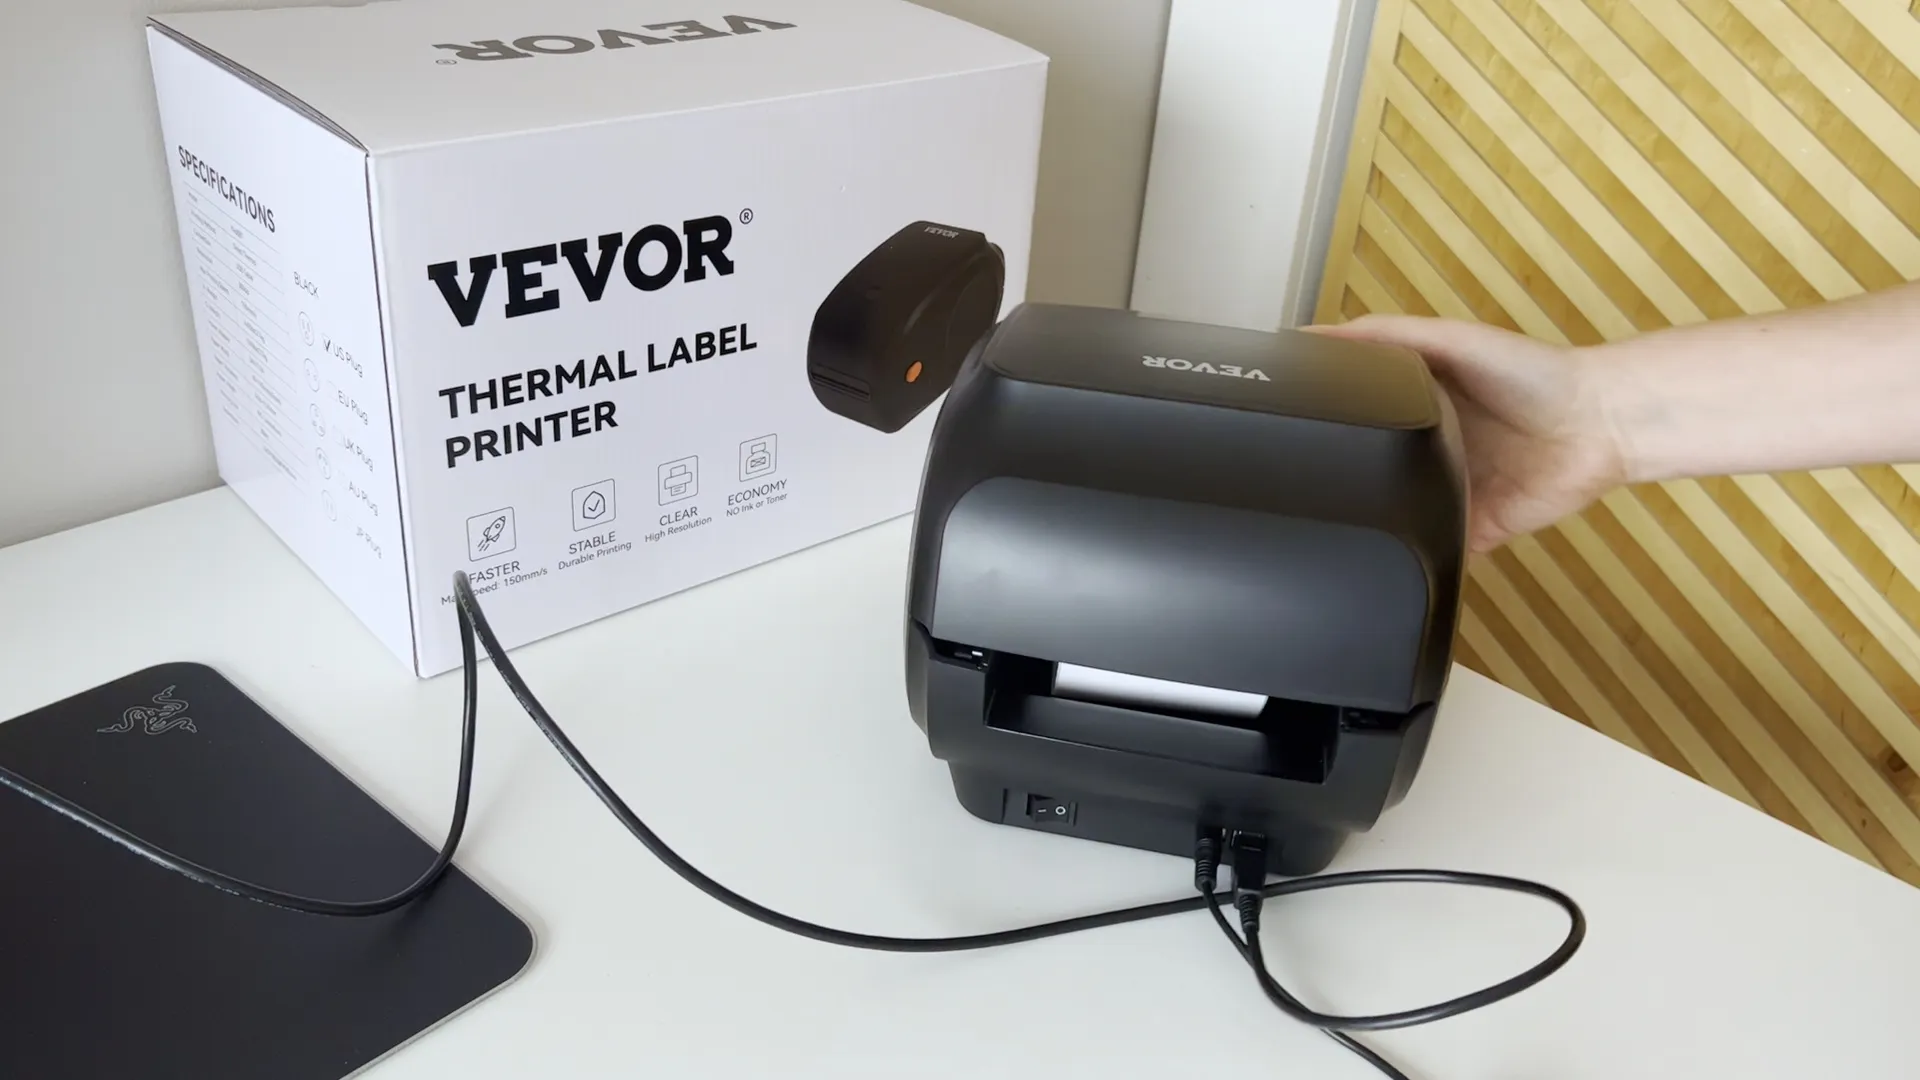
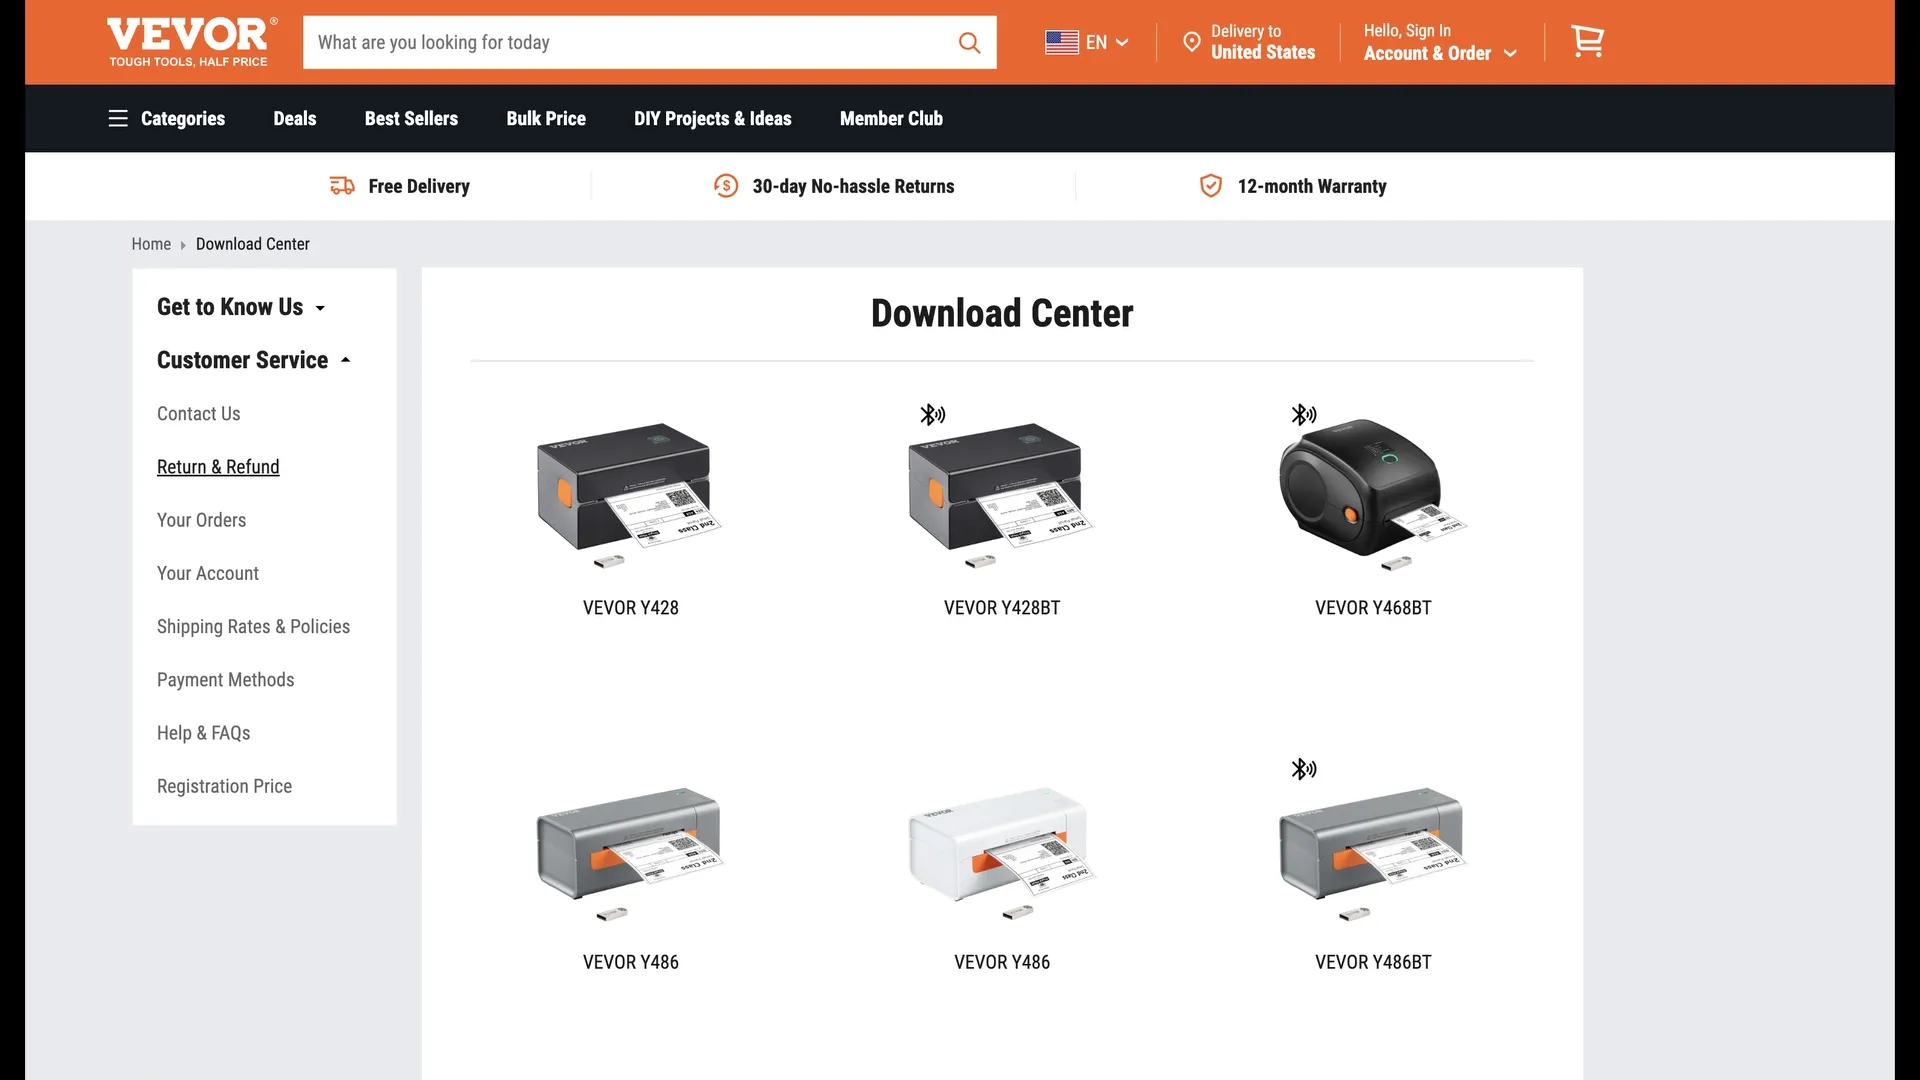
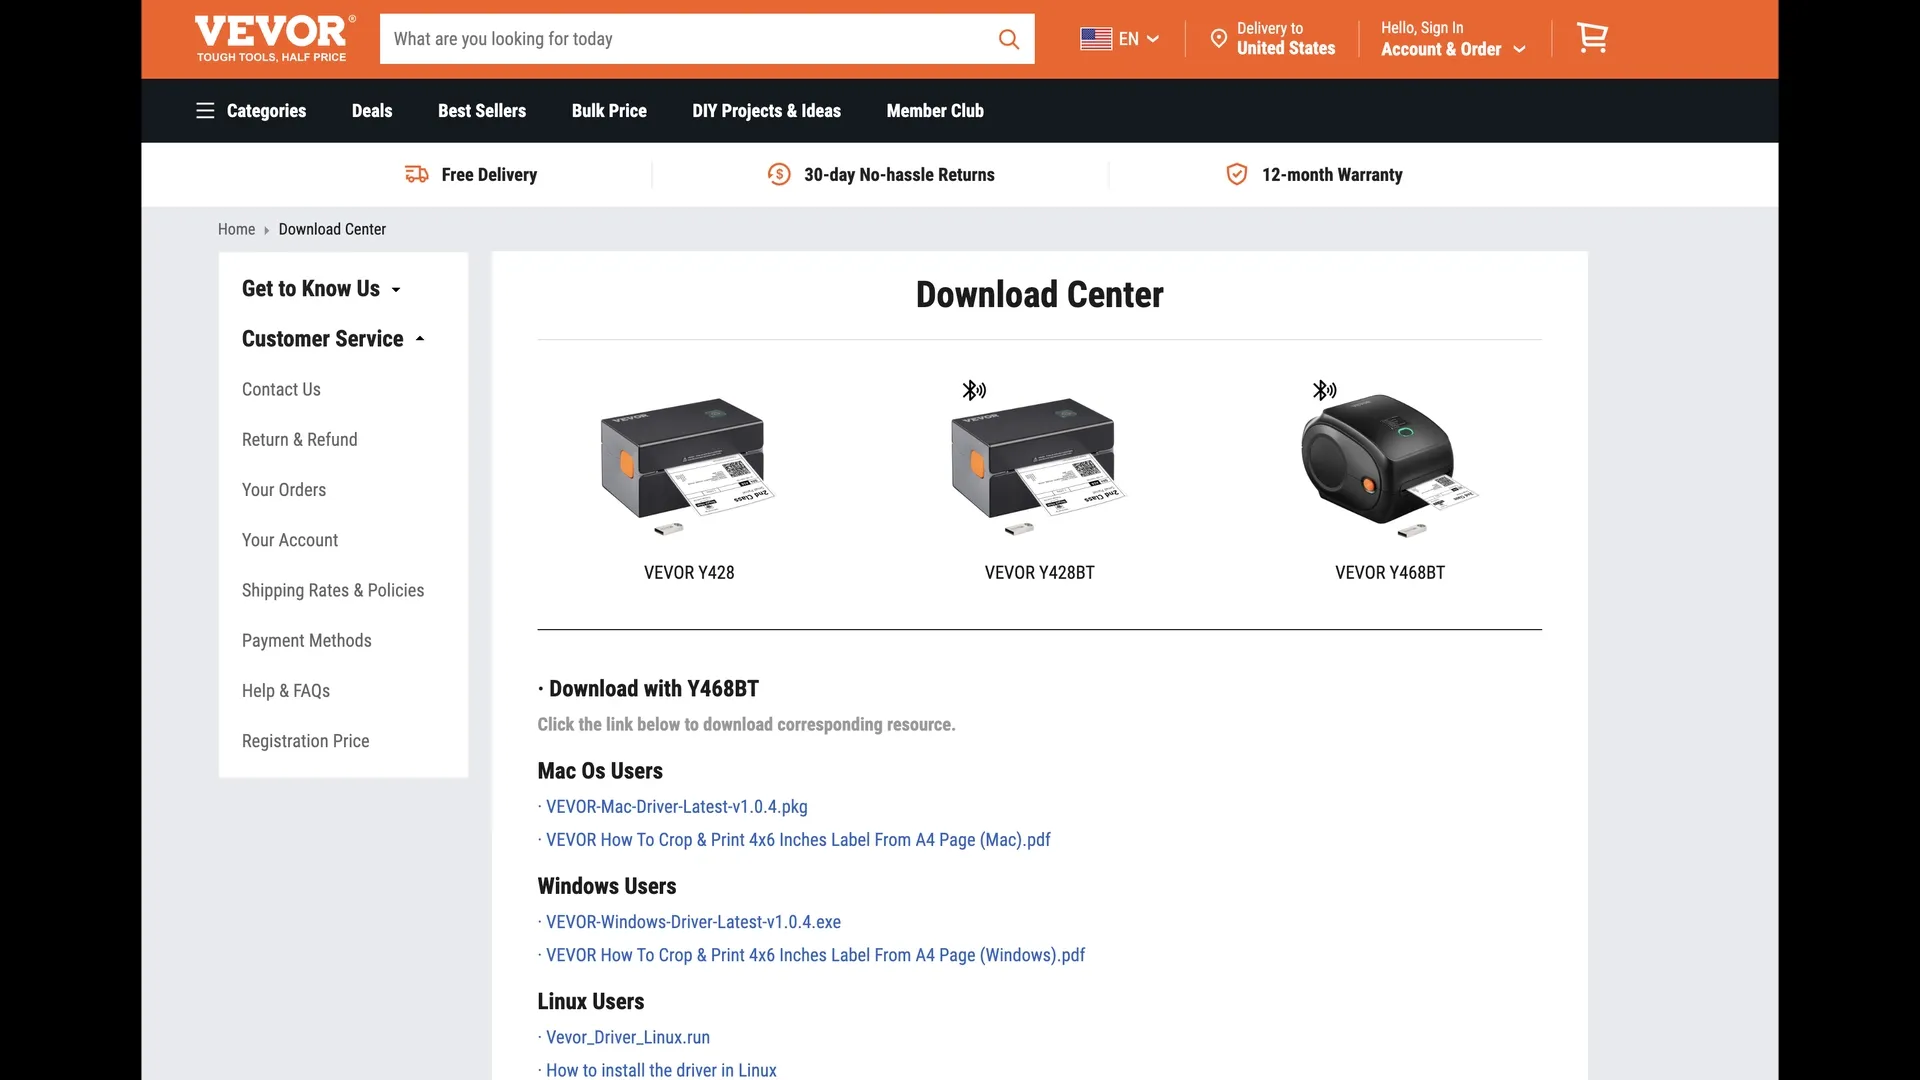
The second step is to download the driver. You can do it with a USB disc that comes with a printer or like me, open the official website, double click on the file, then follow the screen instructions. 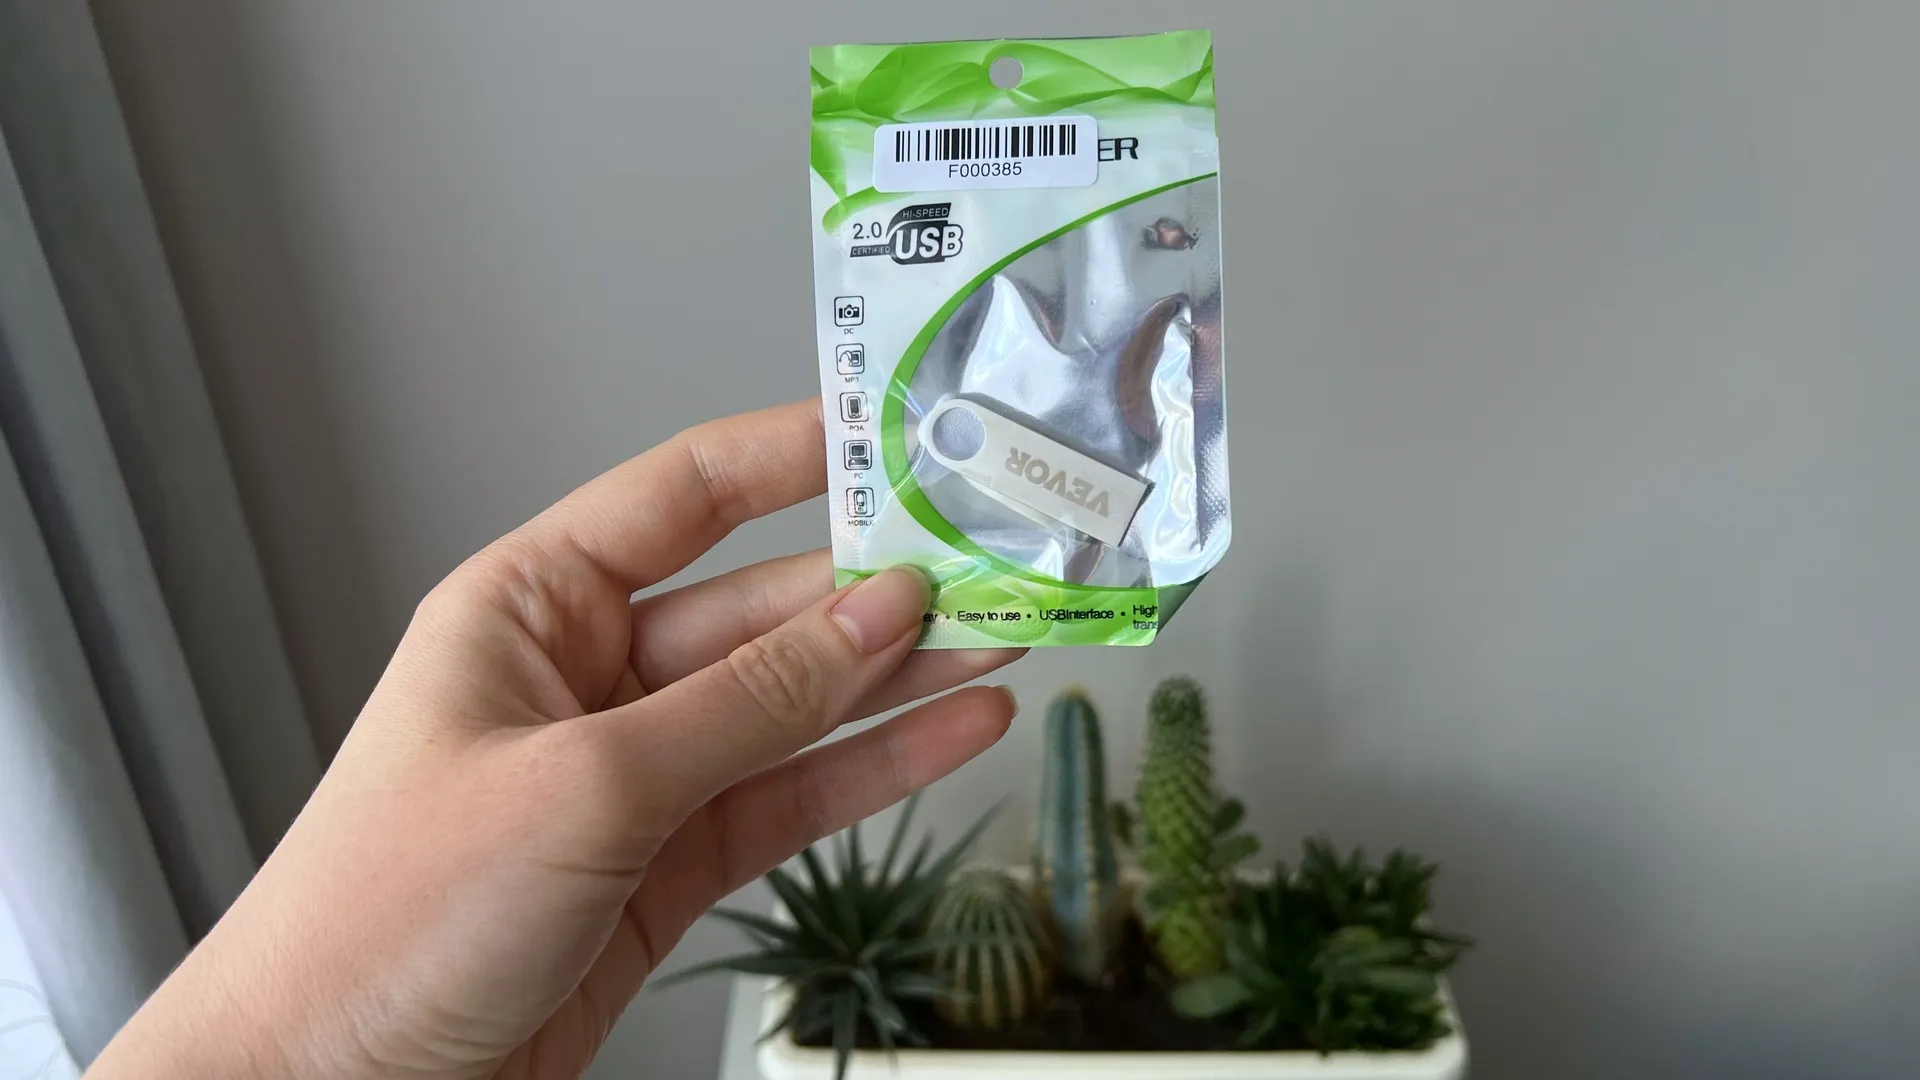
Here is my sticker that I printed. 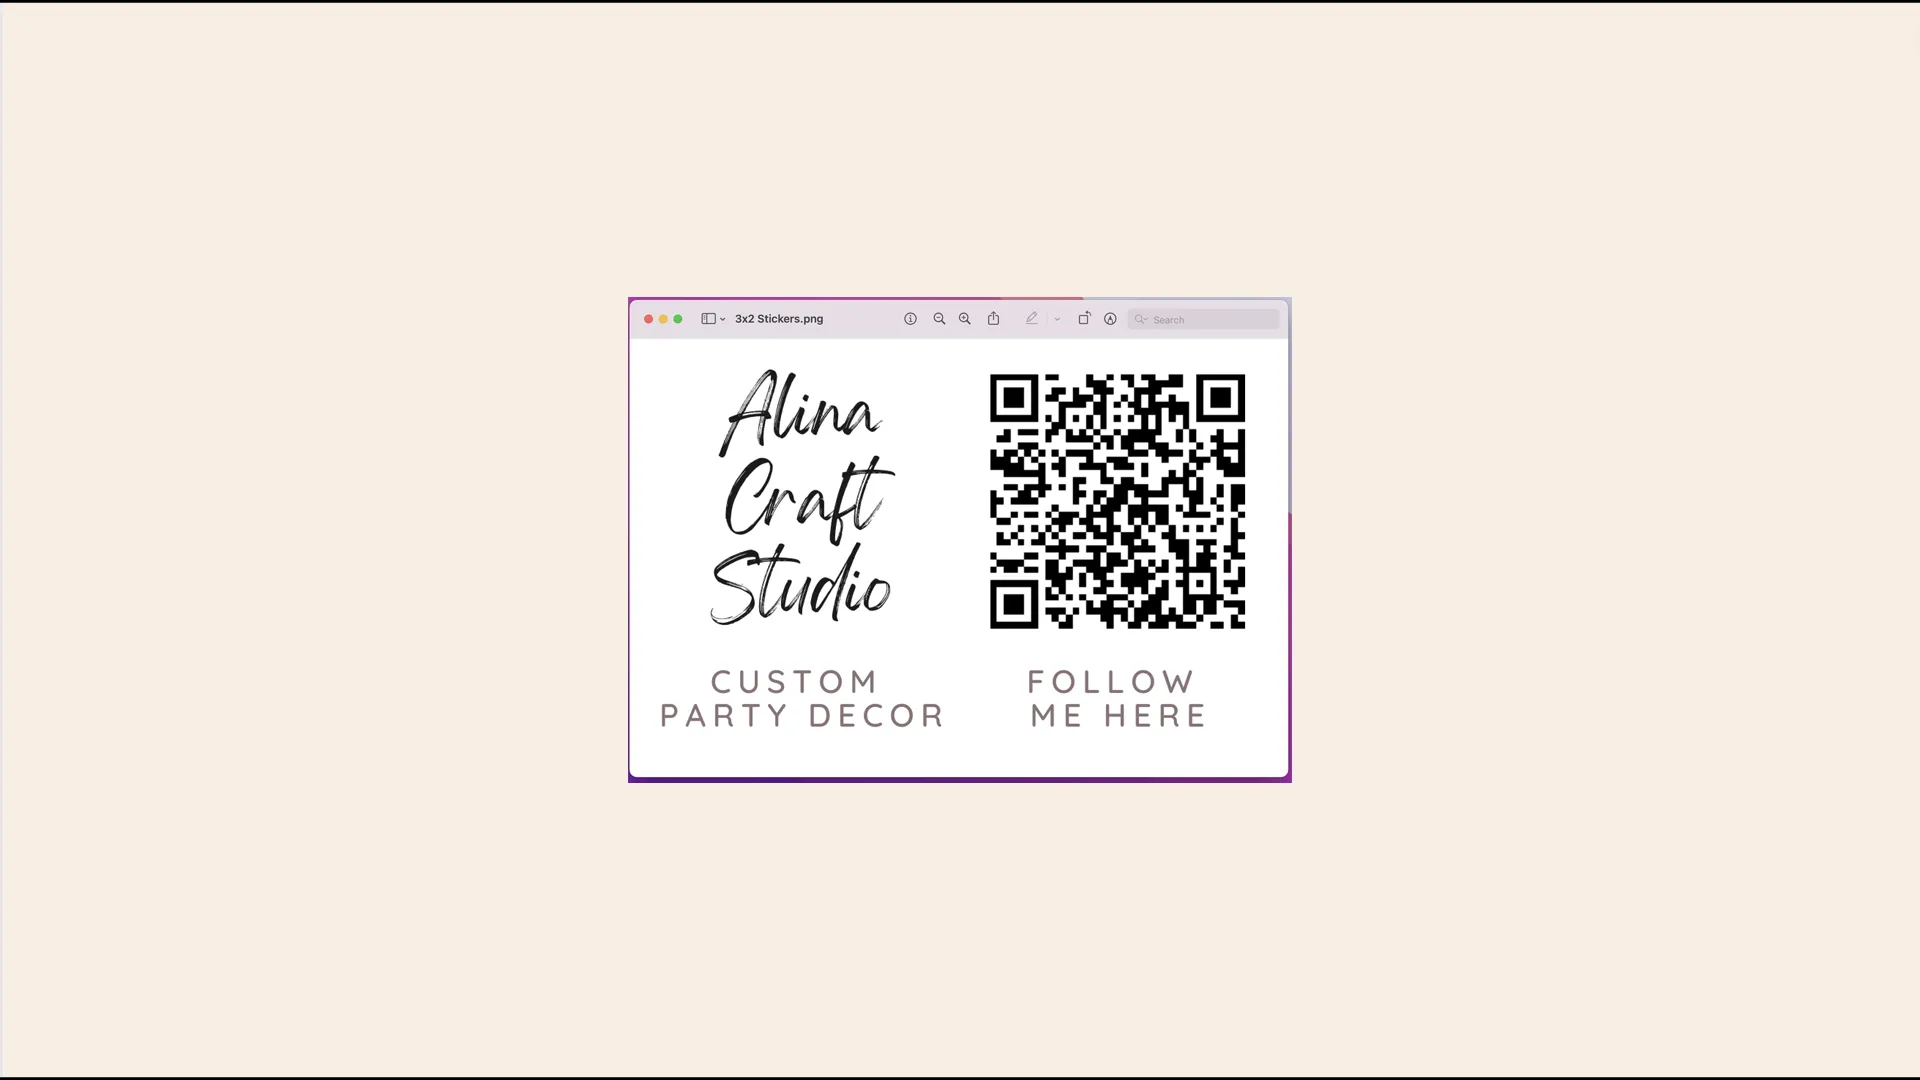
I setted up all settings, select size for paper 3x2 and click print. 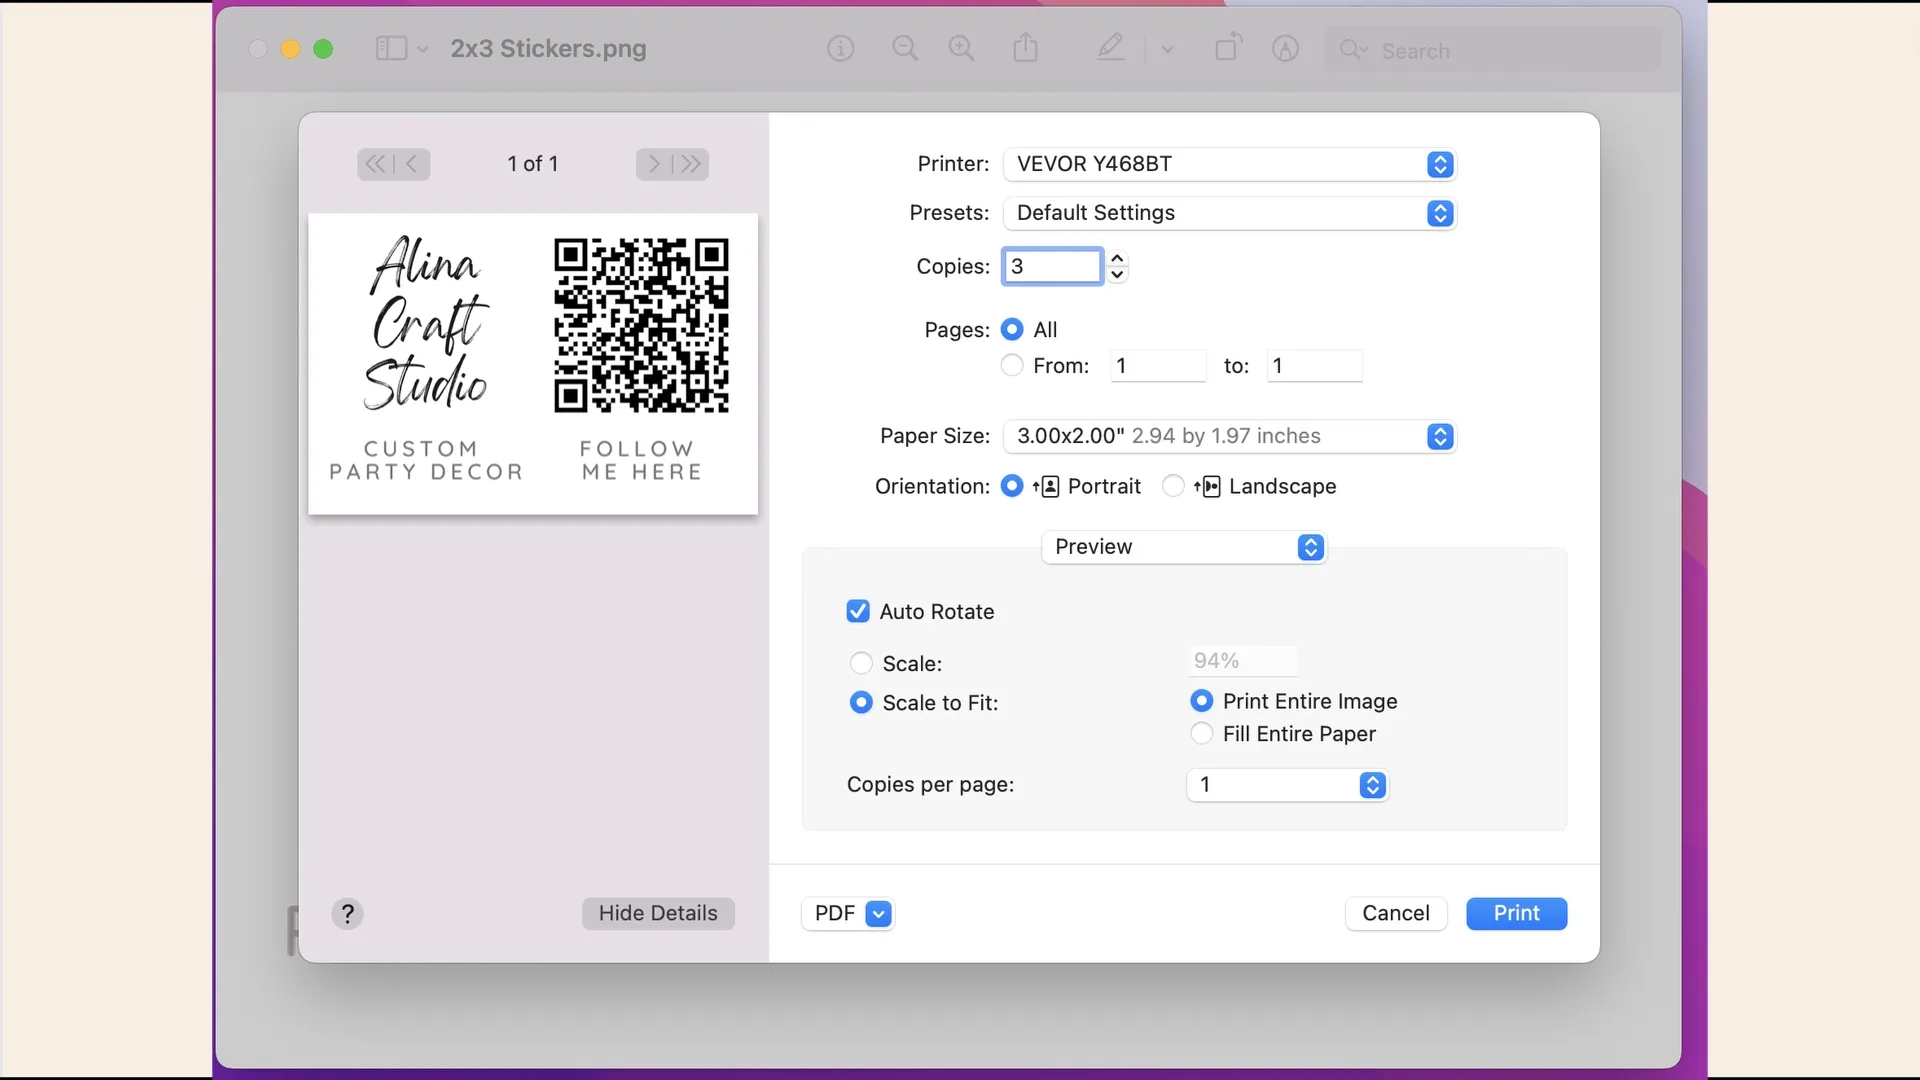
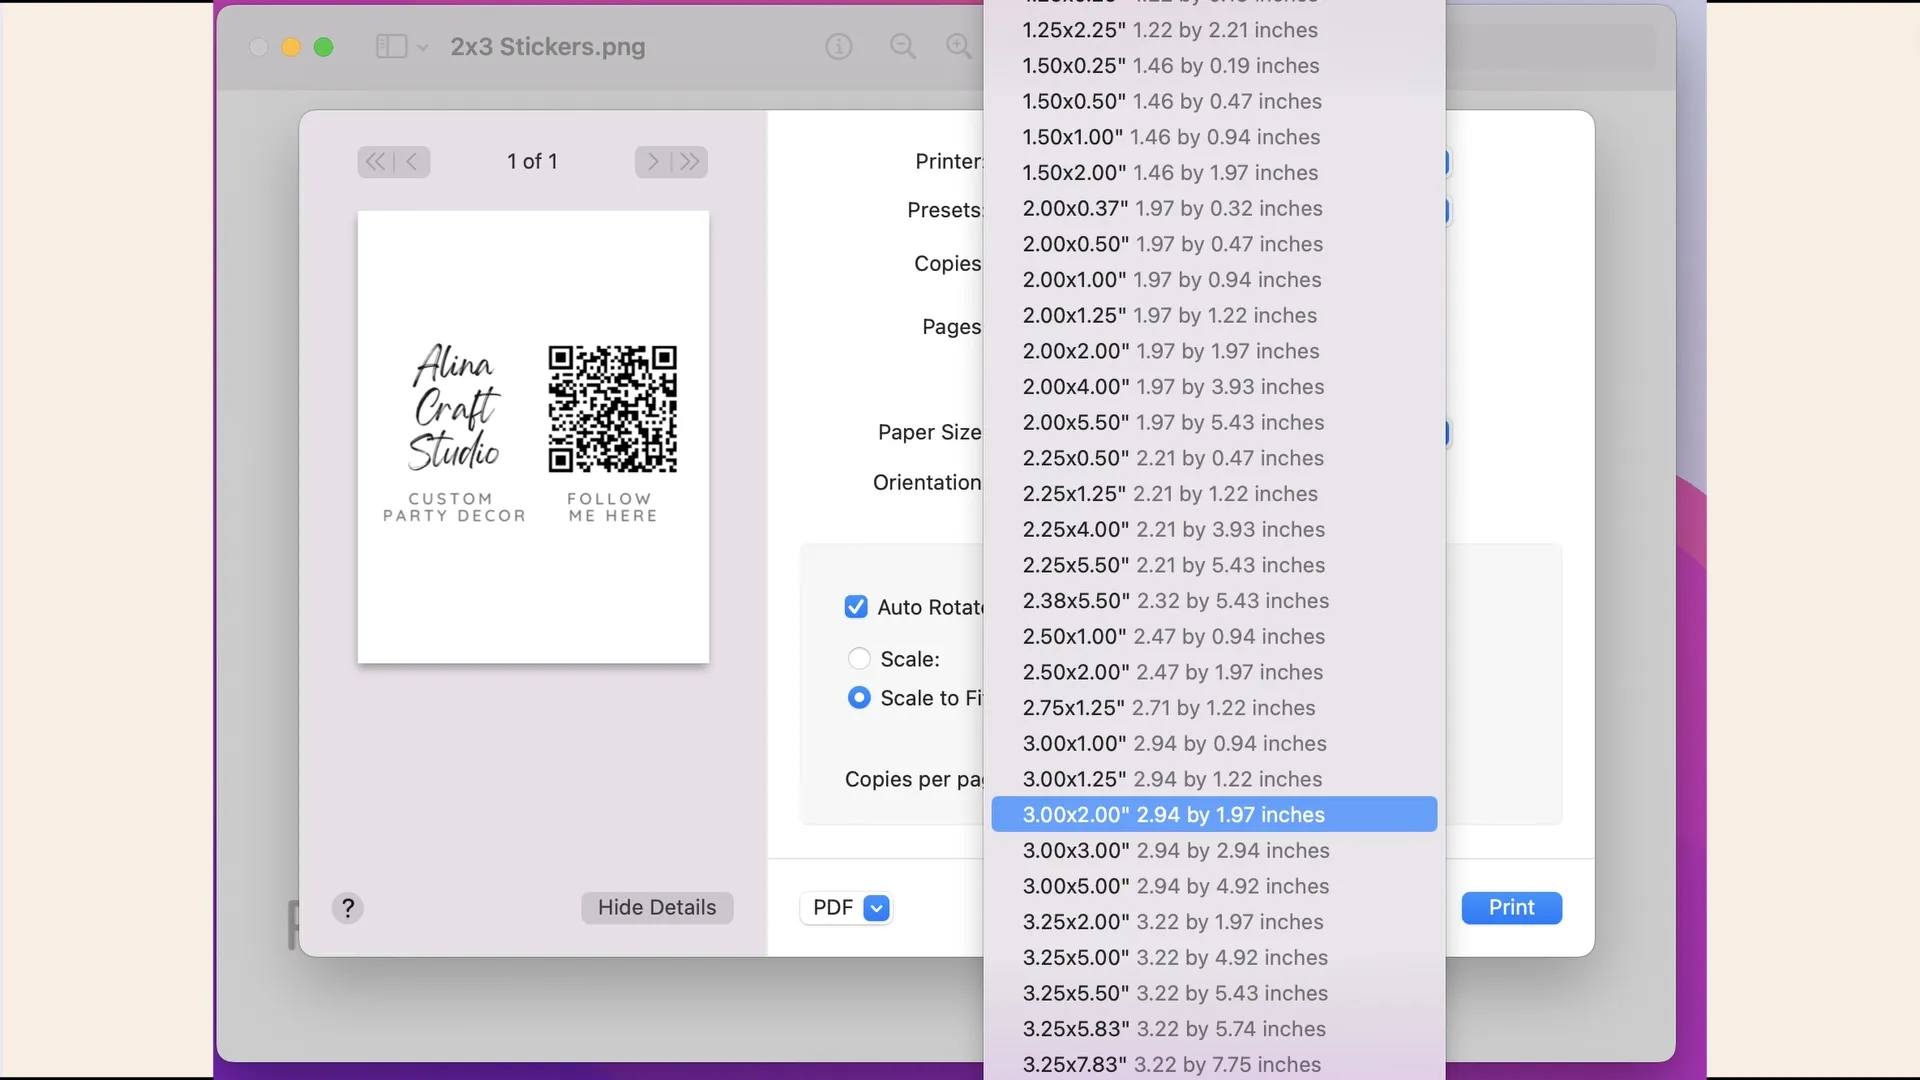
You can print out multiple labels at one time. Look how cute they are. If you want you can also choose paper of different colors, shapes and sizes. 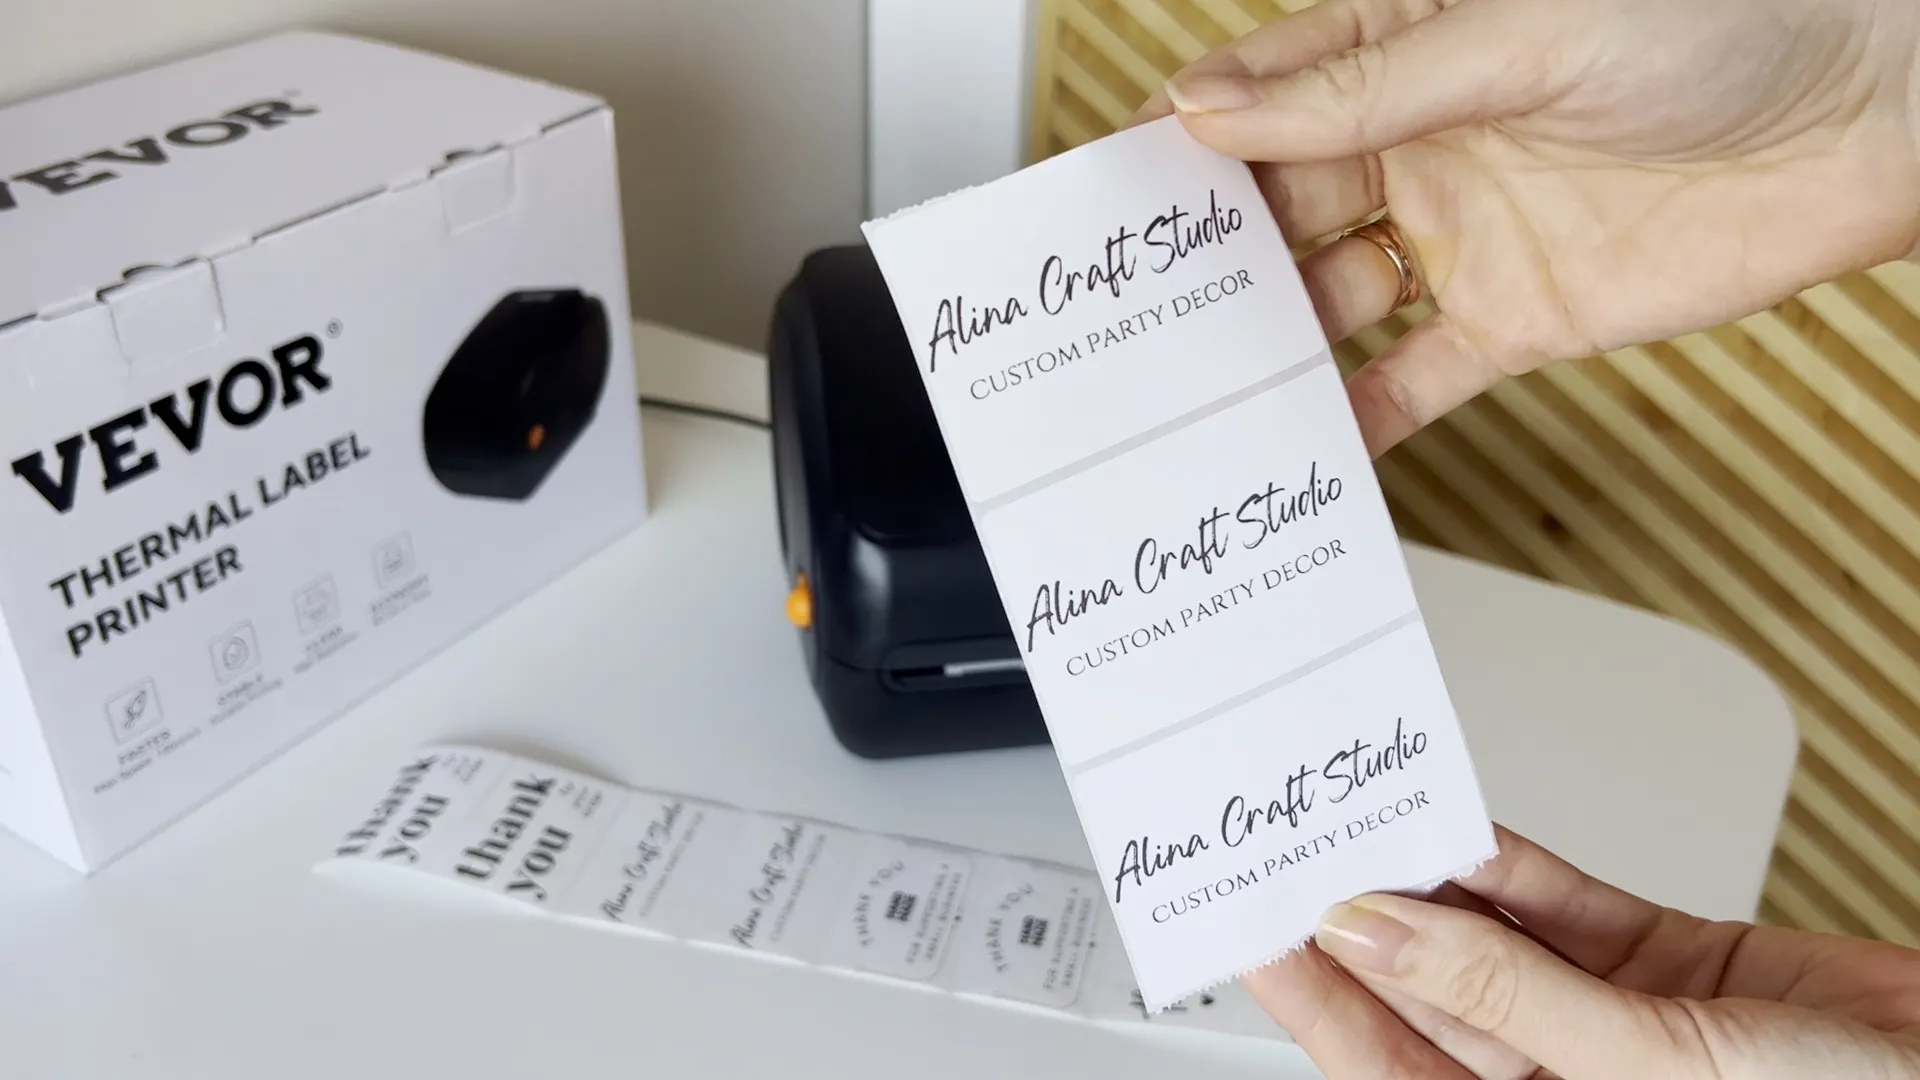
So you can print not only shipping labels, but also very nice and cute stickers for any occasion.
Printer details
| Resolution | 300dpi |
| Connection | Bluetooth/USB |
| Label Size | 1.57"-4.25" / 40-108 mm |
| Printing Speed | 150 mm/s / 6 ips |
| Label Paper Type | Direct Thermal |
| Support Devices | Smartphones, Laptops |
| Compatible Systems | Android, IOS, Windows, Mac OS, Linux, Chromebook |
| Product Size(L x W x H) | 9.9x8.1x7.2 inch / 251x206x183 mm |
| Net Weight | 4.62 lbs / 2.1 kg |
This desktop label printer can catch the labels and feed them into the printer automatically. Just close the lid and insert the paper from the back of the printer, then watch as the machine identifies the labels effortlessly. Besides, it also features an automatic paper return function, which can return unsuitable labels and avoid wasting them.
Does this printer use any brand of thermal labels, or do you need to use a special brand label?
Any brand of thermal labels is fine. It can be printed with a width of 40mm to 108mm.
Can it print color images?
No, all thermal printers can not print any color images.
How do I calibrate the label printer?
Press and hold the feed button until the indicator (blue) flashes 2 times. Release the feed button and the printer will begin calibrating.